When it comes to DIY repairs and crafting projects, the right adhesive can make all the difference. Specifically, gorilla glue metal bonding has gained a reputation for its robustness and versatility. This powerful adhesive is engineered to bond metal surfaces effectively, providing a durable solution for both household fixes and industrial applications. In this blog post, we’ll explore the intricacies of using gorilla glue on metal and how to achieve the best results.
Benefits of Using Gorilla Glue on Metal
Utilizing an adhesive like gorilla glue for metal repair comes with numerous advantages. Its formulation allows for strong, long-lasting bonds that are essential for the integrity of metal attachments. Let’s delve into the specifics of its strength and waterproof properties.
Gorilla Glue Strength on Metal
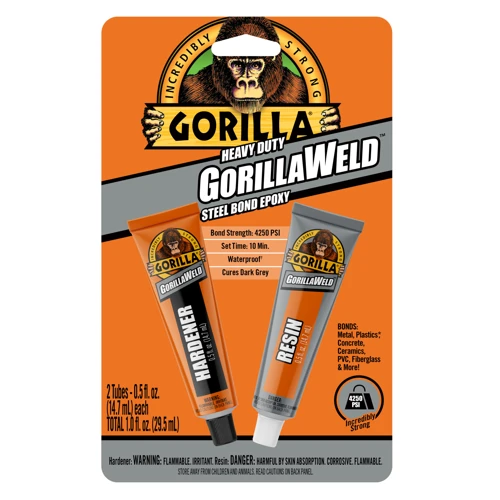
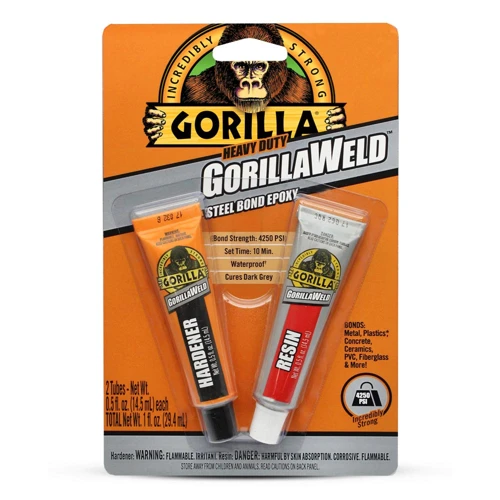
The impressive gorilla glue strength on metal is due to its polyurethane composition, which creates an incredibly strong bond. This characteristic is crucial for metal repairs that must endure stress and strain over time. The bond formed is resistant to heat and cold, making it reliable for a variety of environments.
Waterproof Metal Glue Characteristics
Another significant feature is the waterproof metal glue capability of this adhesive. Once cured, gorilla glue creates a seal that is impervious to water, making it ideal for outdoor applications or items that may come into contact with moisture.
Preparation for Metal Repair with Gorilla Glue
To ensure the best bond, preparation is key. Here are some tips on prepping your metal surfaces and applying the adhesive correctly.
Best Way to Prepare Metal Surfaces
- Clean the metal thoroughly to remove any grease, oil, or dirt.
- For better adhesion, lightly sand the surface to create a rough texture.
- Wipe away any dust resulting from the sanding process.
How to Apply Gorilla Glue for Optimal Adhesion
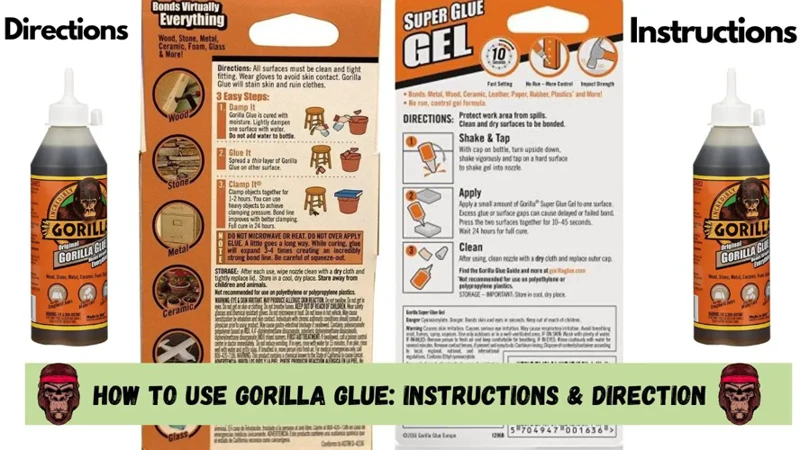
After preparing the surfaces, learning how to apply gorilla glue is essential. Apply a small amount, as the glue expands up to three times its size while curing. Precision in application ensures a clean bond without excess spillage.
Step-by-Step Guide: Using Gorilla Glue on Metal
Let’s break down the process into simple steps to ensure a successful metal bonding experience with gorilla glue adhesive for metal.
Prepare and Dampen the Surfaces
Start by thoroughly cleaning and sanding the metal. Then, lightly dampen one surface with water, as gorilla glue is activated by moisture.
Evenly Apply Gorilla Glue Onto the Dry Surface
Apply a thin layer of gorilla glue onto the other, dry surface. Remember, less is more due to its expansive properties.
Clamp the Two Surfaces Together Tightly
Press the two metal pieces together and secure them with clamps. Ensure the bond is tight and leave no gaps for the strongest hold.
Setting Time and Curing Process
The initial set time for gorilla glue is usually within an hour, but a full cure can take up to 24 hours. Be patient and do not disturb the bond during this time.
Tips for Metal to Metal Adhesive Success

For a flawless finish when bonding metal to metal, consider these additional pointers.
Clean up Excess Glue
If any adhesive oozes out, wipe it away quickly with a dry cloth. For cured glue, you may need to use a scraper or sandpaper.
Storage Tips for Gorilla Glue Adhesive
Store your gorilla glue in a cool, dry place with the cap tightly sealed. This will preserve its shelf life and ensure it’s ready for your next project.
Common Questions About Gorilla Super Glue on Metal
Users often have queries regarding the application of gorilla super glue on metal. Here are some frequently asked questions to clarify any doubts.
FAQs: Troubleshooting and Solutions
- Q: Can gorilla glue be used on all types of metal?
- A: Yes, it is suitable for most metals, but surface prep is crucial for a strong bond.
- Q: What if the glue doesn’t cure properly?
- A: Ensure that the environment is not too cold and that you’ve applied moisture to one surface.
- Q: Is the bond permanent?
- A: Gorilla glue creates a very strong bond, but it can be removed with the right techniques and tools.
When it comes to bonding materials, Gorilla Glue is a powerhouse, and it’s not just for woodworking or plastic repairs. If you’re tackling a project that involves metal, understanding how to use Gorilla Glue on metal can ensure a strong and lasting hold. But Gorilla Glue isn’t limited to metal. For those DIY projects involving plastic, you might want to read our guide on how to use Gorilla Glue on plastic. And if you’re a woodwork enthusiast, don’t miss the tips in our article about how to use Gorilla Wood Glue. For quick fixes and small jobs, the Gorilla Glue pen might be the perfect solution, offering precision and ease. Explore our resources for the best advice on using Gorilla Glue for all your repair needs.
Conclusion: Maximizing Gorilla Glue for Metal Repair
In conclusion, the best way to glue metal involves careful preparation, application, and patience. By following the steps and tips outlined, you can maximize the effectiveness of gorilla glue for a robust, waterproof bond. Whether you are engaging in a quick fix or a complex project, the metal to metal adhesive properties of gorilla glue can provide the strength and durability you need.