Leather, with its durability and aesthetic appeal, is a popular material for a variety of projects, from fashion accessories to upholstery. However, when it comes to mending or creating with this robust material, one must understand the intricacies of gluing leather. This involves selecting the right adhesive and using the correct techniques to ensure a lasting bond. In this comprehensive guide, we’ll walk you through the essential steps and provide you with the best practices for successful leather adhesion.
Understanding Leather Adhesives
Adhesives for leather come in various formulations, each designed to meet specific bonding requirements. Understanding the properties of these adhesives is critical to ensure they interact correctly with leather’s unique texture and fiber structure. A good leather adhesive guide should explain that the right product will penetrate the surface, create a durable bond, and maintain the leather’s flexibility without compromising its strength.
Choosing the Best Glue for Leather
Factors to Consider
- The type of leather and its finish
- The intended use of the leather item
- Environmental conditions such as exposure to moisture and temperature changes
- The strength and flexibility required for the bond
Considering these aspects will lead you to the best glue for leather, tailored to your specific project.
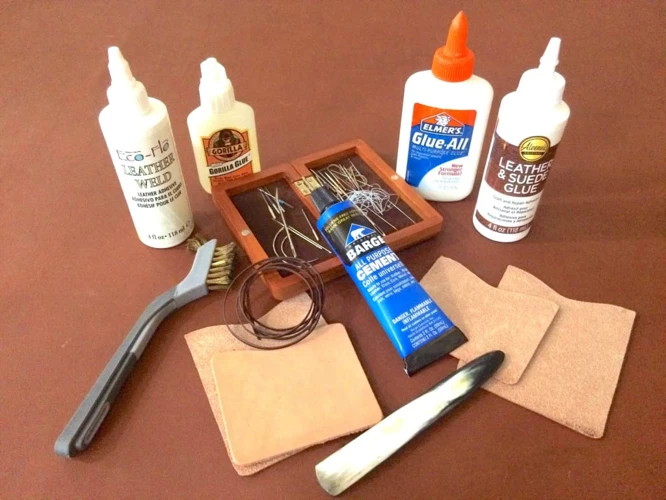
Comparing Different Leather Adhesives
When comparing adhesives, it’s important to look at their bonding capabilities, drying time, and water resistance. For instance, cyanoacrylate adhesives offer a quick fix but might not provide long-term flexibility, while epoxy resins offer strength but require precise mixing. Polyurethanes and contact cement are often favored for their strong, flexible bonds.
Preparation for DIY Leather Repair
Cleaning and Surface Preparation
Before embarking on DIY leather repair, it’s crucial to prepare the leather surface properly. Cleaning the leather to remove dirt, oils, and existing adhesives ensures that the new glue adheres effectively. A well-prepped surface is key to a strong bond.
Selecting Appropriate Tools
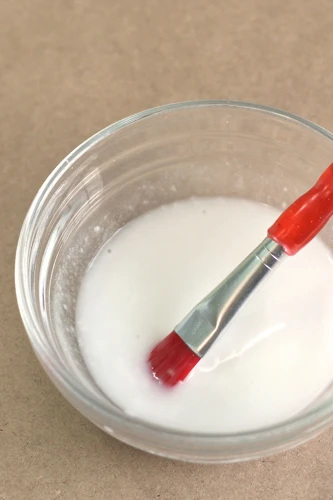
Gathering the right tools, such as brushes, rollers, or applicators, is essential for a smooth application of the leather repair adhesive. Ensure that you have a clean workspace and protective equipment to safeguard your hands and eyes during the gluing process.
Leather Craft Bonding Techniques
How to Bond Leather: Step-by-Step Guide
- Prepare the leather by cleaning the surfaces to be bonded.
- Apply the adhesive evenly, following the manufacturer’s instructions.
- Join the leather pieces, applying firm pressure to ensure good contact.
- Allow the bond to dry according to the adhesive’s drying time.
Following these steps will help establish a solid leather craft bonding.
Gluing Leather Tips for Strong Bonding
To enhance the strength of the bond when gluing leather, tips such as applying pressure for an extended period and allowing the adhesive to cure properly are invaluable. A thin, even layer of glue is often more effective than a thick one, and avoiding stretching the leather during bonding is also crucial.
Types of Leather Glue
Waterproof Leather Glue Options
For items that will be exposed to moisture, waterproof leather glue is a necessity. These specialized adhesives are designed to maintain their bond integrity even when wet, making them ideal for outdoor gear and footwear.
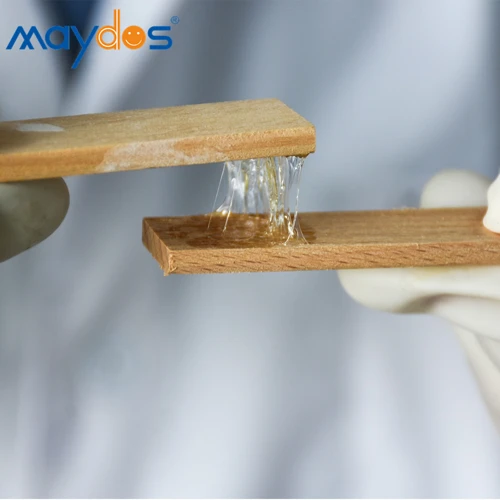
Strong Leather Glue Varieties
When a project requires an exceptionally strong hold, strong leather glue varieties come into play. These are formulated to resist high levels of stress and can be particularly useful for repairing items that will bear weight or endure regular wear and tear.
Leather Repair Adhesive Application
Detailed Application Process
The application process for leather repair adhesive involves careful attention to detail. Start by applying the glue to both surfaces if recommended by the product. Then, carefully align the pieces and press firmly. Clean any excess glue immediately with an appropriate solvent.
Mistakes to Avoid
Common mistakes during the gluing process include using too much adhesive, not waiting for the glue to become tacky if required, and not applying even pressure. Avoiding these pitfalls will significantly improve the chances of a successful repair.
Maintaining the Bond: Curing and Aftercare
Allowing Adequate Drying Time
One of the most critical steps in the adhesive process is allowing adequate drying time. This ensures the bond fully sets and can bear the intended load or stress without failure.
Post-application Care
After the adhesive has dried, post-application care includes keeping the item at a moderate temperature and away from direct sunlight to prevent the bond from weakening. Regular conditioning of the leather can also help maintain both the material and the bond over time.
Advanced Leather Glue Techniques
Working with Complex Shapes and Textures
Advanced leather glue techniques involve adapting the application process for complex shapes and textures. This might include using a flexible adhesive for curved surfaces or a thicker formula for textured leathers that require deeper penetration.
Finishing Touches for a Professional Look
The finishing touches can make all the difference in achieving a professional look. Trimming excess leather, sanding down rough edges, and applying a leather conditioner are all steps that can enhance the final appearance of your project.
Troubleshooting Common Issues
Dealing with Excess Glue
If excess glue has seeped out from the seams, act quickly to remove it with a solvent that won’t damage the leather. Doing so promptly will prevent the adhesive from setting and creating a blemish.
Repairing Failed Bonds
If a bond fails, carefully remove the old adhesive, recondition the leather if necessary, and reapply the glue, taking care to avoid previous mistakes. Sometimes a different adhesive may be required for a successful repair.
Conclusion and Final Thoughts
In conclusion, whether you are a hobbyist or a professional, mastering the art of gluing leather is an essential skill. With the right preparation, adhesive selection, and application techniques, you can achieve strong, durable bonds that stand the test of time. Remember to work patiently, follow the guidelines, and treat the material with respect it deserves.
Frequently Asked Questions (FAQs)
Identifying the Right Leather Repair Adhesive
The right leather repair adhesive will depend on the leather type, the bond strength required, and the environmental conditions the item will face. Consulting a leather adhesive guide can help you make an informed choice.
Are you embarking on a DIY project and not sure how to bond leather to other materials? Look no further! We have detailed guides that will help you navigate through the process. Learn the ins and outs of adhering leather to various surfaces with our step-by-step articles. Check out how to securely glue leather to wood, find out the best practices for attaching rubber to leather, and discover the tricks to effectively glue brass. Each guide provides tailored advice to ensure your crafting goes smoothly and your bonds stay strong.
How to Achieve a Durable Leather Craft Bonding
To achieve a durable leather craft bonding, select an appropriate adhesive, prepare the surfaces thoroughly, apply the glue carefully, and allow for complete curing. Following these steps will ensure a resilient and lasting leather bond.