Creating a durable and lasting bond between rubber and leather can be a challenge, but with the right techniques and materials, it’s entirely possible. Whether you’re working on custom footwear, crafting a unique accessory, or repairing a beloved item, understanding how to glue rubber to leather effectively is an invaluable skill. In this article, we’ll explore the ins and outs of this process, ensuring your projects hold up over time.
Choosing the Best Adhesive for Rubber to Leather
Understanding Leather and Rubber Adhesive Tips
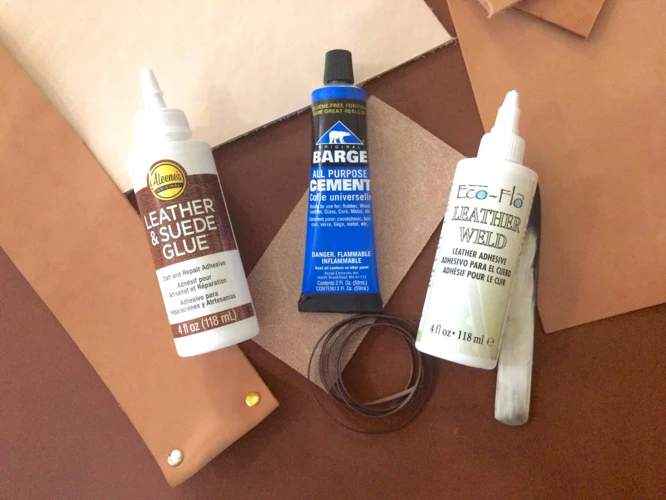
Before selecting an adhesive, it’s important to comprehend the properties of both materials. Leather is porous and flexible, while rubber is stretchy and non-porous. These characteristics require a specialized approach. For successful bonding, the best adhesive for rubber to leather should be flexible yet strong, waterproof, and able to withstand temperature changes.
Types of Strong Glue for Rubber to Leather
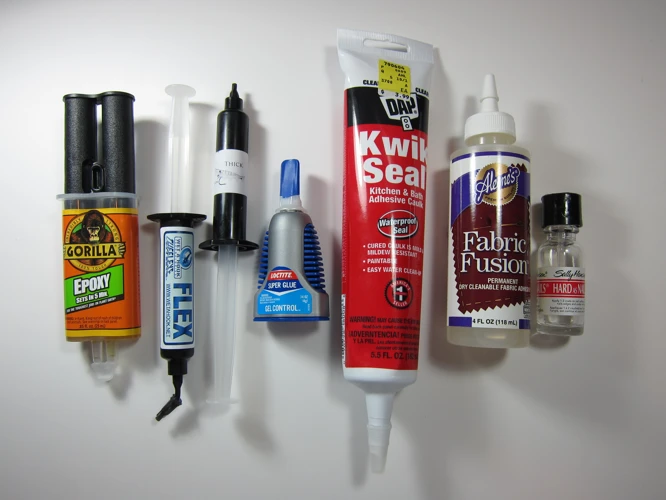
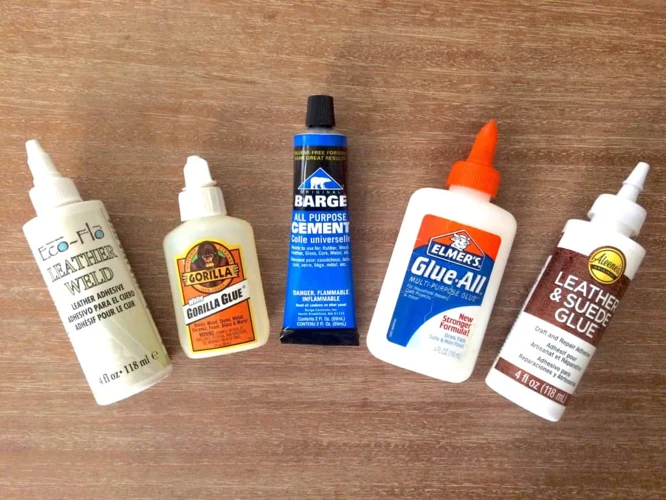
When it comes to strong glue for rubber to leather, there are several types that stand out. Cyanoacrylate, commonly known as super glue, offers a quick and powerful bond. Contact cement is another excellent choice, providing a durable connection that’s resistant to heat and moisture. Polyurethane-based adhesives can also be effective, as they’re designed for flexibility and strength.
Preparing the Surfaces for Bonding
Cleaning and Smoothing Leather
Prepare the leather by cleaning it with a damp cloth to remove any dirt or oils and follow up with a dry cloth to ensure it’s completely dry. If necessary, lightly sand the area to create a slightly rough surface, which helps the adhesive to grip better.
Preparing Rubber for Adhesion
Similar to leather, the rubber surface should be clean and dry. Use isopropyl alcohol to wipe it down, and if the rubber is glossy or slick, roughen it up with fine-grit sandpaper. This creates a better surface for the glue to adhere to.
How to Bond Rubber to Leather
Applying the Adhesive
Apply a thin, even layer of the chosen adhesive to both the leather and rubber surfaces. Ensure that the entire area that needs bonding is covered. Avoid using too much glue, as this can weaken the bond and make the process messier.
Attaching Rubber to Leather
Once the adhesive is applied, carefully align the rubber to the leather. Press firmly to ensure full contact between the surfaces. Wipe away any excess glue immediately with a damp cloth to avoid a hardened residue.
DIY Rubber to Leather Glue Techniques
Clamping and Curing Time
- Use clamps or weights to apply pressure to the bonded area.
- Check the adhesive’s packaging for the recommended curing time.
- Allow the bond to set without disturbance for the best results.
Finishing Touches
After the curing time has elapsed, remove the clamps or weights. Inspect the bond and trim any edges where the rubber might overlap the leather for a clean finish. Test the bond by gently tugging to ensure that it holds firm.
Rubber to Leather Adhesive Guide
Temperature and Environment Considerations
When working with adhesives, consider the temperature and humidity of your environment. Extreme conditions can affect the setting time and strength of the bond. Aim for a well-ventilated space at room temperature for optimal results.
Longevity and Durability of the Bond
The longevity of the bond between rubber and leather largely depends on the type of glue used and how well the surfaces were prepared. A high-quality adhesive and thorough preparation typically result in a durable and long-lasting bond.
Troubleshooting Common Issues
Dealing with Excess Glue
If excess glue oozes out during the bonding process, act quickly. Use a cloth dampened with a solvent that’s suitable for the type of adhesive you’re using. Gently dab the area without spreading the glue further.
Repairing a Failed Bond
If the bond fails or becomes loose, carefully remove any old adhesive from both surfaces. Reapply the glue following the original steps, paying extra attention to surface preparation and adhesive application.
Care and Maintenance Tips
Protecting the Bonded Area
To maintain the integrity of the bond, avoid exposing the bonded area to harsh chemicals or extreme temperatures. Clean it gently and, if necessary, condition the leather to preserve its flexibility.
When to Reapply Adhesive
Over time, the bond may weaken due to wear and tear. Inspect the area regularly and reapply adhesive if you notice any signs of the bond failing, such as edges peeling away or a decrease in the bond’s strength.
Conclusion and Final Thoughts
Bonding rubber to leather can be a straightforward process with the right preparation, adhesive, and techniques. By following this guide, you can achieve a robust and lasting bond that will stand the test of time. Remember, patience and attention to detail are key to a successful project.
When it comes to crafting and DIY projects, knowing how to properly adhere different materials together is essential. If you’re working with rubber and leather, you might be interested in our guide on How To Glue Rubber To Leather. But what if your project involves other combinations? We’ve got you covered! Check out our tutorials on how to glue metal to rubber, how to glue rubber to wood, and how to glue leather to wood to ensure your next project holds together perfectly.
FAQs on Glue Rubber to Leather
Refer to this section for quick answers to common questions on how to bond rubber to leather, ensuring your projects are executed flawlessly.