Belts are more than just a functional accessory; they can be a statement of style and an essential component of your wardrobe. However, with frequent use, even the most robust belts can succumb to wear and tear. Fear not, as repairing leather belts at home is feasible and can extend the life of your favorite accessory. In this guide, we’ll explore the intricacies of how to fix a belt with precision and care.
Assessing the Damage and Preparing for Repair
Examining Your Leather Belt
Before you start the belt mending process, closely inspect the belt to understand the extent of the damage. Look for signs of wear such as cracks, tears, or a split. Determine if the damage is localized or if it affects a significant portion of the belt.
Gathering Materials for DIY Belt Repair
Embarking on a DIY belt repair requires some essential materials. You’ll need a high-quality belt adhesive, a clamp or heavy object for applying pressure, and a sharp knife or scissors for any trimming. Additionally, prepare a clean workspace and gather soft cloths for clean-up.
Step-by-Step Guide to Repairing Leather Belt

Selecting the Right Belt Adhesive
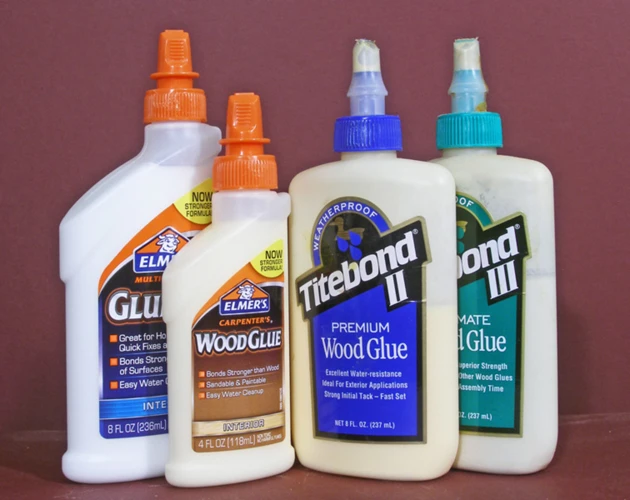
Choosing the appropriate glue for belts is critical. Opt for an adhesive designed specifically for leather, which will provide flexibility and a strong bond. Ensure it is compatible with the material of your belt to avoid further damage.
Applying Glue for Belts
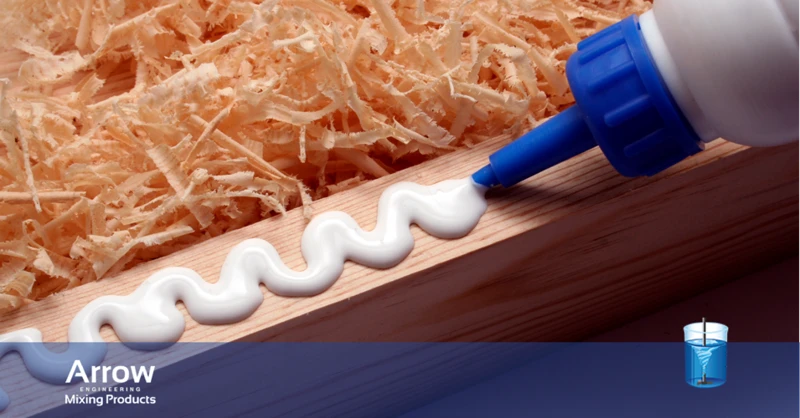
Apply the belt adhesive according to the manufacturer’s instructions. Spread a thin, even layer on both surfaces that need to be joined. Be careful not to overapply, as this could seep out and create a mess.
Clamping and Bonding Leather Belt
Once the adhesive is applied, carefully align the belt ends. Use clamps or a heavy object to apply consistent pressure along the bond line. This ensures a firm grip while the adhesive sets.
Curing Time and Pressure Application
Allow adequate curing time for the belt adhesive to set. The duration will vary based on the type of glue used, so refer to the product guidelines. Maintain pressure during this period to facilitate a strong bond.
Finishing Touches for Belt Mending
Trimming Excess Adhesive
After the adhesive is fully cured, inspect the repair site. If there’s excess glue, gently trim it away with a knife or scissors, taking care not to damage the belt’s surface.
Leather Belt Restoration Tips
To finalize the leather belt restoration, consider applying a leather conditioner. This can help to blend the repair area with the rest of the belt and restore suppleness to the leather.
Advanced Belt Repair Techniques
Fixing a Broken Belt Buckle
If you’re dealing with a fix broken belt buckle, assess whether it can be reattached with a screw or needs to be completely replaced. For replacements, choose a buckle that matches the belt’s original style and size.
Stitching Methods for Belt Repair
For added durability, you can incorporate stitching into your belt repair techniques. Use a thick, waxed thread and a leather needle for the task, ensuring the stitches are evenly spaced and secure.
Troubleshooting Common Belt Repair Issues
Adhesive Not Setting
Occasionally, you may find the belt adhesive not setting as expected. If this happens, double-check the curing time and ensure you’ve applied the right amount of pressure. Environmental factors such as humidity and temperature can also affect setting time.
Dealing with Stretched or Warped Leather
Leather that has stretched or warped can be challenging. While complete restoration might not be possible, using a leather conditioner can slightly improve the belt’s appearance and texture.
Maintaining Your Belt After Repair
Proper Storage and Care
After bonding leather belts, proper storage is crucial. Hang the belt or roll it loosely to prevent creasing. Keep it away from direct sunlight and heat sources to prevent drying and cracking.
When it comes to repairing broken items around the house, knowing the right adhesive techniques can be incredibly useful. If you’ve got a split belt, our guide on how to glue a belt back together will take you through the steps to fix it as good as new. But don’t stop there — explore our other handy tutorials for different items you might need to repair, such as how to glue a ring back together, or if you’ve had an orthodontic mishap, our article on how to glue braces back on. And for the DIY enthusiasts, our tips on how to glue rope together could be just what you need for your next project.
When to Consider Professional Repair
While many issues can be tackled with belt mending at home, some damages may be beyond DIY repair. In such cases, consider seeking professional leather belt restoration services for best results.
Following this comprehensive guide, your belt should be ready to serve you well for many more occasions. Remember, a little care goes a long way in keeping this essential accessory in top condition.