Injecting a touch of glamour into everyday items is easier than you might think. DIY rhinestone decor is not only a fun and creative hobby, but it’s also a fantastic way to personalize gifts, apparel, and accessories. With the right rhinestone application tips and tools, you can transform the mundane into something spectacular. This guide will walk you through the process, from selecting the perfect adhesive to the final sparkling touches.
Rhinestone Adhesive Guide
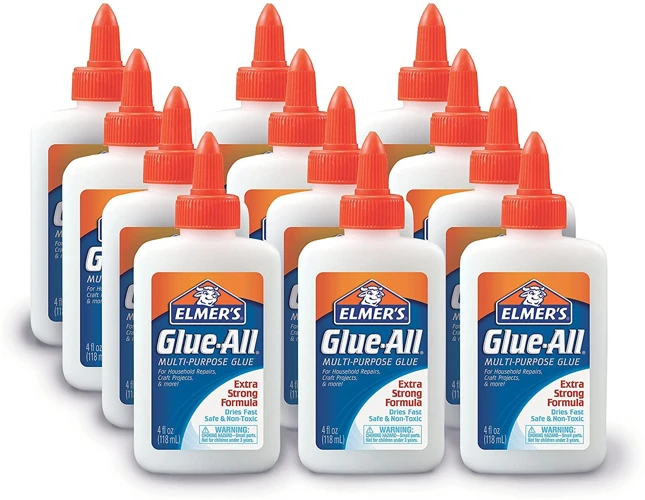
Choosing the Best Glue for Rhinestones
Finding the best glue for rhinestones is crucial for ensuring they stay in place. The choice of adhesive depends on the material you are embellishing. For hard surfaces like metal and glass, epoxy or super glue works well. For fabrics, a flexible glue designed for textiles will give you the best results. It’s essential to pick a glue that dries clear, so your project remains pristine.
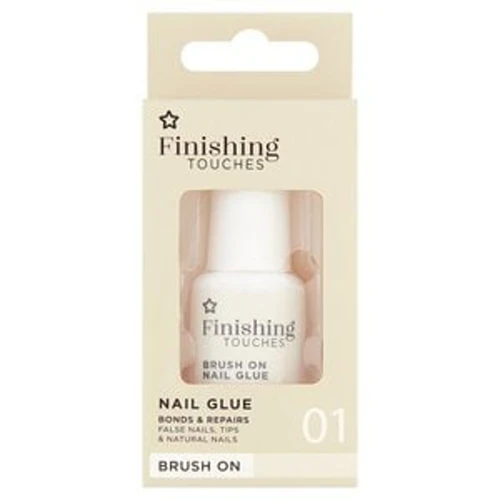
Understanding Fabric Rhinestone Glue
When it comes to fabric rhinestone glue, flexibility and washability are key. Such adhesives are specially formulated to bond with fibers without cracking or losing their hold after laundering. Choose a product that specifically states it’s suitable for fabric to ensure optimal adhesion.
Permanent Rhinestone Adhesive Options
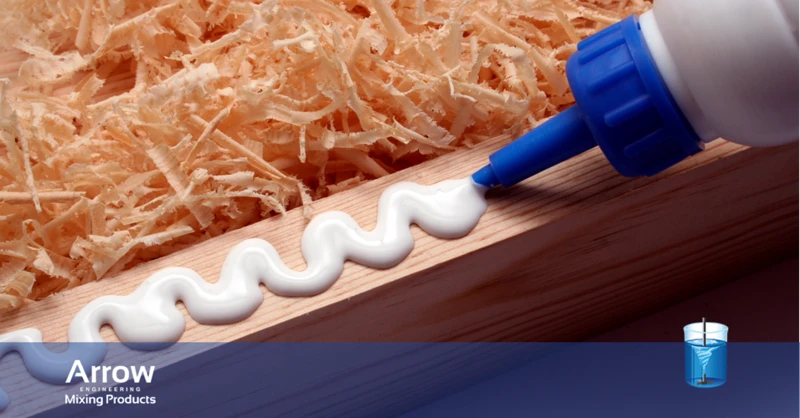
For a bond that lasts, permanent rhinestone adhesive is the way to go. These options often take longer to dry and may require careful handling, but the results are durable and long-lasting. Epoxy resins, for example, can create a strong hold but must be mixed before use and applied quickly.
Rhinestone Application Tips
Preparing Your Workspace for Rhinestone Application
- Ensure a clean, flat surface.
- Have good lighting to see the placement of each stone.
- Keep your adhesives and tools within easy reach.
Essential Tools for Gluing Rhinestones
Before you begin, gather your tools: tweezers or a pick-up tool for precision, a toothpick or a small applicator for glue, and a piece of wax paper to protect your surface. Having these items on hand will make the process smoother and more enjoyable.
Step-by-Step Rhinestone Embellishment Tutorial
How to Apply Rhinestones: Basic Techniques
Start by dotting a small amount of glue onto your surface or applying it directly to the back of the rhinestone. Using your tool of choice, gently place the rhinestone onto the glue dot, pressing lightly to secure it. Continue this process, working in small sections until your design is complete.
Craft Rhinestone Techniques for Different Surfaces
Different surfaces require different craft rhinestone techniques. For example, a curved surface may need smaller stones for a more flexible design, while a flat surface can handle larger stones. Adapting your approach to the surface will yield the best results.
Gluing Rhinestones: Advanced Tips and Tricks
For those looking to refine their skills, consider using a syringe applicator for precision gluing, or a jewel setter for perfect placement. Experimenting with different glues can also reveal what works best for your particular project.
Troubleshooting Common Rhinestone Application Issues
Preventing Rhinestones from Falling Off
To prevent rhinestones from falling off, ensure the surface is clean before application and allow adequate drying time for the glue. Using the correct adhesive for your material is also essential.
Fixing Mistakes in Rhinestone Placement
If a stone is misplaced, act quickly. Most glues offer a brief window of time where the rhinestone can be gently repositioned without leaving residue. If the glue has dried, gently apply a small amount of adhesive remover to loosen the stone.
Finishing Your DIY Rhinestone Project
Ensuring the Longevity of Your Rhinestone Decor
To ensure the longevity of your DIY rhinestone decor, follow the adhesive’s instructions for full curing time. Handling the project gently during this period is crucial to prevent any stones from dislodging.
Final Touches and Curing Time
After placing your final rhinestone, your project isn’t quite finished. The adhesive needs time to cure fully, which can range from a few hours to a full day. Patience during this stage is key to a dazzling and durable end product.
Are you looking to add some sparkle to your projects with rhinestones? Our blog has got you covered! Learn the basics with our guide on how to glue on rhinestones. If you’re interested in bedazzling your hair accessories, don’t miss our tips on how to glue rhinestones on hair. And for those who want to embellish glass surfaces with these shiny gems, our tutorial on how to glue rhinestones to glass will show you how to achieve that permanent sparkle safely and effectively. Get ready to shine with our easy-to-follow rhinestone application advice!
Conclusion: Revel in Your Sparkling Creation
With these steps and tips, your DIY rhinestone project should now shimmer with success. Whether you’ve created a custom piece of clothing, a personalized accessory, or a unique home decor item, the sparkle of your effort is sure to shine through. Enjoy the compliments to come on your dazzling handiwork!