When it comes to creating dazzling designs, the right rhinestone adhesive guide can make all the difference. Whether you’re embellishing a costume, accessorizing home decor, or adding sparkle to everyday items, the adhesive you choose is key. There are several factors to consider, including the type of surface you’re applying the rhinestones to, the environment the item will be exposed to, and the durability required. In the world of rhinestone crafts, a strong bond is paramount to ensuring the longevity of your work.
Best Glue for Rhinestones: Types and Brands
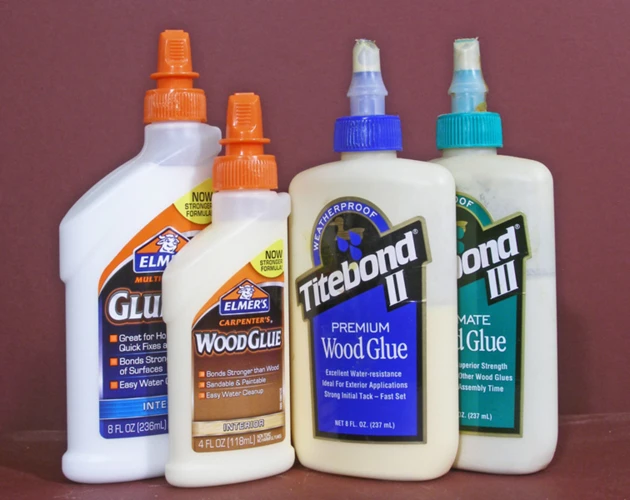
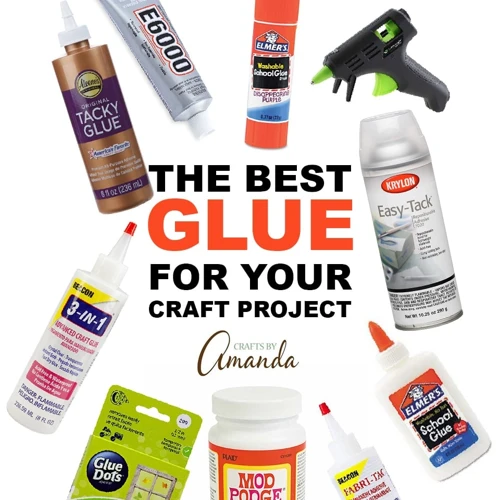
Discovering the best glue for rhinestones is a quest for both beginners and seasoned crafters alike. Among the plethora of adhesives available, E6000 is renowned for its industrial strength and versatility, making it a favorite for many. Gem-Tac is another contender, especially for fabric applications, due to its washability and flexibility. For quick fixes, a super glue gel can be a go-to, while specialty rhinestone glues offer precision applicators and rapid drying times. When selecting your adhesive, consider the material’s compatibility and the glue’s drying color to ensure a flawless finish.
Rhinestone Craft Tips: Preparing Your Adhesives
- Check the expiration date: Adhesives can lose their efficacy over time.
- Test a small area: Before committing, ensure the glue adheres well to both the rhinestone and the surface.
- Prepare your workspace: Cover surfaces to prevent accidental spills and have acetone or a similar solvent handy for clean-up.
Gluing Rhinestones: Step-by-Step Process
Gluing rhinestones can be a meticulous but highly rewarding process. To achieve professional-looking results, a careful and methodical approach is essential. With patience and precision, you can transform an ordinary object into a shimmering masterpiece. Follow these steps to ensure every gem is perfectly placed and securely adhered.
Apply Rhinestones to Fabric: Techniques and Tips
When you apply rhinestones to fabric, it’s crucial to select a glue that remains flexible after drying. Fabric moves and stretches, and a rigid adhesive could cause the rhinestones to pop off. Spread the adhesive thinly to prevent seepage, which could stain the fabric or create a rough texture. Using a syringe or a toothpick can help with precision. Press the rhinestone firmly onto the glue, holding it for a few seconds to create a strong initial bond.
Securing Rhinestones: Ensuring a Strong Bond
The secret to securing rhinestones is not just in the choice of glue but also in the application. Apply a thin layer of glue to the back of the rhinestone, not to the surface you’re adhering it to. This method minimizes mess and ensures that the adhesive doesn’t dry before the rhinestone is placed. Once set, gently press down on the rhinestone to expel any air bubbles and to ensure full contact with the glue.
Leave Enough Time for the Glue to Dry: Patience for Perfection
After placing each rhinestone, it’s tempting to admire your work immediately, but patience is vital. Different adhesives have varying curing times, so read the instructions carefully. In general, it’s best to wait at least 24 hours before moving or using the item. This patience ensures that the glue fully sets, and your rhinestones remain affixed for as long as possible.
Rhinestone Embellishment DIY: Creative Project Ideas
Rhinestone embellishment DIY projects are a fun way to express your creativity and add a personal touch to your belongings. With the right technique, you can turn everyday objects into unique, sparkling treasures. Get inspired by these ideas and start your own rhinestone adventure.
Rhinestone Application Techniques for Various Surfaces
Rhinestone application techniques may vary based on the surface you’re working with. For hard surfaces like metal or plastic, ensure the area is clean and dry before applying a small dot of glue. For porous surfaces like wood, you might need to seal the surface first or use a thicker adhesive to fill in any gaps. Each material demands a specific approach for optimal adherence.
Rhinestone Project Ideas for Personalizing Your Items
- Customize your phone case with a pattern of sparkling gems.
- Embellish a pair of sunglasses for a chic summer accessory.
- Transform a plain clutch into an evening bag with a rhinestone design.
- Upgrade your sneakers with rhinestones for a personalized kick.
Troubleshooting Rhinestone Gluing
Even with careful preparation and application, you may encounter issues when gluing rhinestones. But don’t worry — most problems have simple solutions. Here’s how to troubleshoot common challenges and ensure your rhinestones stay put.
How to Secure Rhinestones That Won’t Stick
If you find your rhinestones aren’t sticking, first check if the glue has expired or if the surface is too smooth and needs roughening up for better adhesion. Clean both the rhinestone and the surface to remove any oils or residues. If the problem persists, consider switching to a more suitable adhesive for the material you’re working with.
Permanent Rhinestone Glue: Solutions for Longevity
For a bond that lasts, permanent rhinestone glue is your best bet. These adhesives are formulated to withstand washing, physical stress, and environmental factors. Make sure to apply them in a well-ventilated area and follow the curing time instructions closely. If your rhinestones are falling off prematurely, assess whether the adhesive you’re using is truly permanent and appropriate for the task.
Finishing Your Rhinestone Project
As you near the completion of your rhinestone project, taking the time to finalize your work properly can make all the difference. A meticulous check and finishing touches will ensure that your item not only looks fantastic but will also stand the test of time.
Final Checks: Ensuring All Rhinestones Are Secure
Once the glue has fully dried, perform a gentle tug test on the rhinestones. If any are loose, apply a small amount of adhesive to re-secure them. Check the overall design for any gaps or inconsistencies, and make any necessary adjustments. This final step is crucial for a professional and durable finish.
If you’re looking to add some sparkle to your projects, learning how to glue rhinestones can be a game-changer. Whether you’re enhancing your wardrobe, creating custom glassware, or even adding bling to your hair, we’ve got you covered. Dive into our comprehensive guides on the best techniques for securing those shiny little gems. Get started with our general tips on how to glue on rhinestones, discover the specifics of adhering them to more delicate surfaces with our guide on how to glue rhinestones to glass, and learn how to make your hairstyles dazzle with our tutorial on how to glue rhinestones on hair. With the right knowledge, you can ensure your rhinestone projects will shine bright and stay put!
Showcasing Your Work: Displaying Your Rhinestone Creations
After investing time and effort into your rhinestone art, it’s time to show it off. Whether you wear your embellished clothing, carry your decorated accessories, or display your sparkling home decor, take pride in your handiwork. Share photos of your projects on social media or with friends and family to inspire others with your dazzling DIY skills.
With these guidelines, your journey into the world of gluing rhinestones should be a successful and enjoyable one. Remember, the right adhesive and technique are the foundations for any stunning rhinestone project. Happy crafting!