Revamping your motorcycle’s appearance or enhancing the riding experience begins with small yet significant details such as the grips. Motorcycle grips not only contribute to your bike’s aesthetics but also impact comfort and control. Understanding how to install motorcycle grips can save time and money, allowing riders to customize their experience with ease. In this comprehensive guide, we’ll navigate through the entire process of DIY motorcycle grip gluing, ensuring your next ride is both comfortable and secure.
Choosing the Best Glue for Motorcycle Grips
Motorcycle Grip Adhesive Options
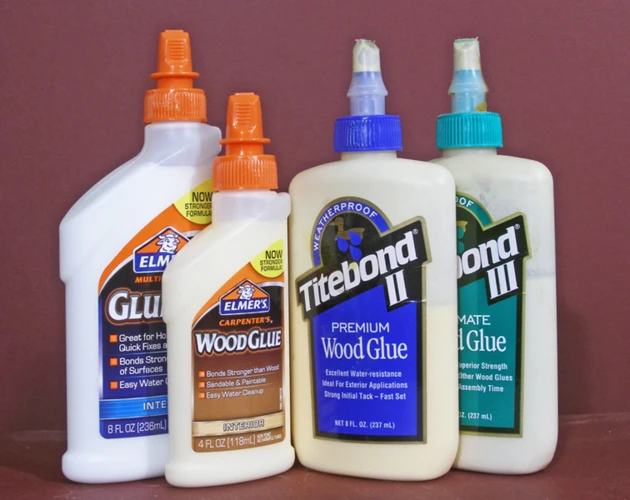
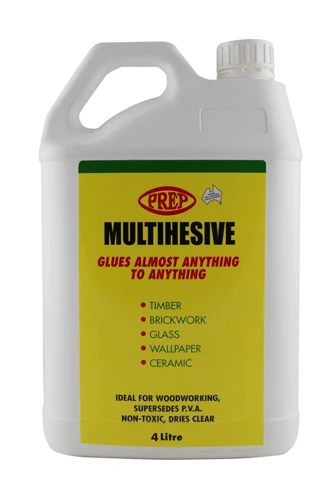
When it comes to choosing the best glue for motorcycle grips, the market presents several options. A suitable motorcycle grip adhesive should offer a strong bond, resistance to weather conditions, and the flexibility to accommodate handlebar vibrations. Products range from specialized grip glues to multi-purpose adhesives that can also do the job.
Comparing Top Brands and Their Products
Several reputable brands offer adhesives designed specifically for grips. Comparing these options involves looking at factors such as drying time, durability, and ease of application. Some top brands have formulated adhesives that cater to the unique needs of motorcyclists, ensuring the grips stay in place even under strenuous conditions.
Preparing for Motorcycle Grips Replacement
Tools and Materials Needed
- New motorcycle grips
- Chosen motorcycle grip adhesive
- Razor blade or grip cutter
- Isopropyl alcohol or grip cleaner
- Clean cloths or paper towels
- Safety gloves
Preparation Steps Before Gluing
Before applying any glue for grips, it is crucial to prepare the handlebars. This involves cleaning them meticulously to remove any old adhesive, grime, or oil residues. Using a grip cleaner or isopropyl alcohol along with a clean cloth can effectively prepare the surface for the new grips.
DIY Motorcycle Grip Gluing

Step-by-Step Motorcycle Grip Installation Guide
- Ensure the handlebars and new grips are clean and dry.
- Apply a thin layer of the chosen motorcycle handlebar grip glue inside the grip.
- Slide the grip onto the handlebar quickly before the adhesive sets.
- Adjust the grip’s position as needed and wipe away excess glue.
- Allow the adhesive to cure according to the manufacturer’s instructions.
Troubleshooting Common Installation Issues
During the process of installing motorcycle grips, issues such as misalignment or premature drying of the adhesive can occur. In such cases, act swiftly to realign the grips or apply additional adhesive if necessary. Ensuring proper application in the first go-around will minimize these potential problems.
Motorcycle Handlebar Grip Glue Application Techniques
Securing Grips with Motorcycle Grip Adhesive
Applying the adhesive correctly is key to securing the grips. Distribute the motorcycle grip adhesive evenly inside the grip, avoiding over-application to prevent spillage. Once applied, the grips should be slid on promptly and positioned accurately to ensure a solid bond.
Alternative Methods to Installing Motorcycle Grips
While adhesives are common, some riders use alternative methods such as using hairspray, which can act as a lubricant and then as an adhesive once it dries. However, these methods may not provide the lasting hold that a specialized motorcycle handlebar grip glue will offer.
Ensuring Durability After Installing Motorcycle Grips
Curing Time and Aftercare
Once the grips are in place, allow sufficient curing time before using the motorcycle. This varies depending on the adhesive but typically ranges from a few hours to overnight. After the grips have cured, checking their security and making any necessary adjustments can ensure lasting performance.
Motorcycle Maintenance Tips
Regular Check-ups and Grip Care
Regular maintenance of your motorcycle extends to the grips. Periodic inspections for any signs of wear or loosening can prevent mishaps. Cleaning the grips with appropriate products can also prolong their life and maintain the quality of your ride.
FAQs on Glue for Grips
Common Questions about Motorcycle Grip Adhesive
Motorcyclists often have questions about the type of adhesive to use, the amount needed, and how to remove old grips. It’s important to choose an adhesive designed for the task and to use just enough to cover the interior surface of the grip without over-saturating.
Best Practices for Gluing and Maintenance
For optimal results, follow best practices such as using a suitable adhesive, preparing the surfaces thoroughly, and allowing proper cure time. Regular maintenance, including cleaning and inspection, will keep your grips functional and looking great.
If you’re a hands-on enthusiast with a passion for maintaining and upgrading your vehicles, you might be interested in our DIY guides. Whether you’re looking to enhance your remote control car’s performance with our tips on how to glue RC tires, seeking advice for your road bike with our instructions on how to glue tubular road tires, or even needing to fix a part of your car with our guide on how to glue your bumper, we’ve got you covered. And for motorcycle enthusiasts, we’re excited to share our latest article on How To Glue Motorcycle Grips to help you secure your grip and enhance your ride.
Conclusion: Enjoying Your New Motorcycle Grips
Mastering the art of motorcycle grips replacement is a rewarding part of bike ownership. With the right motorcycle grip adhesive and techniques, you can ensure a secure and stylish outcome. Embrace the road ahead with confidence, knowing your motorcycle is gripped for adventure.