Importance of Proper Ventilation
When undertaking a painting project, proper ventilation is crucial to ensure a safe and effective work environment. Ventilation for painting not only preserves the quality of the air but also enhances the drying process of paint, reducing the risk of blemishes and imperfections in the finish. Ensuring a steady flow of fresh air can help dissipate harmful fumes and airborne chemicals, which are inevitable by-products of painting.
Health Risks of Inadequate Ventilation
The absence of adequate ventilation can pose serious health risks. Exposure to volatile organic compounds (VOCs) and other toxic substances found in paint can lead to headaches, dizziness, respiratory issues, and long-term health problems. It is imperative to minimize these risks by setting up an effective diy ventilation system or a commercial solution, especially in confined spaces.
Designing a DIY Ventilation System
DIY Home Ventilation System Basics
Creating a homemade ventilation system begins with understanding the airflow within your space. The goal is to establish a current of air that will carry paint fumes away from your working area. This can be achieved by using fans, opening windows, and creating exhaust points to ensure fumes are not only diluted but also directed outside.
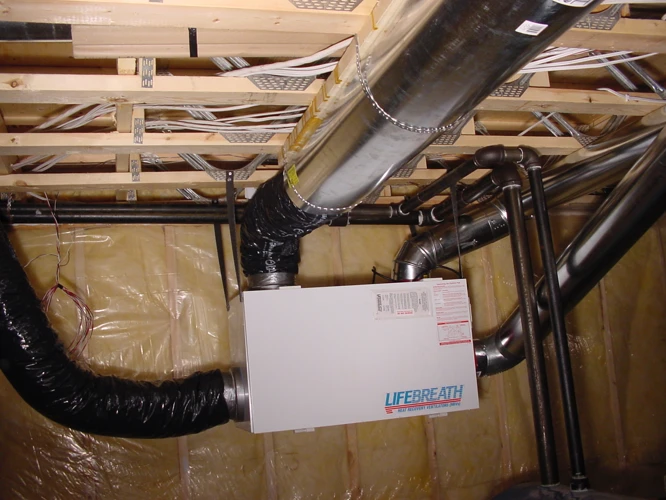
Components of a Homemade Ventilation System
A basic ventilation system consists of intake and exhaust fans, air ducts, filters, and protective screens. The setup should create a balance between the air being brought into the space and the fumes being expelled to maintain constant air replacement and prevent the buildup of hazardous elements.
Building a DIY Paint Fume Extractor
Materials Needed for a Paint Fume Extractor
- High-CFM Exhaust Fan
- Duct Hoses or Pipes
- Air Filters
- Protective Grills or Screens
- Mounting Hardware
- Power Supply or Extension Cords
Step-by-Step Guide to Constructing Your Extractor
To construct a diy paint fume extractor, start by securing the exhaust fan to a window or an opening leading outside. Attach duct hoses to the fan, ensuring they are directed towards the area with the highest concentration of fumes. Install air filters before the fan to capture particulates, and finish with protective grills to prevent accidental contact with the fan blades.
Creating a Fresh Air System for Painting
Benefits of a Fresh Air System
A fresh air system for painting is designed to provide a continuous supply of clean air, essential for maintaining good health and ensuring a flawless paint job. Such a system can drastically reduce the inhalation of harmful fumes and supply the necessary ventilation to expedite the drying of paint.
How to Integrate Fresh Air Into Your Ventilation Plan
Integrating a fresh air system involves positioning intake fans or vents in a way that they draw clean air from outside directly into the painting area. This creates positive pressure, which helps push contaminated air out through exhaust points, effectively cycling the air in the room.
DIY Garage Ventilation Solutions
Assessing Your Garage’s Ventilation Needs
Before implementing diy garage ventilation, assess the size of the space, the typical substances used, and the duration of your projects. These factors will determine the scale and complexity of the ventilation solution required to maintain a safe environment.
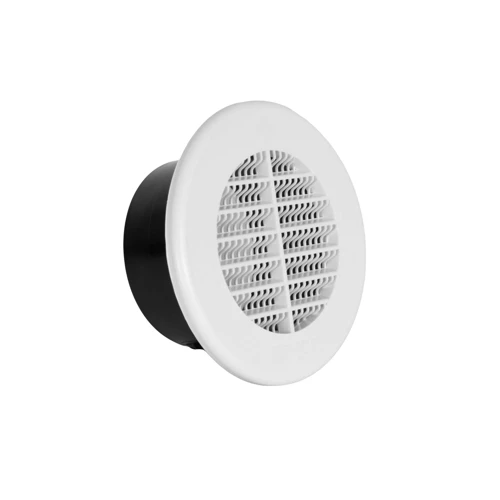
DIY Air Ventilation Tips for Garage Workspaces
For garage workspaces, consider using a combination of passive vents and active fans. Place passive vents near the floor and the ceiling to facilitate natural air movement. Supplement this with strategically placed fans to create an effective air exchange system, ensuring the quick removal of toxic fumes.
Setting Up a Paint Ventilation System
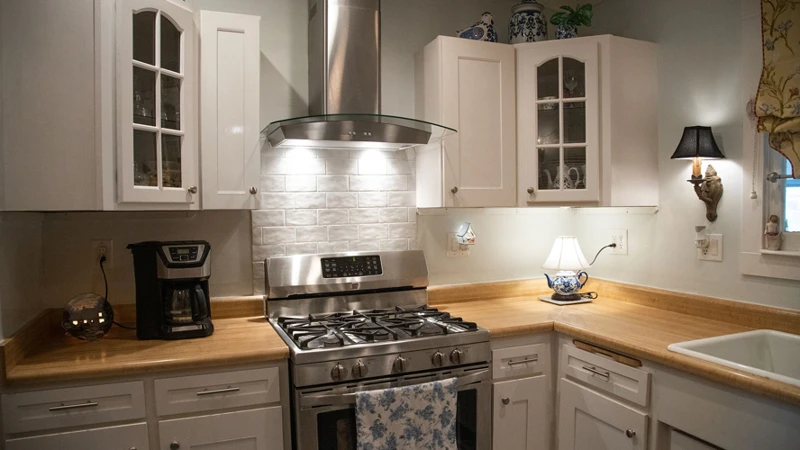
Choosing the Right Location
The effectiveness of a paint ventilation system is highly dependent on its location. Choose a painting area with access to windows or exterior walls for easy installation of exhaust systems. Ensure that the chosen spot also has an electrical source for powering fans and other equipment.
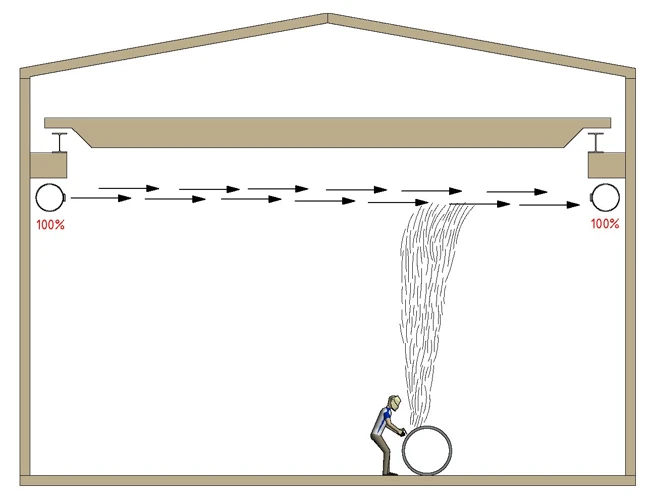
Ensuring Adequate Airflow for Paint Projects
To achieve adequate airflow, use a combination of exhaust fans to remove fumes and intake fans to bring in fresh air. Position these elements opposite each other to create a crossflow of air. This setup will help maintain a constant supply of fresh air and prevent the accumulation of hazardous vapors.
Maintaining Your DIY Ventilation System
Cleaning and Upkeep
Regular cleaning and maintenance of your diy ventilation system are essential for it to function correctly. This includes checking and replacing filters, ensuring fans are free of debris, and inspecting ducts for obstructions. A well-maintained system will provide consistent performance and longevity.
Troubleshooting Common Issues
If you encounter issues with your system, such as reduced airflow or increased noise levels, first check for clogged filters or obstructed ducts. Ensure that all components are securely connected and that the power supply is stable. Addressing these common problems promptly can prevent more significant issues down the line.
When undertaking a DIY painting project, proper ventilation is crucial to ensure safety and achieve the best results. Our blog offers a wealth of resources for avid DIY enthusiasts. If you’re looking to give your furniture a fresh look, check out our guide on DIY spray painting furniture. For those of you tackling larger outdoor projects, our tips on priming exterior painting can help you prepare surfaces like a pro. And never underestimate the importance of safety; our recommendations for safety glasses while painting will help protect your eyes from splatters and fumes. Make sure to equip yourself with the right knowledge and tools to ensure your DIY ventilation painting project is a breath of fresh air.
Conclusion: Maximizing Efficiency and Safety
In conclusion, setting up a diy ventilation system for painting projects is a critical step in ensuring the health and safety of the workspace. By understanding the principles of ventilation and following these guidelines to design, build, and maintain an effective system, you can maximize both efficiency and safety in your painting endeavors. Always prioritize air quality and take the necessary precautions to protect yourself and others from the potential hazards associated with paint fumes.