When it comes to revamping your home’s facade, selecting the right tools is crucial for achieving a professional finish. Among these, the exterior paint roller stands as a pivotal tool for any DIY enthusiast or seasoned painter. It’s essential to understand that not all rollers are created equal, and choosing the best roller for exterior painting can make a significant difference in the efficiency and quality of your work.
Understanding Exterior Paint Roller Nap and Sizes
The term “nap” refers to the length of the fibers on a roller cover. The exterior paint roller nap is designed to hold more paint and manage textured surfaces often found outside. For smoother surfaces, a shorter nap of 3/8 inch is ideal, while rougher exteriors may require a nap of 3/4 inch or more to get into the crevices and ensure even coverage.
Sizes also vary, typically ranging from 6 to 18 inches. Larger rollers can cover more area with fewer strokes, while smaller ones are perfect for tight spaces and detail work.
18 Inch Paint Rollers for Efficient Coverage
For expansive surfaces, the 18 inch paint rollers are a go-to choice. Their wider span allows you to cover more territory with less effort, making them a time-saver. They are especially useful for uniform areas without a lot of intricate trim or obstacles.
- Increased efficiency: Cover large areas quickly
- Consistent application: Fewer seams and less overlap
- Better reach: Less reliance on ladders or scaffolding
Best Roller for Exterior Painting
Choosing the top-notch tools enhances your painting process, ensuring a smooth and lasting finish. A variety of options are available, but the key is to identify which best roller for exterior painting fits your specific project requirements.
Best Paint Roller for Exterior Stucco
Stucco surfaces are uniquely challenging due to their textured nature. The best paint roller for exterior stucco is typically one with a thicker nap that can press paint into the recesses and create a uniform look without the need for excessive back-brushing.
Paint Roller for Stucco Exterior: What to Look For
When shopping for a paint roller for stucco exterior, consider durability and nap texture. A high-quality, lamb’s wool or synthetic fiber roller is adept at handling the heavy texture of stucco without deteriorating quickly. Look for rollers that promise to hold more paint and provide an even release for the best results.
How to Paint Exterior House with Roller
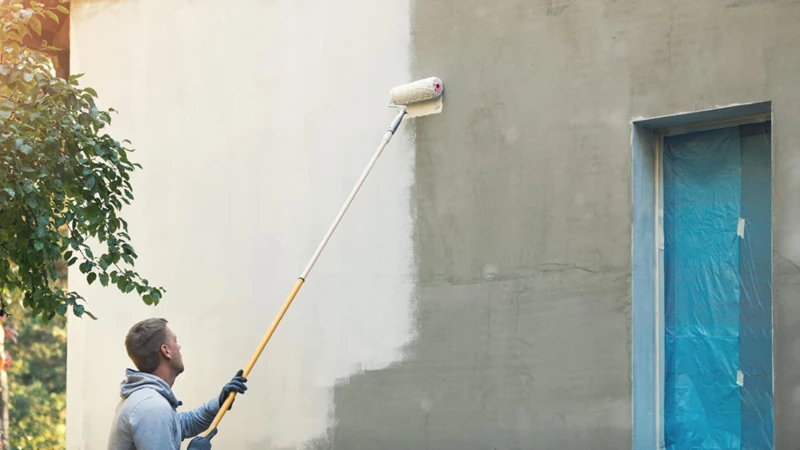
Embarking on an exterior painting project can be a rewarding endeavor. With the correct techniques, you can transform the look of your home efficiently. Learning how to paint exterior house with roller is fundamental for DIY painters aiming for a professional-grade outcome.
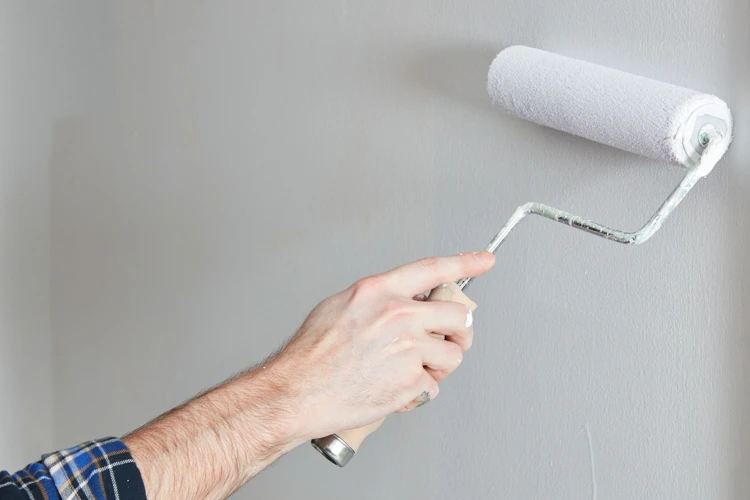
Proper Paint Rolling Technique
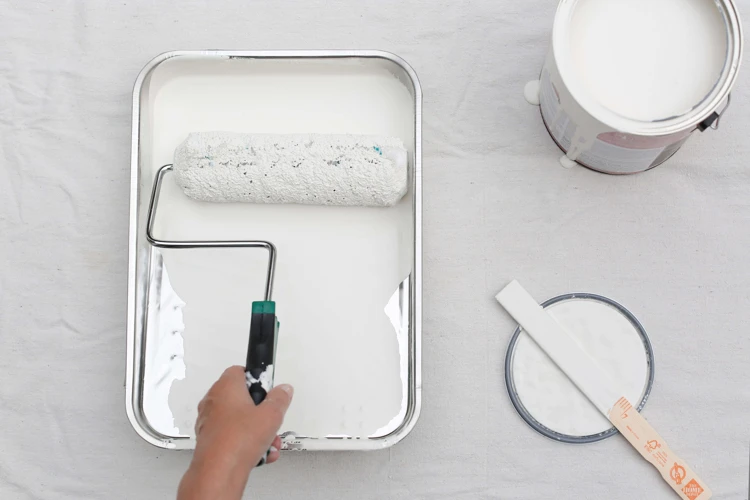
Mastering the proper paint rolling technique starts with fully loading the roller with paint and applying it in a ‘W’ or ‘M’ shape on the surface. Then, without lifting the roller, fill in the gaps with crosswise strokes. This method helps distribute the paint evenly and avoids the formation of roller marks.
Paint Roller Techniques for Different Surfaces
Different exteriors demand tailored paint roller techniques. For instance, smooth siding benefits from a lighter touch and a roller with a shorter nap, whereas a textured surface like stucco needs a firmer press and a thicker nap to ensure paint reaches into all the crevices.
Painting Stucco with a Roller
Painting stucco with a roller may seem daunting due to its uneven surface. However, a roller can be an excellent tool for this job if used correctly, providing a clean, refreshed appearance without the need for a sprayer or professional services.
Preparing Stucco for Painting
Preparation is key before beginning to paint stucco. Ensure the surface is clean, dry, and free of cracks or damage. Address any repairs needed and apply a coat of primer specifically designed for stucco to achieve the best adherence and longevity of your paint job.
Application Tips for a Smooth Finish
For a flawless finish, apply paint in sections and maintain a wet edge to avoid lap marks. Using a roller with an extension pole can also help you reach higher areas without the need for constant ladder adjustments. Remember, multiple thin coats are preferable to one thick coat for a more durable and attractive result.
Maintaining Your Paint Rollers
After investing in quality rollers, maintaining them is crucial for their longevity and performance in future projects. Proper care can extend the life of your 18 inch paint rollers and save you from the cost and hassle of frequent replacements.
Cleaning and Storage Tips for 18 Inch Paint Rollers
Cleaning your rollers involves removing excess paint, washing with soapy water (for latex paint) or mineral spirits (for oil-based paint), and rinsing thoroughly. Once clean, dry them completely before storing to prevent mildew. Wrap them in plastic or store them in their original covers to keep them in shape for your next use.
Troubleshooting Common Issues
Even with the best tools and techniques, you may encounter issues during your painting project. Being informed about how to address these can save your project from disaster.
When tackling an exterior painting project, selecting the right tools and materials is crucial for achieving a professional finish. For those looking to understand the nuances of exterior wall painting, our guide on testing paint colors for exterior walls can help you choose the perfect shade for your home. Additionally, understanding the different types of exterior paint available can greatly impact the durability and appearance of your project. Once you’re ready to start painting, don’t miss our expert tips on using a paint roller frame to ensure a smooth and even application. Get all the knowledge you need to make your exterior paint job a success!
Addressing Paint Roller Streaks and Uneven Coats
If you notice streaks or uneven coats, it may be a sign of using the wrong nap size or overextending the paint on the roller. Adjust your technique by ensuring the roller is adequately loaded with paint and apply with consistent pressure. If problems persist, it may be time to assess the quality or suitability of your roller for the task at hand.
By understanding the importance of selecting the right roller, mastering proper rolling techniques, and maintaining your equipment, you can achieve a stunning exterior paint job that stands the test of time. Whether you’re working on stucco or any other exterior surface, these tips will guide you toward an efficient and successful painting project.