For crafting enthusiasts and DIY aficionados, the ability to create your own materials can be both a practical skill and a satisfying endeavor. Among the myriad of items that one can make from scratch, DIY glue dots stand out as a versatile and essential crafting component. These tiny adhesive spots offer a clean, no-mess alternative to traditional glues and can be customized in size and stickiness to suit a variety of projects. In this blog post, we’ll explore the process of making glue dots at home and how to use them effectively in your creative work.
Understanding Glue Dots and Their Uses
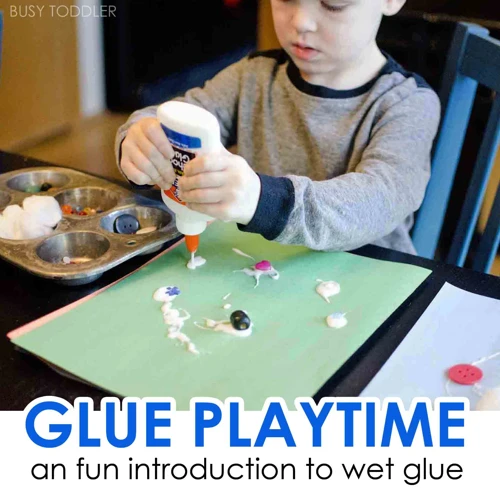
Before diving into the creation of homemade adhesive dots, it’s crucial to understand what they are and the purposes they serve. Essentially, glue dots are small, double-sided adhesives that bond instantly to almost any surface. They are widely used for their convenience and strength, and due to their peculiar shape, they eliminate the drips and strings associated with liquid glues.
Glue Dots for Scrapbooking
Scrapbooking enthusiasts often turn to glue dots for their ability to securely adhere embellishments without warping or damaging delicate paper. The dots allow for precise application and are ideal for layering small items that can be tricky to glue down with traditional adhesive.
Glue Dots for Card Making
Similarly, those who enjoy card making find glue dots invaluable in their craft. They provide a clean way to attach elements like ribbons, sequins, and die-cuts, ensuring a professional finish without the mess of excess glue.
Materials Needed for Homemade Adhesive Dots
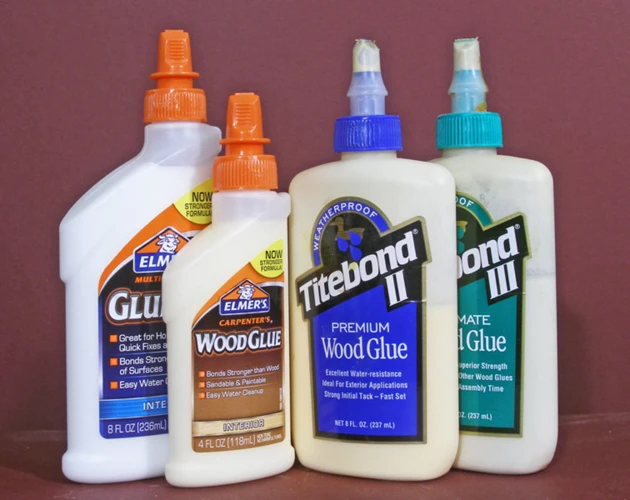
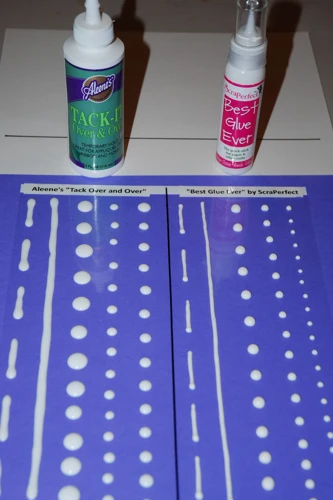
Creating your own adhesive dots is surprisingly simple, and you likely have most of the needed materials lying around the house. To get started, gather parchment paper, a bottle of clear-drying glue (such as Aleene’s Tacky Glue or a similar product), and a tool for dotting like a toothpick or the end of a paintbrush. Optionally, you can also use a silicone mat instead of parchment paper for easier release.
Easy Glue Dot Recipe
Concocting your batch of glue dots requires little more than the right glue and a steady hand. Opt for a clear-drying, strong adhesive that will form resilient dots capable of holding your crafting materials together.
Step-by-Step Glue Dot Tutorial
- Start by laying a piece of parchment paper on a flat surface.
- Squeeze a small drop of glue onto the parchment paper.
- Use your tool to shape it into a flat dot.
- Repeat this process until you have the desired number of dots.
- Allow them to dry completely, which might take several hours.
- Once dry, they can be easily peeled off and used immediately or stored for later use.
Making Glue Dots at Home
Making glue dots at home is not only easy but also allows for customizing their size and tackiness. By adjusting the amount of glue used, you can create dots that fit your specific needs, whether you’re working with heavyweight materials or need something that will hold up to the rigors of mailing a handmade card.
Craft Adhesive Solutions
Homemade adhesive dots are a craft adhesive solution that empowers you to create without limits. They are perfect for when you run out of store-bought dots or when you need a quick fix with materials you have on hand.
Non-Toxic Glue Dots
For those concerned with safety, especially when crafting with children, non-toxic glue dots are an excellent option. By selecting a safe, clear-drying glue, you can ensure that your crafting session is not only creative but also free from harmful chemicals.
How to Use Glue Dots
Utilizing your DIY glue dots is as straightforward as their application. They are designed to be used in the same manner as their commercial counterparts and offer the same strong, instant bond without the wait time of other adhesives.
Application Techniques
To apply a glue dot, simply peel one off the parchment paper and press it onto the surface where you need adhesive. Then, bring the item you wish to adhere to the dot and press firmly. The bond is usually immediate, making them ideal for quick assembly.
Tips for Best Results
For optimal performance, ensure that both surfaces are clean and dry before applying the glue dot. If you need a less permanent bond, you can reduce the stickiness by touching the dot with your fingers before applying it to the surface.
Troubleshooting Common Issues with DIY Glue Dots
While making glue dots at home is generally straightforward, you may occasionally run into issues such as dots not sticking well or being too brittle. This can often be resolved by experimenting with different glues to find one that works best for your particular project. If the dots are too hard, try adding a tiny bit of water to your glue to make them more pliable.
When working on crafts or DIY projects, glue dots can be incredibly handy for quick and easy adhesion. If you’re looking to create your own, we have a helpful guide on how to make glue dots that can walk you through the process step by step. Additionally, if you’re curious about other adhesive forms, check out our tutorials on how to make glue balls and how to make glue blocks for more crafting tips. But what if you’ve gotten glue dots where you don’t want them? No worries — we also have a guide for that. Visit our article on how to get glue dots off plastic to learn how to clean up unwanted adhesive without damaging your surfaces.
Conclusion
DIY glue dots are a fantastic addition to any crafter’s toolkit. Not only do they save you a trip to the store, but they also allow for customization and creativity in your projects. By following this easy glue dot recipe and using the tips provided, you’ll be well on your way to mastering the art of making glue dots at home. Whether you’re scrapbooking, card making, or engaging in any other paper crafts, these homemade adhesive dots will surely enhance your crafting experience.