Revamping your home with new flooring can be an exciting endeavor, and opting for a glue down vinyl plank installation is an excellent choice for a modern and durable surface. This method offers a relatively straightforward way of enhancing your space with the added benefit of a do-it-yourself approach.
Benefits of Choosing Vinyl Flooring Over Linoleum
Choosing vinyl flooring over linoleum comes with a host of advantages, including a vast array of design options, increased durability, and an ease of maintenance that homeowners cherish. Additionally, vinyl planks tend to be softer underfoot than traditional linoleum, providing a comfortable surface for everyday living.
Preparing Linoleum for Vinyl Plank Flooring
Before diving into the installation, it’s crucial to properly prepare your current linoleum floors to ensure a smooth and successful update.
Assessing Your Current Linoleum Floor
Evaluating the condition of your linoleum is the first step in preparing linoleum for vinyl. Check for any damage, like cracks or peeling, which could affect the new flooring’s integrity. If the linoleum is well-adhered and in good condition, you can proceed to the next steps.
Cleaning and Leveling the Linoleum Surface
A pristine and level surface is key for a flawless finish. Thoroughly clean the linoleum to remove any debris and dirt. Then, check for evenness using a long level. If necessary, apply a thin layer of leveling compound to fill in low spots.
Conducting a Moisture Test
Perform a moisture test to prevent future complications. Tape a small square of clear plastic to the floor and check after 24 hours for condensation. If moisture is present, address this issue before proceeding with the installation.
Materials and Tools for Installing Vinyl Planks
Gathering the right supplies is essential for a smooth installation process.
Essential Supplies for Glue Down Flooring Techniques
- Vinyl planks
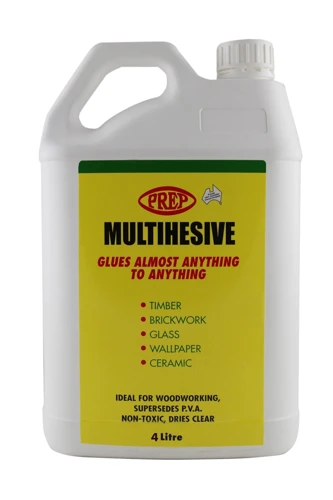
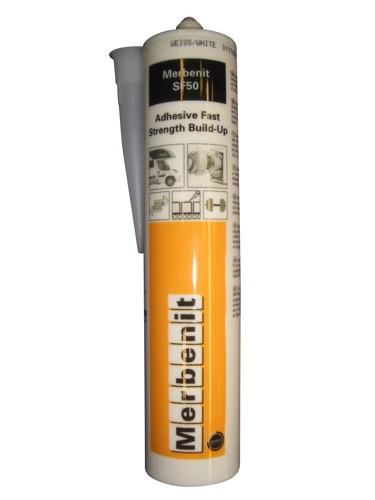
- Flooring adhesive
- Trowel
- Utility knife
- Roller
Adhesive Vinyl Plank Tips: Choosing the Right Glue
For a lasting bond, selecting the right adhesive is crucial. Follow the manufacturer’s recommendations for compatibility with your adhesive vinyl plank tips, ensuring the best results.
Step-by-Step Guide to Vinyl Plank Flooring Installation
With preparation out of the way, let’s dive into the vinyl plank flooring guide.
Step 1: Planning Your Layout
Start by planning the layout of your planks. Dry-fit a row to determine the width of the last plank. If it’s too narrow, adjust your starting point to balance the layout on both sides of the room.
Step 2: Acclimatizing Your Vinyl Planks
Allow your vinyl planks to acclimatize to the room’s conditions for at least 48 hours. This step is crucial to prevent expansion or contraction post-installation.
Step 3: Applying Adhesive and Laying Down Planks
Apply adhesive using a trowel over a manageable area. Begin installing vinyl planks from the corner, pressing firmly into the glue. Work in small sections to maintain control.
Step 4: Securing Vinyl Planks and Ensuring Adhesion
Once a plank is in place, roll over it with a floor roller to secure the bond. This action ensures full contact between the adhesive and the plank for a strong, lasting hold.
Step 5: Cutting and Fitting Vinyl Planks
To fit planks around obstacles, measure and mark the cuts on the plank, then use a utility knife to score and snap. Ensure tight seams for a professional finish.
Step 6: Finishing Touches and Reinstalling Baseboards
After all planks are laid, replace baseboards or install quarter-round molding to cover the expansion gap. This step completes the look and secures the perimeter.
DIY Vinyl Flooring: Tips and Tricks
DIY projects like DIY vinyl flooring can be rewarding. Here are some tips to elevate your installation.
Managing Complex Cuts and Edges
For intricate cuts, create a paper template to ensure accuracy. Trace the template onto the plank and execute the cut with care.
Maintaining Uniformity Across the Floor
To keep a consistent appearance, stagger the seams of your planks. This method enhances the floor’s overall strength and visual appeal.
Ensuring a Durable Flooring Solution
For a durable flooring solution, it’s important to follow all manufacturer guidelines and allow adequate time for the adhesive to cure before moving furniture back into the room.
Common Mistakes to Avoid During Installation
Even with a comprehensive guide, mistakes can happen. Let’s address how to avoid them.
Preventing Bubbles and Gaps
Ensure no air bubbles are trapped under the planks during installation. Apply even pressure and use the roller to smooth out any potential pockets that could lead to gaps or lifting.
Addressing Subfloor Issues
Never ignore subfloor irregularities. Level out any uneven areas and repair damages to prevent issues with your new flooring.
Maintenance and Care for Your New Vinyl Plank Flooring
Once installed, maintaining your new floor will ensure its longevity and beauty.
Cleaning and Long-Term Care
To keep your floor looking its best, clean regularly with a damp mop and a suitable cleaner. Avoid abrasive tools and harsh chemicals that could damage the vinyl.
Dealing with Repairs and Replacements
If a plank becomes damaged, it can be replaced. Carefully remove the affected piece and install a new one following the same glue down flooring techniques.
Conclusion: Enjoying Your Linoleum Floor Upgrade
Completing a linoleum floor upgrade can be a fulfilling DIY project that refreshes the look and feel of your home.
Reflecting on the Transformation
Take a moment to appreciate the transformation of your space. The sleek, new vinyl plank floor not only elevates the style but also provides a sturdy surface for daily activities.
Are you planning to give your floors a makeover? Installing glue down vinyl plank flooring over linoleum can be a great choice for a fresh and modern look. If you’re ready to tackle this project, our step-by-step guide on how to install glue down vinyl plank flooring over linoleum is just what you need.
But what if you encounter gaps or damage during the installation process? No worries, we’ve got you covered! Learn how to maintain the integrity of your new flooring by checking out our articles on how to fix gaps in glue down vinyl plank flooring and how to repair glue down vinyl plank flooring.
And if you’re considering other vinyl options, don’t miss our comprehensive tutorial on how to install glue down vinyl sheet flooring for an alternative approach to your flooring needs. With the right knowledge and tools, you’ll be able to create a beautiful and lasting floor for your home.
Exploring Further DIY Flooring Projects
Now that you’re equipped with the knowledge for installing vinyl planks, consider tackling other areas of your home or exploring different flooring options to further enhance your living space.

