Vinyl plank flooring is a popular choice for many homeowners due to its durability and aesthetic appeal. However, like any flooring, it can suffer from wear and tear over time. Understanding how to repair glue down vinyl plank flooring can save you time and money, and help maintain the appearance and longevity of your floors.
Understanding Vinyl Plank Flooring and Common Issues
Vinyl plank flooring is known for its resilience, but it’s not immune to damage. Common issues include scratches, cracks, and planks lifting at the edges. Understanding the type of damage will determine the repair process, ensuring your flooring remains in top condition.
Preparation: Tools and Materials Needed
Before starting any repair, gather the necessary tools and materials. You’ll need replacement planks, a utility knife, heat gun, vinyl flooring repair glue, adhesive remover, a putty knife, and fine-grit sandpaper. Ensuring you have the right equipment will streamline the repair process.
Step-by-Step Guide to Repairing Vinyl Plank Flooring

Repairing vinyl plank flooring can be straightforward if you follow a methodical approach. This step-by-step guide will walk you through the process, from assessing the damage to the final touches.
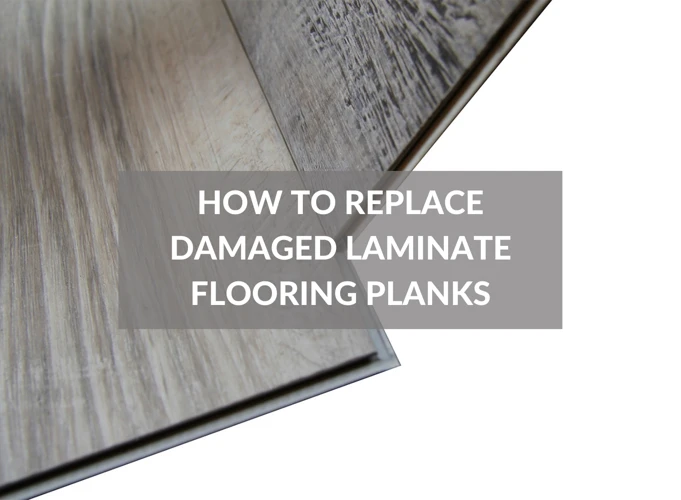
How to Replace a Damaged Vinyl Plank
- Identify the damaged plank and clear the area.
- Use a heat gun to warm the adhesive and make the plank easier to remove.
- Carefully cut the damaged plank out using a utility knife.
- Remove any residual adhesive with adhesive remover and a putty knife.
- Apply vinyl flooring repair glue to the new plank.
- Place the new plank firmly in the space and wipe away any excess glue.
Fixing Vinyl Plank Flooring Seams
Seams can become visible over time, but fixing vinyl plank flooring seams can be relatively simple. Clean the seams with a soft cloth, apply a thin layer of vinyl flooring repair glue, and press the planks back together. Wipe away excess glue immediately.
How to Fix Cracks in Vinyl Plank Flooring
For small cracks, vinyl flooring repair glue can act as a filler. Apply the glue carefully into the crack, and use a putty knife to smooth it out. Once dry, sand the area lightly with fine-grit sandpaper to ensure an even surface.
Repairing Scratches on Vinyl Plank Flooring
To fix scratches on vinyl plank flooring, use a repair kit or a small amount of repair glue. Apply the product to the scratch and smooth it out. Allow it to dry completely, then buff the area to blend the repair into the surrounding flooring.
Addressing Vinyl Plank Flooring Lifting at Edges
Vinyl plank flooring lifting at edges can be remedied by reapplying adhesive. Lift the edge gently, apply vinyl flooring repair glue, and press the plank back into place. Weigh it down with a heavy object until the glue sets to ensure a firm bond.
Tips for Maintaining Your Vinyl Plank Flooring

Maintaining vinyl plank flooring is key to preventing damage. Regular cleaning and immediate attention to spills can go a long way in preserving the floor’s integrity and appearance.
Preventative Measures to Avoid Future Damage
Use furniture pads to prevent scratches, and place mats at entrances to trap dirt. Avoid using rubber-backed rugs, as they can discolor the flooring. Regularly trim pet nails to prevent scratches.
Cleaning and Care Best Practices
Clean spills immediately to prevent damage, and use a microfiber mop for daily cleaning. Avoid abrasive cleaners and opt for pH-neutral cleaners designed for vinyl flooring. Never use steam mops, as the heat can cause warping.
Choosing the Best Glue for Vinyl Plank Flooring Repair
The right glue is crucial for a successful repair. The best glue for vinyl plank flooring repair will provide a strong, durable bond while being compatible with your flooring material.
Types of Vinyl Flooring Repair Glue
There are several types of repair adhesives available, including acrylic-based and urethane-based glues. Read the manufacturer’s specifications to choose the one that’s suitable for your vinyl flooring.
How to Apply Vinyl Flooring Repair Glue
Apply the glue as directed, usually in a thin layer. Press the planks together or into place immediately, and clean any excess glue before it dries. Follow the glue’s curing time to ensure the best bond.
Can You Repair Vinyl Plank Flooring Yourself?
Many homeowners wonder, “Can you repair vinyl plank flooring yourself?” The answer is yes, with the right tools and some patience, you can address most common issues.
DIY Repair vs. Professional Repair Services
DIY repair can be cost-effective for minor damage. However, professional services may be necessary for extensive or complex issues, ensuring the repair is done correctly and efficiently.
When to Call a Professional for Vinyl Plank Flooring Repair
If the damage is widespread or if you’re unsure about the repair process, it’s best to call a professional. They have the expertise to repair luxury vinyl plank flooring without compromising its quality or appearance.
Conclusion

Repairing vinyl plank flooring can be a manageable task. By understanding the issues and following the proper repair methods, you can extend the life of your floors.
Maintaining your glue down vinyl plank flooring in top condition is key to ensuring its longevity and appeal. For those looking to learn more about general upkeep, check out our step-by-step guide on how to clean glue down vinyl plank flooring. If you’ve noticed unsightly gaps appearing between your planks, our article on how to fix gaps in glue down vinyl plank flooring can provide you with practical solutions. And for those considering a new installation, we also have a comprehensive tutorial on how to install glue down vinyl sheet flooring that will help you achieve a flawless finish. Whether you’re looking to repair, maintain, or install, we’ve got the resources you need to succeed with your vinyl flooring projects.
Final Thoughts on Repairing Vinyl Plank Flooring
With the right approach, repairing vinyl plank flooring can be a straightforward DIY project. However, don’t hesitate to seek professional help when needed to ensure your floors remain a beautiful and durable part of your home.