Gluing vellum paper to glass surfaces adds an elegant and unique aesthetic to various craft and design projects. Vellum, known for its delicate and translucent qualities, can be tricky to work with, especially when it comes to adhesion. This guide will walk you through the optimal techniques for how to glue vellum, ensuring your project outcomes are as flawless as your creative vision.
Choosing the Best Glue for Vellum

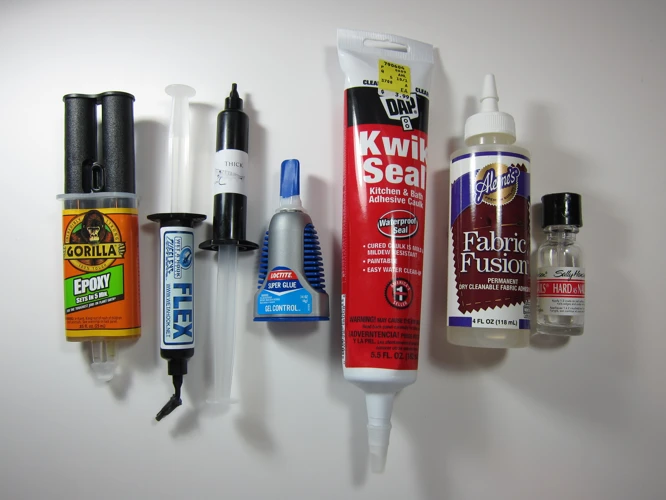
Types of Adhesives Suitable for Vellum
Identifying the best glue for vellum is critical for achieving a clean and professional finish. The types of adhesives that work well with vellum include spray adhesives, glue dots, and double-sided tapes specifically designed for delicate papers. Each of these has unique qualities that make them suited to different types of projects.
Pros and Cons of Different Adhesives
When choosing your adhesive, consider the following benefits and drawbacks:
- Spray adhesives offer even coverage and prevent warping, but they can be messy and require a well-ventilated area.
- Glue dots provide precision without wetting the vellum, but they might lack the strength needed for larger pieces.
- Double-sided tapes ensure a no-show bond, yet they can be less forgiving if you need to reposition the vellum after application.
Preparing the Glass Surface for Gluing
Cleaning and Drying the Glass
Before gluing paper to glass, it’s imperative to start with a pristine surface. Clean the glass with a mixture of warm water and vinegar or a glass cleaner to remove fingerprints, dust, and grease. Thoroughly dry the surface to prevent any moisture from compromising the adhesive bond.
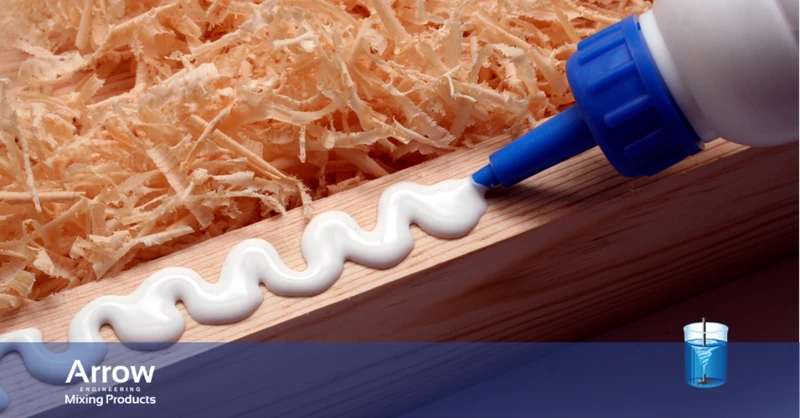
Applying the Adhesive to the Glass
With a clean surface at hand, apply a thin, even layer of your chosen adhesive to the glass. If using spray adhesives, do so in a sweeping motion to avoid puddles. For glue dots or tape, distribute them evenly across the area where the vellum will lay.
How to Glue Vellum to Glass: Step-by-Step Guide
Step 1: Positioning the Vellum Paper
Carefully position the vellum paper onto the adhesive-coated glass. Aim to get it right on the first attempt, as repositioning may damage the paper or leave residue.
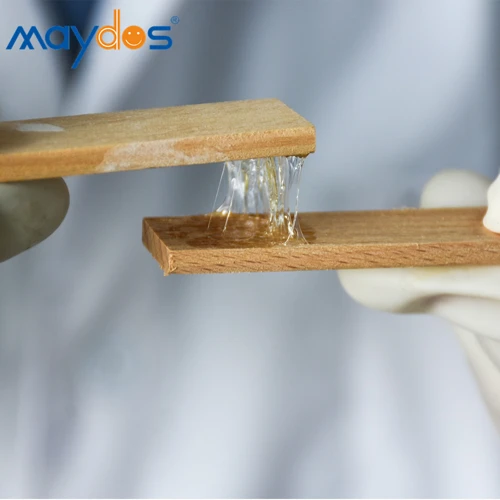
Step 2: Applying Pressure Evenly
Once the vellum is in place, gently smooth it out from the center towards the edges, applying even pressure. This helps in preventing air bubbles and ensuring a firm bond without wrinkles or creases.
Step 3: Allowing Sufficient Drying Time
Patience is key – allow sufficient drying time as recommended by the adhesive manufacturer. Rushing this step can lead to vellum detachment or unsightly marks on the glass.
How to Use Vellum Paper on Glass: Creative Ideas
Decorative Techniques
Once you’ve mastered how to use vellum paper on glass, get creative with techniques like layering for depth, painting for a stained-glass effect, or cutting intricate patterns to play with light and shadow.
Project Inspirations Using Vellum and Glass
Consider these inspiring projects:
- Create personalized glass votive holders with vellum wraps.
- Design a unique lampshade by affixing patterned vellum to a glass base.
- Produce a modern art piece by applying geometrically cut vellum to a glass panel.
Troubleshooting Common Issues When Gluing Paper to Glass
Dealing with Air Bubbles
Should air bubbles appear, gently press them out towards the nearest edge without tearing the vellum. In stubborn cases, a small pinprick can release trapped air.
Preventing the Vellum from Curling
Ensure the vellum lies flat before application and work in a humidity-controlled environment to avoid curling. If the issue persists, small weights can help keep the paper in position while the adhesive sets.
Finishing Touches and Preservation
Sealing the Vellum for Longevity
After the vellum is adhered, consider using a sealant spray to protect against UV rays and moisture, thereby extending the life of your project.
Displaying Your Vellum and Glass Artwork
When displaying your artwork, choose a location away from direct sunlight and moisture. This will preserve the colors and bond of the vellum paper on glass for years to come.
Conclusion and Additional Tips
Gluing vellum paper to glass can elevate your crafts to a level of sophistication and elegance. Remember to choose the right adhesive, prepare your surfaces, and allow for proper drying time. With these guidelines, you’re set to create stunning, durable pieces that showcase the ethereal beauty of vellum.
If you’re working on a project that involves attaching vellum paper to glass, you might be curious about the best methods to achieve a clean and durable bond. For insights on this specific task, our article on how to glue vellum to paper might offer some foundational techniques that can be adapted. Additionally, understanding the principles behind attaching paper to different surfaces can be incredibly helpful. Be sure to explore our detailed guides on how to glue paper to glass and how to glue paper to plastic for more tips and tricks that could assist you in your crafting endeavors.
Frequently Asked Questions About Gluing Vellum Paper
Have additional questions about the process? Stay tuned for detailed answers on the most commonly asked concerns when it comes to working with vellum and glass.