Embellishing everyday items can transform them into unique pieces of art, and DIY rhinestone wine glasses are no exception. Whether you’re looking to add a touch of glamour to your dinner party or give a personalized gift, the sparkle of rhinestones on glassware is sure to impress. This crafting endeavor is not only enjoyable but also a creative way to express your personal style. In this blog post, we’ll guide you through the process of gluing rhinestones to glass, ensuring your finished product is both stunning and durable.
Materials Needed for Your Rhinestone Craft Project

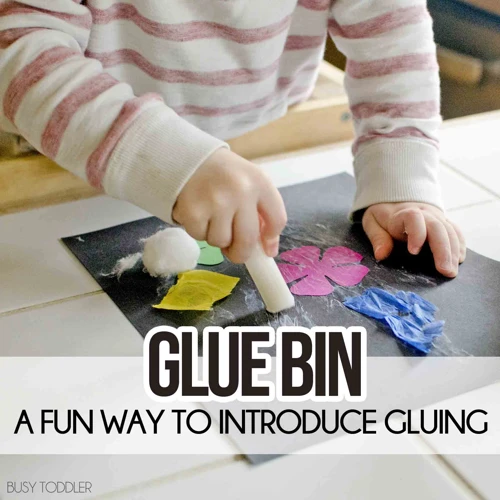
Before we dive into the rhinestone wine glass tutorial, it’s essential to gather all the necessary materials. You’ll need a selection of rhinestones, the best glue for rhinestones that is suitable for glass, a clean wine glass, and some basic crafting tools. A precise applicator for the adhesive, tweezers for placing the rhinestones, and a soft cloth for cleaning are also recommended to enhance the accuracy and ease of your project.
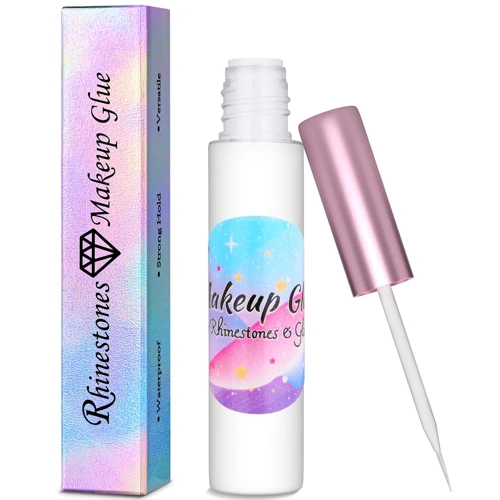
Choosing the Best Glue for Rhinestones
Finding an adhesive for glass crafts that ensures a strong, clear bond is crucial. The best glue for rhinestones on glass should be waterproof, non-toxic, and dry clear to maintain the elegance of your creation. Options like E-6000, Gem-Tac, or specialized rhinestone glue are popular among crafters for their durability and precision.
Types of Rhinestones for Glass Embellishing
The market offers a variety of rhinestones that differ in size, color, and quality. Swarovski and Preciosa crystals are known for their exceptional shine and are ideal for projects that require a high-end finish. Acrylic rhinestones are a more affordable option that still provides a dazzling effect. Choose based on your budget and the desired look for your wine glass decoration ideas.
Preparing Your Personalized Wine Glass DIY

Preparation is key in personalized wine glass DIY projects. Planning your design beforehand and having all materials within reach makes the process smoother. Consider sketching your layout on paper to serve as a reference. Ensure your workspace is well-lit and organized to facilitate a seamless crafting experience.
Gluing Rhinestones to Glass: Step-by-Step Tutorial
Now that you have your materials and workspace set, let’s delve into the rhinestone wine glass tutorial. Following these steps will help you achieve a professional-looking result in your rhinestone craft projects.
Step 1: Clean the Wine Glass Surface
- Begin by thoroughly cleaning the glass with alcohol or a glass cleaner.
- Wipe it down with a lint-free cloth to ensure the surface is free of dust and fingerprints.
- Allow it to dry completely before proceeding.
Step 2: Apply Adhesive for Glass Crafts
- Apply a small amount of the best glue for rhinestones onto a disposable surface.
- Use a toothpick or a precision applicator to transfer a tiny dot of glue onto the glass where you want to place the rhinestone.
- Be cautious not to use too much glue to avoid messy overflow.
Step 3: Placing the Rhinestones on the Wine Glass
- Gently pick up a rhinestone with your tweezers and place it onto the dot of glue.
- Press it lightly to ensure it’s secure but avoid pushing too hard, which might cause the glue to spread.
- Continue this process until your design is complete.
Step 4: Letting the Adhesive Set
- Once all rhinestones are in place, allow the glue to cure.
- Follow the manufacturer’s recommended drying time — usually between 24 to 72 hours.
- Keep the glass in a safe place where it won’t be disturbed during the curing process.
Wine Glass Decoration Ideas
When it comes to wine glass decoration ideas, the possibilities are endless. From elegant swirls to intricate patterns, your design can be as simple or elaborate as you wish. Let your creativity flow and consider the occasion or the recipient’s tastes when deciding on a motif.
Creating Patterns with Rhinestones
Experiment with different patterns such as spirals, hearts, or abstract forms. Try alternating sizes and colors of rhinestones to add depth and interest to your design. Use a template or draw guidelines with a non-permanent marker to maintain symmetry and precision in your pattern.
Incorporating Colors and Themes
Color themes can set the mood for an event or match a recipient’s preference. Consider seasonal colors for holidays, wedding colors for bridal gifts, or simply your favorite hues. Themed patterns, like snowflakes for winter or sunbursts for summer, can also add a special touch to your custom wine glasses.
Custom Wine Glasses: Adding Personal Touches

Custom wine glasses not only serve as a beautiful addition to your glassware collection but also make for thoughtful, personalized gifts. Adding unique touches to each glass ensures that they are cherished by their recipients for years to come.
Personalized Messages and Dates
Consider including names, initials, significant dates, or short messages to commemorate special occasions. These details can be integrated into your design with rhinestones or painted on for an extra personal touch.
Special Occasion and Holiday Themes
For special events, tailor your designs to the theme. Bridal showers, anniversaries, birthdays, and holidays are perfect opportunities to create themed glassware. A Christmas-themed glass might feature red and green rhinestones, while a Valentine’s design could showcase hearts and shades of pink.
Caring for Your Embellished Rhinestone Wine Glasses

To ensure the longevity of your rhinestone-adorned glassware, hand wash them gently with mild soap and warm water. Avoid soaking and scrubbing the rhinestones, and never place them in the dishwasher. With proper care, your DIY rhinestone wine glasses will maintain their sparkle and beauty for every toast to come.
Conclusion: Enjoying Your Custom Rhinestone Wine Glasses
Embarking on rhinestone craft projects such as custom wine glasses is not just a creative outlet, but also an opportunity to add a personal flair to your home or give a memorable gift. With the right materials and a bit of patience, your DIY rhinestone wine glasses will be a conversation starter and a cherished item. So, raise a glass to creativity, and enjoy the brilliance of your handiwork.
If you’re looking to add a touch of sparkle to your wine glasses, gluing rhinestones can be a fun and creative way to personalize your glassware. For a step-by-step guide on how to achieve this, be sure to read our article on how to glue rhinestones to glass. And if you’re feeling extra crafty, why not explore our tutorial on how to glue glass beads to a wine bottle for an additional project? For those interested in adorning hair accessories with a bit of bling, our guide on how to glue rhinestones on hair can help you add that special touch to your look. Whether you’re decorating for a special occasion or just for fun, these articles will provide you with all the tips and techniques you need for your glass embellishing projects.
Frequently Asked Questions about Embellishing with Rhinestones
Many crafters have questions when starting out with gluing rhinestones to glass. Here are some common inquiries to help you on your journey:
- What is the drying time for rhinestone glue on glass? Typically, it ranges from 24 to 72 hours. Check the specific instructions on your adhesive for the best results.
- Can these wine glasses be machine washed? No, to preserve the design, hand washing is recommended.
- Is it necessary to seal the rhinestones? Most adhesives designed for this purpose do not require an additional sealant. However, always refer to the instructions of the glue you’ve chosen.
With these guidelines in hand, you’re well-equipped to start your journey in personalized wine glass DIY. Happy crafting!