Acrylic sheets, commonly known by the brand name Perspex, are versatile materials used in numerous applications from signage to art installations. The transparency and durability of Perspex make it an ideal substitute for glass. However, effectively joining these materials requires specific techniques and adhesives. In this post, we delve into the intricacies of clear Perspex bonding.
Understanding Perspex and Acrylic Glue
Perspex is a type of acrylic plastic that’s prized for its clarity and strength. To maintain these properties during bonding, choosing the right acrylic glue is crucial. Acrylic adhesives are designed to create a bond that is as clear as the material itself, minimizing visual interference at the joints.
When to Use Perspex Adhesive
Whether you’re creating a custom display case or repairing a broken panel, perspex adhesive is the go-to solution. It’s formulated to create a bond that not only holds the acrylic sheets together but also preserves the material’s aesthetic qualities.
Perspex Adhesive Guide
Successful bonding of acrylic sheets hinges on selecting the appropriate adhesive. A good perspex adhesive guide can help you navigate the options available and choose the right glue for your project.
Selecting the Right Perspex Glue
When looking for an adhesive, consider the bond strength required and the visual finish you aim to achieve. Some glues are specifically formulated to dry with a high-gloss finish that matches the sheen of polished acrylic edges.
Waterproof Perspex Glue Options
For outdoor applications or items that may come into contact with moisture, waterproof Perspex glue is essential. These glues are engineered to withstand the elements without losing their adhesive properties or discoloring over time.
Strong Adhesive for Perspex: What to Look For
A strong adhesive for Perspex should offer high tensile strength while curing to a finish that complements the acrylic. It should also be resistant to yellowing and withstand thermal expansion and contraction.
Preparation for Clear Perspex Bonding

Preparation is key for a flawless finish. Before you begin the process of clear Perspex bonding, ensure that all surfaces are clean and that you have the right environment for the task.
Cleaning and Prepping Surfaces
Start by thoroughly cleaning the surfaces to be bonded. Any dust, grease, or residue can interfere with the adhesion process, resulting in a weak bond or visible imperfections.
Setting Up Your Work Environment for Glueing
Create a clean, dust-free environment to work in. The area should be well-ventilated to avoid inhaling fumes, and you should have all your tools and materials within reach.
Acrylic Glue Application Techniques
Proper application is essential for a strong bond. Here are some tips to ensure that your acrylic glue application results in a seamless and durable join.
How to Glue Perspex Without Bubbles
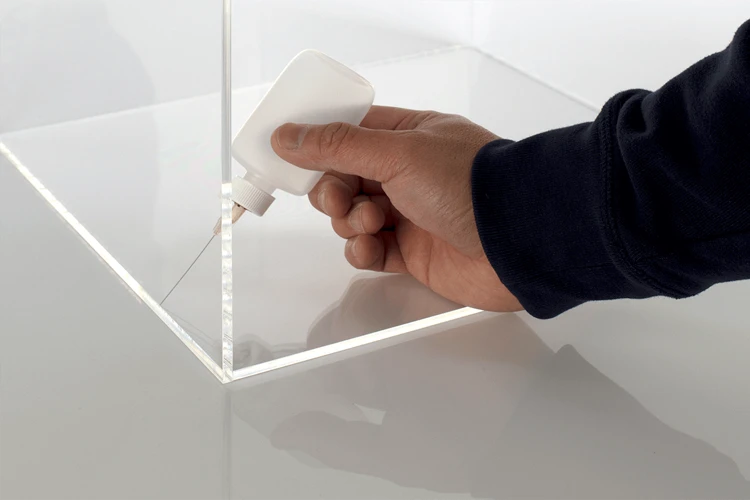
To glue perspex without bubbles, apply the adhesive slowly and carefully. Use a glue with a low viscosity which can spread thinly and evenly, reducing the likelihood of air entrapment.
Applying Glue Precisely and Evenly
For a professional finish, apply the glue in a controlled manner. Use an applicator with a fine nozzle to dispense the adhesive steadily along the join line.
DIY Perspex Projects and Tips

Perspex can be used in a myriad of DIY projects. With a little creativity and some basic tools, you can craft custom items or perform repairs around the home.
Simple DIY Perspex Project Ideas
- Picture frames
- Shelving units
- Greenhouse panels
Perspex Repair Tips for Home Fixes
For perspex repair tips, always sand the area gently before applying adhesive. This creates a rougher surface for the glue to adhere to, resulting in a stronger bond.
Special Cases in Perspex Bonding

Sometimes, you’ll need to bond Perspex to materials other than acrylic. These special cases require their own techniques and considerations.
Gluing Perspex to Wood: A Step-by-Step Guide
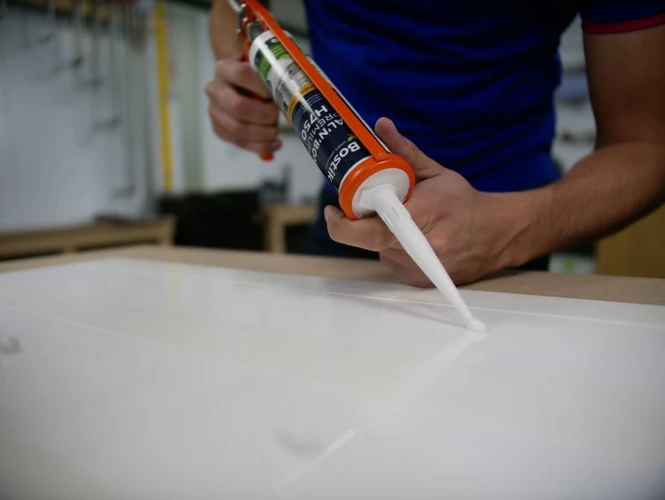
Gluing perspex to wood involves using an adhesive that can bond to both porous and non-porous surfaces. A two-part epoxy can be a good choice for this task, providing a strong hold and compatibility with both materials.
Bonding Acrylic to Other Materials
When bonding acrylic to other materials like metal or glass, ensure the adhesive is suitable for multi-material applications and that it has the flexibility to accommodate different expansion rates.
Finishing and Curing the Bond
Once the adhesive is applied, finishing and curing are the final steps to ensure a strong and lasting bond.
Ensuring a Strong, Lasting Hold
After joining the pieces, apply a small amount of pressure to expel any excess adhesive and to help the bond set with minimal gaps or bubbles.
Curing Time and Conditions
Respect the manufacturer’s recommended curing time. Conditions like temperature and humidity can affect curing, so adjust your environment accordingly.
Troubleshooting Common Issues

Even with careful preparation and application, issues can arise. Here’s how to tackle them.
Avoiding and Fixing Bubbles
If bubbles form, you can sometimes coax them out by gently pressing on the Perspex or by using a needle to puncture the bubble and apply pressure to flatten it out.
Dealing with Weak or Failed Bonds
A weak bond might be a result of insufficient adhesive, contamination on the bonding surface, or inadequate curing time. Address these issues by applying more adhesive, cleaning the surfaces properly, or allowing more time for the bond to cure.
Conclusion: Best Practices for Perspex Bonding
For successful Perspex bonding, careful selection of adhesive, thorough preparation of surfaces, and precise application techniques are crucial. Follow the guidelines provided for a strong and visually appealing result.
Safety Precautions and Tips
Always work in a well-ventilated area and wear protective gear, such as gloves and safety glasses, when handling adhesives. Read and follow all safety instructions provided with your materials.
When working with perspex, also known as acrylic or plexiglass, the right adhesive can make all the difference in your project. If you’re looking for guidance on how to effectively bond perspex to different materials, such as metal, you’ll definitely want to read our article on how to glue plexiglass to metal. Moreover, for hobbyists interested in creating their own adhesive, our tutorial on how to make dextrin glue could be incredibly useful. And if you’re working with materials like Depron foam, don’t miss out on our tips found in the article about how to glue Depron. Each of these resources is designed to help you navigate the nuances of adhesion in your DIY or professional projects.
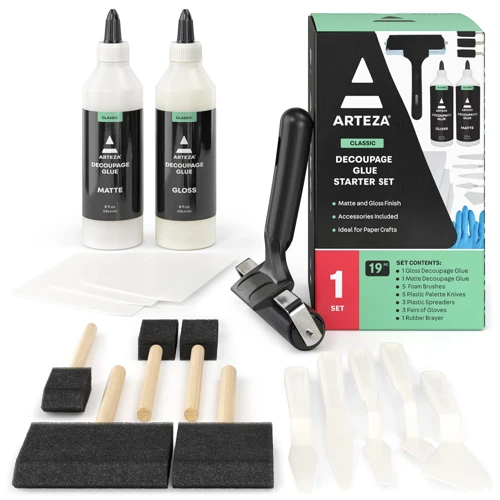
Supplies and Tools for Gluing Perspex
Ensure you have the right supplies on hand before starting your project. A fine nozzle applicator, clean cloths, sandpaper, and the selected adhesive are among the essentials.