Combining the textures of paper and the solidity of wood creates a canvas for creativity and craftsmanship. Gluing paper to wood is an essential skill for a variety of DIY paper-wood projects, from customizing furniture to creating unique art pieces. Understanding how to attach paper to wood properly can open up a world of possibilities for hobbyists and professional crafters alike.
Choosing the Best Adhesive for Paper on Wood
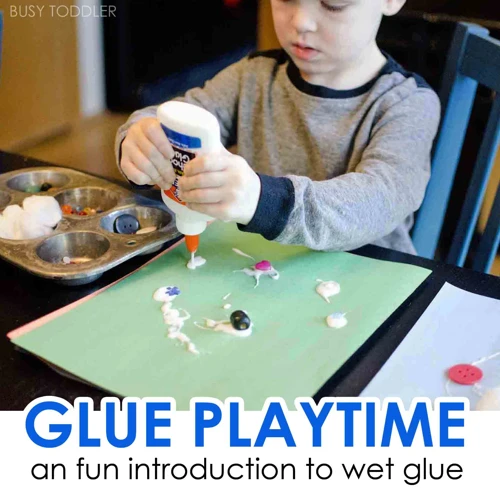
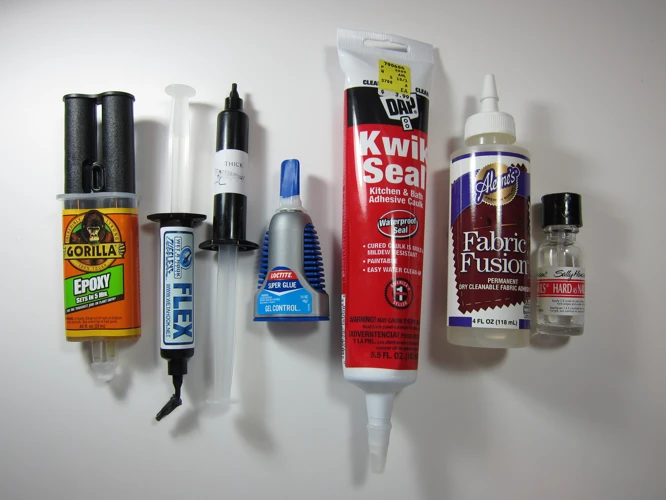
Choosing the best adhesive for paper on wood is crucial for the durability and appearance of your project. Various adhesives offer different benefits, and selecting the right one can make all the difference in your paper and wood crafts.
Determining the Right Wood Craft Glue
When considering wood craft glue, factors such as the type of paper, wood surface, and desired finish must be taken into account. A wood craft glue guide can help you identify which product will provide the strongest paper to wood bonding without damaging the materials.
Comparing Adhesives for Paper to Wood Bonding
Adhesives range from PVA glues to specialized decoupage mediums. Comparing the setting time, flexibility, and moisture resistance of these options will guide you to the optimal choice for your project’s specific needs.
Preparation for Applying Paper to Wood
Proper preparation of both paper and wood surfaces is vital for a successful application. This ensures a smooth finish and a strong bond that lasts.
Preparing the Wood Surface
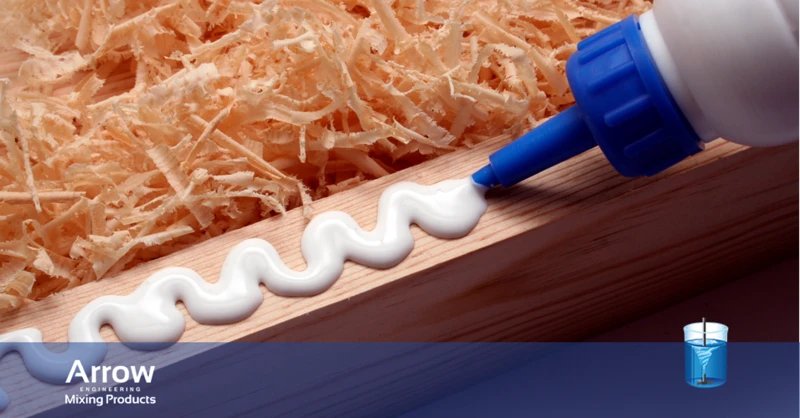
The wood surface should be clean, dry, and free of any grease or dust. Sanding the wood lightly will create a better grip for the adhesive. Wipe away any sawdust post-sanding to ensure a clean bonding surface.
Selecting and Prepping the Paper
Choose paper that complements the wood’s texture and grain. Thicker paper may require more adhesive, while thin paper needs careful handling to prevent tearing. Ensure your paper is cut to the desired shape and size before starting the application process.
Step-by-Step Guide to Attaching Paper to Wood
With the right materials and a bit of patience, attaching paper to wood is a straightforward process that can yield impressive results.
Applying Mod Podge for Paper and Wood Crafts
- Apply a thin layer of Mod Podge to the wood surface using a foam brush.
- Place the paper carefully onto the glued area, smoothing out any bubbles or wrinkles.
- After the first layer has dried, apply another layer of Mod Podge over the paper to seal it.
Using Spray Adhesive in Woodworking Paper Application
- Ensure you work in a well-ventilated area and protect surrounding areas from overspray.
- Apply a uniform coat of spray adhesive to the wood surface.
- Position the paper on the wood and press down firmly, starting from the center and moving outwards.
Securing with Tacky Glue
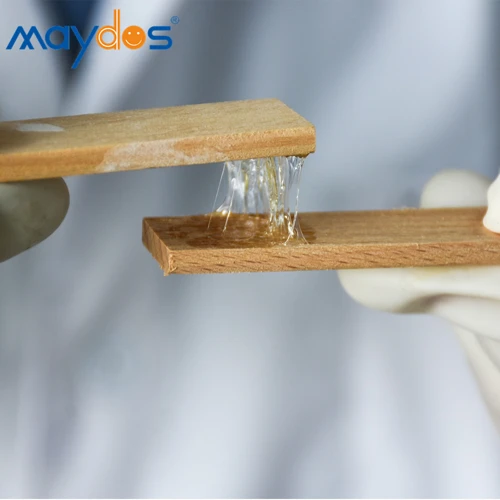
- Apply tacky glue to the wood surface in a thin, even layer.
- Carefully lay the paper down, using a brayer or a flat object to smooth it out.
- Allow adequate time for the glue to dry before handling the piece.
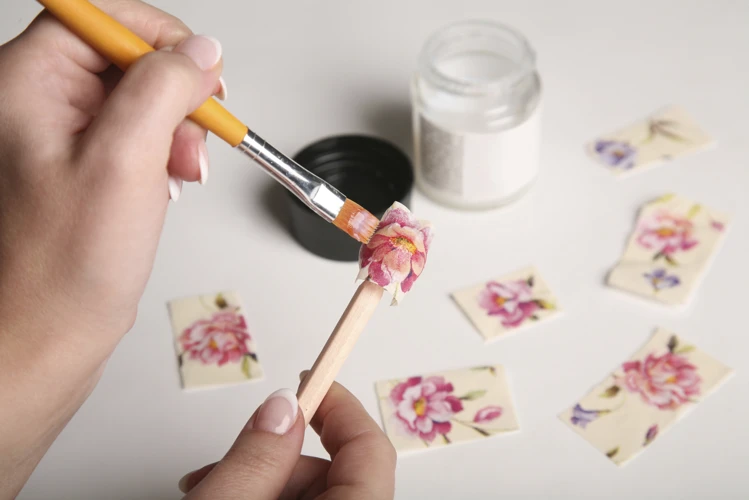
DIY Paper-Wood Projects and Decoupage Techniques
Gluing paper to wood isn’t just about adhesion; it’s also about the artistry you can achieve with the right techniques.
Basic DIY Paper-Wood Project Ideas
- Customized wooden picture frames with patterned paper accents
- Decorative wooden boxes with vintage map paper inlays
- Handmade signs with paper lettering on a rustic wood backdrop
Decoupage on Wood: An Artistic Approach
Decoupage on wood involves layering paper cutouts and sealing them with a varnish or glue that dries clear. This technique can transform plain wooden objects into beautiful, detailed works of art.
Finishing Touches for Paper to Wood Projects
After successfully gluing paper to wood, the finishing touches can enhance both the project’s aesthetics and durability.
Smoothing and Sealing for Longevity
Once the adhesive has dried, use fine-grit sandpaper to smooth any edges. Apply a sealant like clear acrylic to protect the paper and give it a polished look.
Tips for a Polished Finish
For a flawless finish, consider adding a final coat of wax or polish. This step will not only protect the surface but also give your piece a professional appearance.
Materials and Tools Required
List of Supplies for Paper and Wood Crafts
- Wood surface (e.g., plaque, box, or furniture)
- Paper of choice (e.g., scrapbook, wrapping, or tissue paper)
- Adhesive (Mod Podge, spray adhesive, or tacky glue)
- Sandpaper (fine-grit)
- Brushes, brayer, or other smoothing tools
- Sealant (clear acrylic or wax)
Maintenance and Care for Paper-Wood Items
To maintain the integrity of your paper-wood items, keep them away from direct sunlight and moisture. Clean gently with a dry cloth and avoid abrasive materials that could scratch the surface.
Common Challenges and Solutions in Paper to Wood Adhesion
Issues like bubbling, warping, or peeling can occur with paper to wood bonding. To prevent these, ensure both surfaces are clean, apply adhesive evenly, and allow sufficient drying time. If problems persist, consider using a different type of adhesive or technique.
When it comes to arts and crafts or DIY projects, knowing how to properly adhere materials together can make all the difference in the outcome of your project. If you’re interested in learning about various adhesion techniques, you are in luck! For those of you looking to attach paper to wood, our guide on how to glue paper onto wood is an excellent resource that provides step-by-step instructions for a seamless finish. Moreover, if you’re working with different materials, you might also appreciate our articles on how to glue clay to cardboard and how to glue cloth to wood, which are packed with useful tips to help you achieve a strong bond between these surfaces. Whether you’re a seasoned crafter or a beginner, these guides will help enhance your crafting skills.
Conclusion and Further Resources
Mastering the technique of gluing paper to wood opens up a world of creative possibilities. Whether you’re undertaking a simple craft or an intricate decoupage project, the satisfaction of creating something beautiful and durable is unparalleled. For further learning, explore online tutorials, craft books, and workshops to refine your skills in paper and wood crafts.