For any guitarist, the heartbreak of a damaged instrument is all too familiar. Yet, the satisfaction of DIY guitar neck repair can be equally profound. It’s an intricate process that requires patience, precision, and the right knowledge. This blog post will delve into the essential steps for repairing guitar necks, ensuring your beloved instrument can sing once again.
Understanding the Guitar Neck Structure
The guitar neck is a vital component of the instrument, playing a critical role in both the playability and the sound. Comprehending its structure is the first step in any repair process.
Types of Guitar Necks: Set Neck vs. Bolt-On
- Set Neck – Integrated into the body, offering smooth access to higher frets and generally a warmer tone.
- Bolt-On – Attached with screws, allowing for easier replacement and typically delivering a brighter sound.
Common Materials Used in Guitar Necks and Fretboards
Most guitar necks are crafted from maple or mahogany, while fretboards often feature rosewood or ebony. Each material contributes to the instrument’s overall tone and durability.
Assessing the Damage: Preparing for Repairing Guitar Neck
Before diving into the repair, it’s essential to carefully assess the damage. This step will determine the appropriate methods and materials needed for an effective fix broken guitar neck process.
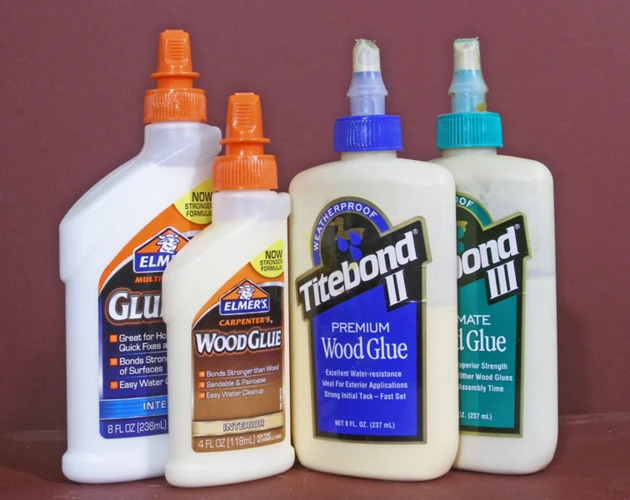
Guitar Neck Glue Guide: Choosing the Best Glue for Guitar Neck

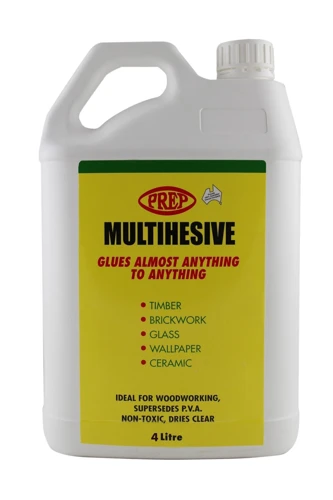
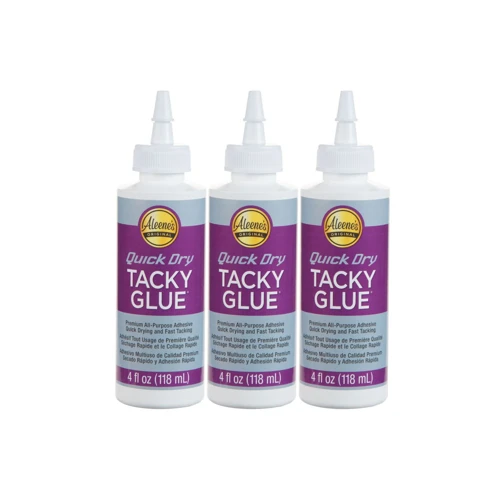
Selecting the best glue for guitar neck is pivotal for a successful repair. The adhesive must be strong enough to withstand the tension of the strings and the rigors of play.
Adhesive Options for Acoustic Guitar Neck Repair
When dealing with an acoustic instrument, hide glue is a traditional choice, known for its natural properties and ease of disassembly for future repairs.
Adhesive Selection for Electric Guitar Neck Gluing
For electric guitars, a strong wood glue or epoxy is often recommended to handle the stress on the neck joint.
Fix Broken Guitar Neck: Step-by-Step Process
The task of mending a fractured neck can be daunting, but with methodical steps, you can restore your instrument’s integrity.
Cleaning the Broken Surfaces
Begin by removing any old adhesive and ensuring the surfaces to be joined are clean, dry, and smooth.
Applying the Adhesive for Guitar Neck
Apply the chosen adhesive for guitar neck evenly, taking care to avoid any excess that could seep into unwanted areas.
Clamping and Curing: Ensuring a Secure Bond
After gluing, clamping is crucial for maintaining alignment and pressure while the glue cures. Use soft padding to protect the finish of the guitar.
Guitar Repair Tips: Do’s and Don’ts When Gluing a Guitar Neck
Some essential guitar repair tips can make the difference between a makeshift fix and a professional-level repair.
Don’t Overdo the Glue: How Much is Enough?
A thin layer of glue is sufficient. Over-application can weaken the bond and create a mess that’s difficult to clean.
Clamping Techniques: Protecting the Guitar Body
Use clamps with caution. Protect the body with a soft cloth and ensure even pressure is applied to avoid warping.
Luthier Guide to Neck Glue: Advanced Techniques
For those looking to elevate their skills, the luthier guide to neck glue offers advanced techniques such as spool clamping and steam removal for neck resets.
Finishing Touches: Aftercare and Maintenance
Once the glue has fully cured, it’s time for aftercare. Keep the guitar in a stable environment and monitor the repair for any signs of weakness.
When it comes to DIY repairs on musical instruments or furniture around the house, knowing the right techniques for gluing can make all the difference. If you’re specifically interested in guitar maintenance, our guide on how to glue a guitar neck is a must-read. But that’s not all we have to offer! For those dealing with loose furniture, you’ll appreciate our step-by-step article on how to glue chair legs. And if you’re a pet owner facing the challenge of droopy dog ears, our unique guide on how to glue dog ears could be just what you need. Lastly, for guitar enthusiasts, don’t miss out on our detailed instructions on how to glue a guitar nut to ensure your instrument stays in tune and plays beautifully.
Conclusion: Mastery of DIY Guitar Neck Repair
Mastering DIY guitar neck repair is an accomplishment that will not only save you money but also deepen your connection with your instrument. With the right approach and attention to detail, your guitar will be back in tune and ready for the next performance.