Formica, a brand name for the generic term laminate, is a popular decorative surface material for countertops, cabinets, and furniture. Understanding how to glue Formica is essential for both DIY enthusiasts and professionals alike. This task requires precision and the right approach to ensure a durable and aesthetically pleasing finish. In this comprehensive guide, we’ll walk you through the process of gluing Formica, covering every step from preparation to the final touches.
Essential Tools and Materials
To successfully adhere Formica, you’ll need specific tools and materials designed for the task. Quality is paramount, as the right supplies can make the difference between a flawless finish and a redo.
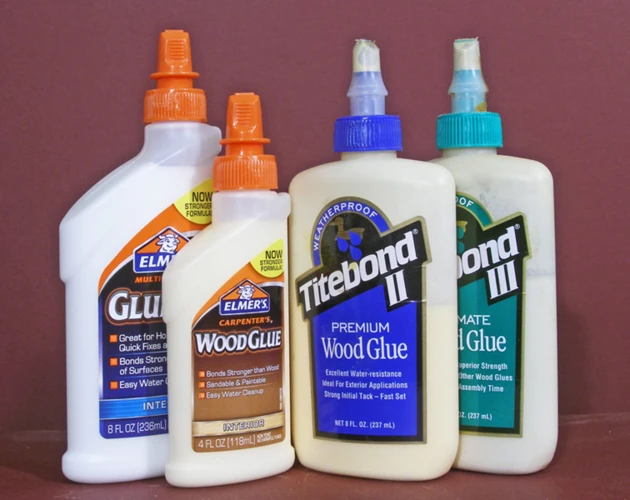
Best Formica Glue
Choosing the best Formica glue is crucial for a secure bond. Adhesives specifically formulated for laminates provide strong, lasting adhesion without damaging the material. These products are typically designed to withstand the rigors of daily use, ensuring your Formica surfaces remain intact.
Stick on Formica Sheets
Stick on Formica sheets are a convenient option for those looking for an easier application process. These pre-glued sheets simplify the task, although they still require careful handling and precise application for best results.
Adhesive Applicators
Proper adhesive applicators ensure an even spread and avoid wastage. Options range from simple brushes and rollers to more sophisticated spray systems, depending on the scale of your project.
Laminating Roller
A laminating roller is an indispensable tool when applying Formica. It helps to remove air pockets and ensures a firm bond between the adhesive and the laminate material. Rolling out from the center towards the edges prevents the formation of bubbles and wrinkles.
Preparing the Surface
Before you begin gluing Formica, the surface must be properly prepared. This step is fundamental to guarantee the laminate adheres well and remains smooth and even.
Cleaning and Smoothing the Surface
The initial task is to clean the surface thoroughly, removing any debris, dust, or grease. Once clean, ensure the area is smooth and even. Sanding may be necessary to achieve the desired texture for optimal glue adhesion.
Measuring and Cutting Formica
Accurate measuring and cutting of the Formica sheets are essential to ensure they fit the intended surface perfectly. Always account for slight overhang, which can be trimmed later for a precise fit.
Choosing the Right Adhesive for Formica
Not all adhesives are created equal, and using the incorrect type can lead to poor results. The right adhesive for Formica will provide a sturdy bond and withstand pressure and wear.
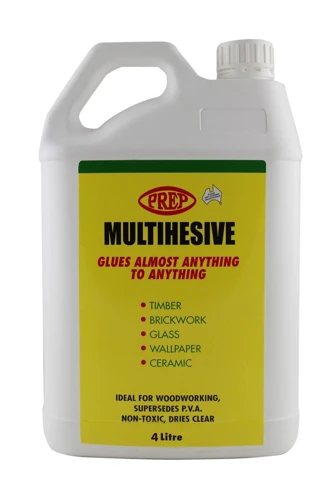
Best Adhesive for Formica
When looking for the best adhesive for Formica, opt for products specifically formulated for laminate surfaces. These adhesives are created to bond with the material effectively, offering the strength and resilience necessary for long-term use.
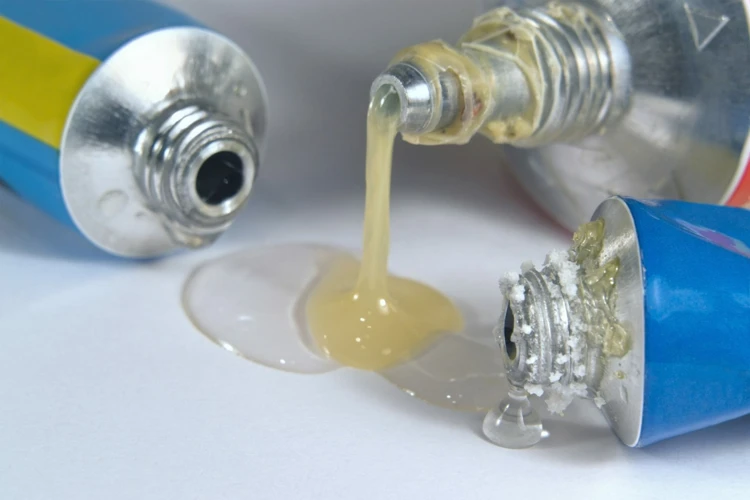
Best Contact Cement for Formica
The best contact cement for Formica ensures a permanent bond that’s resistant to heat and moisture, common elements in areas like kitchens and bathrooms. Contact cement is applied to both the laminate and the substrate, then allowed to dry before the two surfaces are joined.
Water Resistance and Durability Considerations
Especially in high-moisture areas, water resistance and durability are key considerations when selecting an adhesive. The chosen product should be capable of withstanding environmental factors to avoid peeling and degradation over time.
Step-by-Step Guide: How to Glue Formica

The actual process of gluing Formica requires attention to detail and adherence to guidelines to ensure a flawless finish.
Applying the Adhesive
Begin by evenly applying the adhesive on both the substrate and the back of the Formica sheet. Allow it to dry until it’s tacky to the touch, following the manufacturer’s recommended wait time.
Attaching Formica to the Surface
Carefully align the Formica to the surface and press down firmly. Starting from the center, use the laminating roller to smooth out any air pockets, working your way towards the edges.
Glue Formica to Wood
Gluing Formica to wood surfaces is a common task. The key is to ensure the wood is sanded, clean, and dry before applying the adhesive. Press the laminate onto the wood, again using the roller to eliminate any trapped air.
Finishing Touches
After the Formica is in place and the adhesive has cured, trim any excess material for a clean edge. Sand the edges lightly to remove any sharpness, achieving a professional finish.
Gluing Formica Countertops
Formica countertops are a popular choice for their durability and variety of designs. Gluing them requires a few additional considerations.
Preparation
Prepare the countertop surface by cleaning it thoroughly and ensuring it’s level. Any imperfections might show through the Formica, so take the time to make the surface as smooth as possible.
Glue for Formica Countertops
The glue for Formica countertops should be strong enough to handle the heavy use typical of kitchen surfaces. Look for adhesives that are easy to work with and have a high tolerance for heat and moisture.
Sealing and Edging
Once the Formica is in place, seal the edges and any seams to prevent water infiltration, which could weaken the bond over time. Choose a sealant that matches the color and texture of the laminate for a seamless appearance.
Troubleshooting Common Issues
Occasionally, issues can arise when gluing Formica. Here’s how to address them effectively.
Removing Air Bubbles
If you encounter air bubbles, gently press them out towards the nearest edge using the laminating roller. In stubborn cases, a small incision can release trapped air, then reseal the cut with adhesive.
Excess Glue Cleanup
To clean up excess glue, wait until it’s semi-dry and then carefully scrape it off with a putty knife. Be gentle to avoid scratching the laminate surface.
Conclusion and Maintenance Tips
Gluing Formica is a task that, when done correctly, can refresh the look of your home’s surfaces. Regular cleaning with non-abrasive materials and avoiding direct heat will help maintain the integrity of the bond. With the right preparation, adhesive, and technique, your Formica surfaces will look great and last for years.
If you’re a DIY enthusiast or simply looking to repair items around the house, understanding the correct gluing techniques can be invaluable. While you’re exploring how to glue Formica, you might also be interested in other materials. For those working with 3D printed projects, our guide on how to glue PLA can provide you with the tips you need. And if you’re dealing with pottery or a broken ceramic vase, our article on how to glue ceramic is a must-read. Additionally, for hobbyists interested in assembling or repairing resin models or parts, be sure to check out our instructions on how to glue resin for a strong bond. Whether you’re dealing with Formica, PLA, ceramic, or resin, we’ve got the adhesive advice you need!
FAQs on Gluing Formica
You might have questions about the process and best practices of gluing Formica. While this guide has covered the essential steps, every project is unique, and additional queries may arise. Feel free to reach out to professionals or consult further resources to ensure your project’s success.