Ceramic pieces often hold more than just utility; they carry sentimental value as well. When a cherished item breaks, it can be disheartening. Fortunately, with the right approach, ceramic repair can restore your treasured items to their former glory. This blog will serve as your comprehensive guide to mending ceramics, ensuring you can preserve those memories and functionality.
Understanding Ceramic Adhesives
Before diving into the repair process, it’s crucial to understand the adhesives that make ceramic repair possible. Selecting the appropriate type of glue is vital to achieving a durable mend.
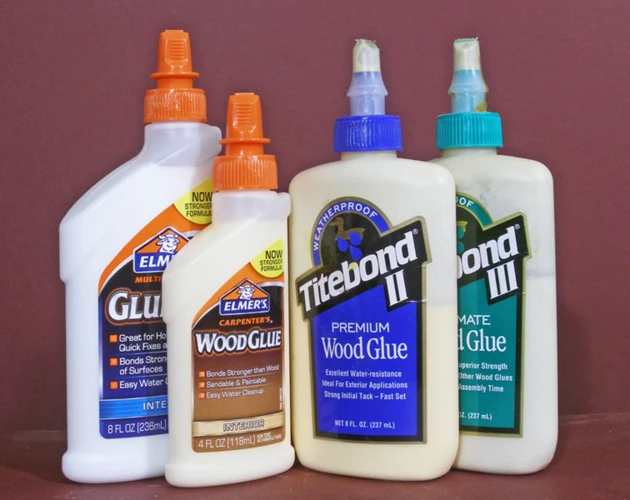
Types of Ceramic Glues
- Epoxy Resin: Known for its strength and durability.
- Super Glue: A quick-fix option for small breaks.
- PVA Glue: A non-waterproof adhesive suitable for decorative items.
What Makes a Strong Bond for Ceramic?
Creating a strong bond for ceramic requires an adhesive that can withstand temperature changes and hold weight. Epoxy and polyurethane-based glues often meet these criteria, providing a resilient fix.
Waterproof Ceramic Glue: When and Why to Use It
For items exposed to moisture, such as dishware or vases, waterproof ceramic glue is a necessity. It prevents water from weakening the bond, ensuring the repair lasts through daily use and washing.
Choosing the Best Glue for Ceramic
Selecting the best glue for ceramic is a pivotal step in the repair process. The adhesive you choose should align with the item’s use and the size of the break.
Factors to Consider
- The type and size of the ceramic break.
- Whether the item will be subjected to heat or moisture.
- The setting time you’re comfortable working with.
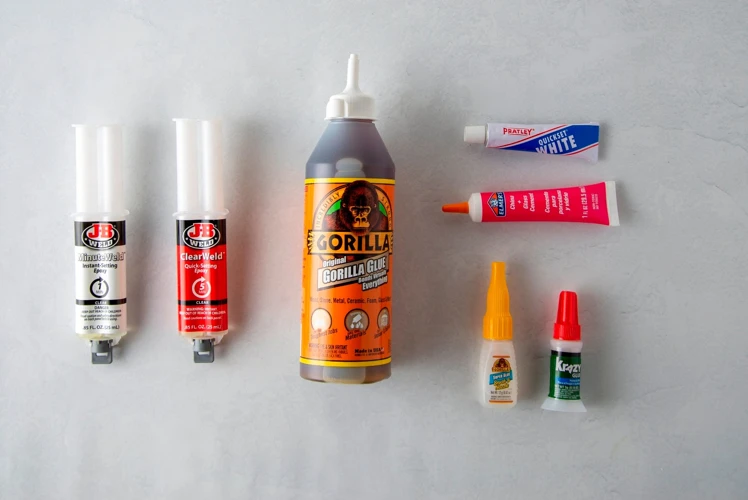
Comparing Top Ceramic Glue Brands
We’ll review popular brands such as Gorilla Glue, E6000, and Loctite to help you understand which may offer the optimal performance for your specific ceramic repair needs.
DIY Ceramic Glue: How to Make Your Own
For those who prefer a hands-on approach, creating your own DIY ceramic glue can be both rewarding and effective for small repairs.
Ingredients and Materials Needed
- White vinegar.
- Cornstarch.
- Water.
- Small pot and stirring utensil.
Step-by-Step Mend Ceramic Tutorial
- Mix cornstarch and vinegar in a pot over low heat.
- Add water gradually until the mixture reaches a glue-like consistency.
- Apply it to the ceramic pieces needing repair.
How to Fix Broken Pottery: A Step-by-Step Guide

Addressing how to fix broken pottery begins with patience and the right techniques. A systematic approach will ensure the pieces fit seamlessly together.
Ceramic Repair Tips for Beginners
Start with a clean workspace and ensure all pieces are clean and dry. Having a clear layout of the broken parts can simplify the process.
Glue Ceramic Back Together: Detailed Instructions
- Identify all broken pieces.
- Test-fit them together without glue first.
- Apply glue sparingly to one edge of the break.
Ceramic Adhesive Guide: Application Techniques

Applying ceramic adhesive properly is just as important as choosing the right one. The goal is to create a bond that’s both strong and nearly invisible.
Preparing the Broken Pieces
Ensure each piece is clean and free of any old adhesive or debris. This preparation is crucial for a successful bond.
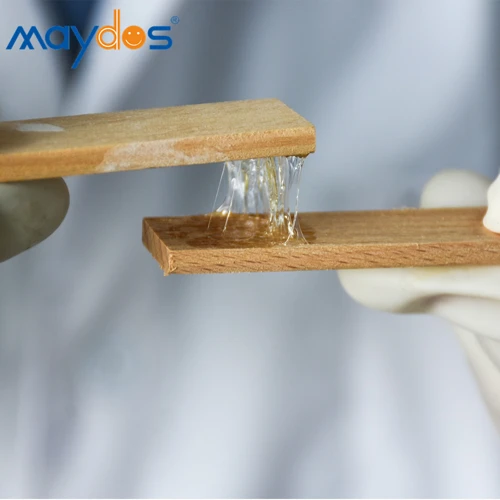
Applying the Glue for Optimal Adherence
Apply the adhesive thinly and evenly, and press the pieces together firmly. Wipe away any excess glue immediately for a clean finish.
Finishing Touches: After the Glue Sets
Once the glue has set, the repair is nearly complete. However, there are steps to ensure the mend is not only strong but also aesthetically pleasing.
Curing Time and Conditions
Allow the glue to cure fully, which might take anywhere from a few hours to a full day, depending on the adhesive used. Ensure the item remains undisturbed during this time.
Sanding and Painting for a Seamless Look
If there’s any unevenness at the repair site, gentle sanding can smooth it out. If necessary, touch up the area with paint that matches the ceramic piece.
Troubleshooting Common Issues in Ceramic Repair
Occasionally, you may encounter issues during the repair process. Knowing how to manage these effectively can be the difference between a failed or successful restoration.
What to Do if the Ceramic Won’t Stick
If the pieces don’t adhere, it could be due to unclean surfaces or an insufficient amount of glue. Reassess and attempt the bond again with careful preparation.
How to Remove Excess Glue
Excess glue can be removed with a damp cloth if it’s still wet, or gently scraped off with a razor blade once dried, taking care not to damage the ceramic.
Fixing Ceramic at Home: Safety Precautions
When fixing ceramic at home, prioritize safety. Wear gloves to protect your hands from sharp edges and the adhesive, and work in a well-ventilated area to avoid inhaling fumes.
Maintaining Your Ceramic Items Post-Repair
After a successful repair, maintain your ceramic items by handling them with care. Avoid exposing them to extreme temperatures and consider displaying them in a safe place to prevent future breaks.
If you’ve recently faced the challenge of repairing broken ceramics, you’re not alone. Our DIY guides can help you navigate through the repair process with ease. For your ceramic items, you may want to check out our step-by-step article on how to glue ceramic. And if you’re dealing with different materials, we’ve also got you covered! Learn the best practices for mending pottery with our guide on how to glue pottery, discover tips for bonding clay pieces in our tutorial on how to glue clay, or find out the most effective adhesives for plastics by reading our article on how to glue plastic. Whatever your repair project may be, we have the resources to help you do it right.
Conclusion: Your Go-To Ceramic Repair Resource
With these ceramic repair tips and your newfound knowledge, you’re now equipped to tackle any breakage. Remember to choose the right adhesive, prepare the surfaces carefully, and allow ample time for curing. Whether you opt for a store-bought solution or a DIY ceramic glue, patience and precision will lead to a seemingly invisible repair, extending the life of your ceramic treasures.