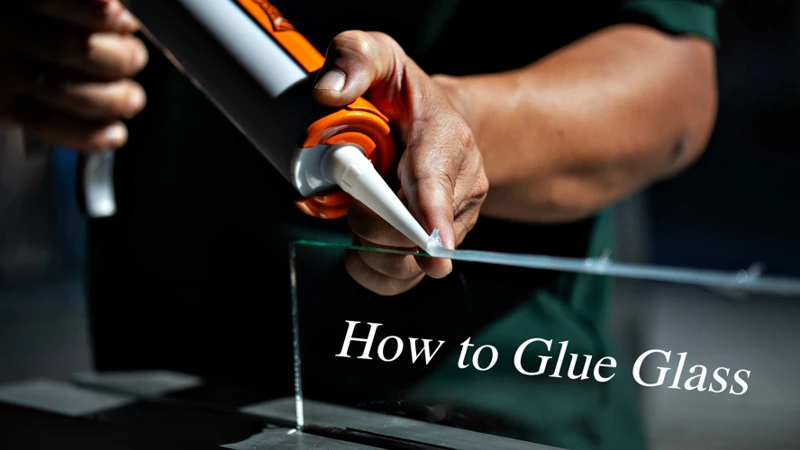
Embarking on a DIY glass repair journey requires patience and precision. Whether it’s a cherished picture frame or a valuable vase, the integrity of your glass objects can be restored. This blog post will enlighten you on glass glue techniques and provide a comprehensive guide on how to fix cracked glass with your own hands.
Understanding the Basics of Glass Glue Techniques
Grasping the fundamentals of glass glue techniques is essential before attempting any repair. It’s more than just applying an adhesive for glass; it’s about understanding how different adhesives react with glass surfaces to create a durable bond. With the right knowledge, you can make informed decisions and execute flawless repairs.
Assessing Cracked Glass Repair Possibilities
Before you dive into the repair process, assessing the damage is crucial. Not all cracks are created equal, and understanding the extent of the damage will dictate the success of your repair.
Types of Cracked Glass That Can Be Bonded
Most minor cracks and chips can be effectively mended, but larger or more complex damage may require professional attention. Hairline cracks and small chips are prime candidates for DIY glass repair. Knowing the limitations ensures a safe and successful cracked glass repair.
Choosing the Best Glue for Glass

Selecting the best glue for glass is pivotal for a lasting repair. The adhesive you choose will be the foundation of your repair’s strength and longevity.
Comparing Adhesive for Glass Options
When comparing adhesive for glass options, you’ll come across various types like epoxy, silicone, and UV-cured adhesives. Each type has its own set of properties suited for different repair scenarios. Epoxies are known for their strength, silicones for their flexibility, and UV-cured adhesives for their quick setting times.
Preparation for Repairing Broken Glass
Proper preparation lays the groundwork for a successful repair. Skipping this step could mean the difference between a seamless fix and a noticeable flaw.
Cleaning and Arranging the Cracked Glass
- Clean the glass surface thoroughly to remove any dirt or grease.
- Ensure all pieces fit together precisely.
- Protect your work area with a clean, soft cloth.
Step-by-Step Guide: How to Fix Cracked Glass
With preparation complete, it’s time to embark on the actual repair. Follow these steps meticulously to achieve the best results.
Step 1: Applying the Adhesive to Mend Cracked Glass
Apply a thin layer of the chosen glue for glass along the crack. Be cautious not to over-apply as this can make the repair more visible.
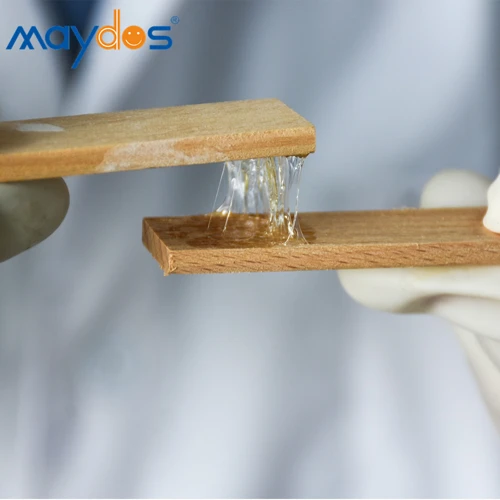
Step 2: Bonding Cracked Glass Pieces Together
Press the pieces together gently but firmly to ensure a tight bond. Excess glue should be wiped away promptly with a clean cloth.
Step 3: Curing the Glue for a Robust Fix
Allow the adhesive to cure as per the manufacturer’s instructions. This curing time is critical to ensure the repaired bond sets properly.
Finishing Touches and Post-Repair Care
With the repair complete, a few finishing touches can enhance the appearance and longevity of your glass item.
Polishing and Maintaining the Repaired Glass
Once the glue is cured, polish the area gently to blend the repair with the rest of the glass. Regular maintenance, including cleaning and avoiding stress on the repaired area, will prolong the life of the fix.
Troubleshooting Common Issues in Glass Glue Repair
Sometimes, despite your best efforts, you might encounter problems. Identifying and resolving these issues quickly is key to a successful repair.
Handling Complications in DIY Glass Repair
If the glue doesn’t set or the crack reappears, reassess your choice of adhesive and the application process. A different glue for glass or technique might be necessary for a more effective repair.
Comparing Professional Repair vs. DIY Glass Repair
Understanding when you can handle a repair yourself and when to call in the professionals is important for preserving the integrity of your glass items.
When to Seek Professional Help for Repairing Broken Glass
If the crack is extensive or located in a weight-bearing area, professional repair services might be your best option. They have specialized tools and adhesives that might not be readily available for home use.
Conclusion: Mastering the Art of Glass Repair
Repairing glass may seem daunting, but with the right approach, anyone can master the art of cracked glass repair. Patience, precision, and the appropriate glass glue techniques can go a long way.
Recap of Glass Glue Techniques and Tips
We’ve explored how to select the best glue for glass, prepare the damaged area, and execute the repair. Remembering these techniques and tips will aid you in future DIY glass repair projects.
Frequently Asked Questions
As you embark on your glass repair journey, you may have additional questions. Let’s address some common queries to bolster your confidence.
How to Prevent Future Cracks in Glass
Avoiding extreme temperature changes and handling your glassware with care can prevent future damage. Using the proper cleaning agents also reduces the risk of weakening the glass.
If you’re dealing with cracked glass and wondering about the best way to repair it, our article on how to glue cracked glass provides step-by-step guidance. For related DIY repair tips, you might also be interested in learning how to glue broken plastic, or if your project involves different materials, check out our tips on how to glue plastic to glass. And if you’re dealing with a small chip rather than a crack, our article on how to glue chip glass can help you fix that flawlessly.
Long-term Effectiveness of DIY Cracked Glass Repair
The effectiveness of a DIY cracked glass repair largely depends on the quality of the adhesive used and the precision of the repair process. With meticulous work, the repair can last for years.