Understanding Puncture Repair Glue
When faced with the inconvenience of a flat tire or a small hole in an inflatable, puncture repair glue becomes an indispensable tool. It’s a specialized adhesive designed to seal punctures quickly and effectively, allowing materials to be brought back to functionality. Its formulation is geared towards creating a strong, flexible bond that withstands pressure and movement, which is essential for items like bike tires, inflatable toys, and other rubber-based products.
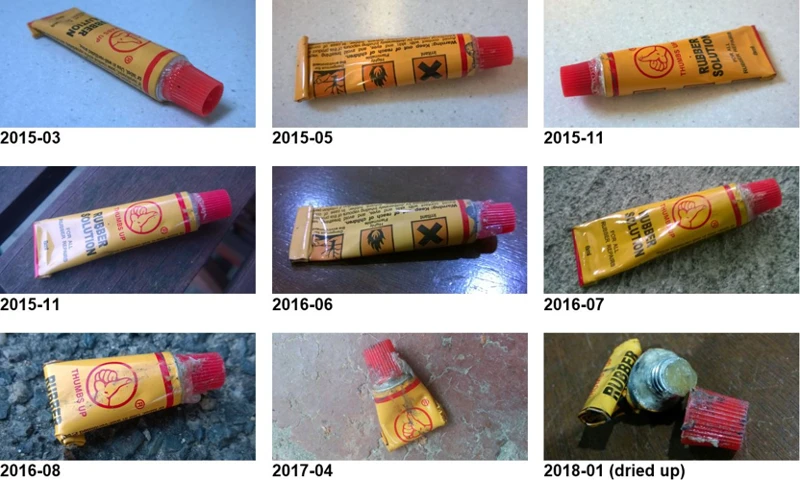
Types of Puncture Repair Glues
Diverse situations call for different types of puncture repair adhesives. There are quick-set solutions for minor punctures, heavy-duty glues for larger damages, and even UV light-activated types that offer rapid fixes. Each category is crafted to meet specific repair needs, with the goal of delivering a reliable fix that can withstand the item’s intended use.
How Long Does Puncture Repair Glue Take To Dry
Factors Affecting Drying Time
The drying time for puncture repair glue can be influenced by several variables. These include the amount of adhesive used, the temperature and humidity of the environment, and the material of the item being repaired. Thicker applications may take longer to dry, while higher temperatures and lower humidity typically speed up the drying process. Understanding these factors can help in planning the repair process more effectively.
Manufacturer’s Recommended Drying Times
Manufacturers often specify the optimal drying time for their puncture repair products. This is the period required for the glue to lose its surface tackiness and become touch-dry. Typically, this can range from a few minutes to several hours. For the best results, it’s crucial to adhere to the guidelines provided on the product packaging or included instructions.
How Long Does Puncture Repair Glue Take To Set

Difference Between Drying and Setting
It’s important to distinguish between drying and setting when using puncture repair glue. Drying refers to the surface of the glue becoming dry to the touch, while setting is the complete curing of the adhesive, creating a bond that is fully integrated with the material. Setting is what ultimately determines the repair’s durability and is usually the longer of the two processes.
Importance of Allowing Full Setting Time
For a repair to last, it’s vital to allow the puncture repair glue to set fully. This ensures that the bond has achieved its maximum strength and elasticity. Rushing this process can compromise the repair, potentially leading to failure under pressure. Patience here is key to a successful and enduring fix.
Step-by-Step Guide to Using Puncture Repair Glue
Preparing the Puncture Area
- Clean the area around the puncture, removing any debris or contaminants.
- Roughen the surface if recommended by the glue manufacturer, to ensure better adhesion.
- Dry the area completely before applying the adhesive.
Applying the Glue
- Apply the puncture repair glue sparingly but ensure complete coverage over the puncture.
- Spread the glue evenly, following the product’s instructions for thickness and application technique.
- Wait for the surface to become tack-free if required before proceeding to the next step.
Finishing the Repair
- Once the glue is touch-dry, apply any patches or reinforcement materials as necessary.
- Press firmly to ensure a good bond between the patch and the adhesive.
- Allow the repair to set for the full duration as recommended by the adhesive’s manufacturer.
Tips for Faster Drying and Setting
Environmental Conditions for Optimal Drying
To achieve the best drying conditions, work in a well-ventilated area with moderate temperature and low humidity. These conditions facilitate a quicker drying process while still allowing the glue to bond effectively with the material.
How to Speed Up the Process Safely
While it is not advisable to rush the setting process, you can safely expedite drying by using a fan to circulate air or by gently warming the area with a hair dryer set to a low temperature. However, always ensure that the methods used are safe and recommended by the glue manufacturer to avoid damaging the material or weakening the repair.
Maintenance and Prevention Tips
Regular Inspection and Maintenance
Maintain the integrity of your repairs and the items they’re applied to by conducting regular inspections. Look for signs of wear or peeling at the repair site, and take preemptive action if necessary to reinforce or reapply adhesive before a complete failure occurs.
Preventive Measures to Avoid Punctures
Preventing punctures is better than having to repair them. Use protective covers, avoid rough surfaces, and store items properly to minimize the risk of damage. For tires, maintaining proper inflation and avoiding hazardous areas can significantly reduce the likelihood of punctures.
Conclusion
Recap of Puncture Repair Glue Drying and Setting Times
The drying and setting times for puncture repair glue are critical factors for a successful repair. Drying times can be as short as a few minutes, while setting times may extend to several hours or overnight. Always consult the manufacturer’s recommendations for accurate times specific to the product you are using.
When you’re dealing with various types of adhesives, drying times can be crucial to the success of your project. Whether you’re curious about puncture repair glue for your bike or other adhesives for different tasks, we have resources that can help. For general adhesives, check out our article on how long adhesive glue takes to dry. If you’re dealing with orthodontic procedures, our guide on how long braces glue takes to dry might be of interest. And for those using liquid glues for crafts or household repairs, our article on how long liquid glue takes to dry will provide the answers you need. Understanding these drying times can ensure that your repairs or projects hold up well and last long.
Final Thoughts and Best Practices
Patience and adherence to recommended practices are the cornerstones of effective puncture repair. By allowing the glue to dry and set properly, preparing the puncture area correctly, and taking preventive measures, your repairs will be more durable and your items will remain functional for longer. Remember, quality repairs are not just about the immediate fix, but ensuring long-term reliability.