As an essential component in both DIY and professional projects, liquid glue is renowned for its strong bonding capabilities. Its versatility allows it to affix a wide range of materials, making it a staple in any tool kit. Understanding its properties and drying times is crucial to achieving successful adhesion, whether you’re repairing household items or constructing new creations.
Understanding Liquid Nails and Their Applications
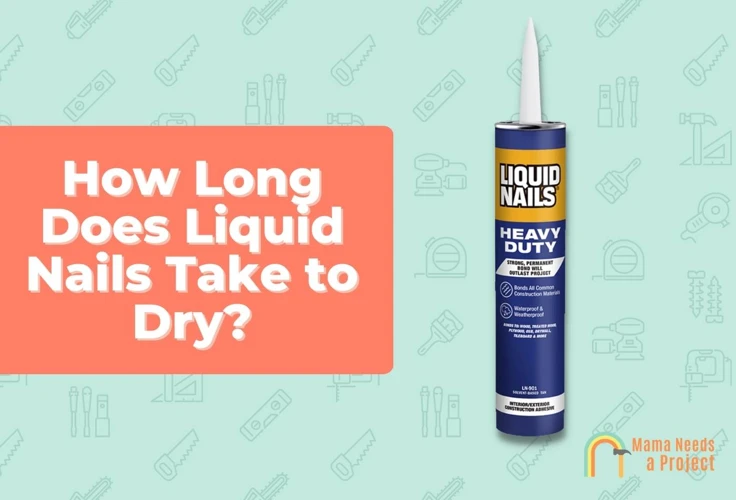
Liquid Nails, a powerhouse in the adhesive market, is designed to provide durable and lasting bonds for various surfaces. Its unique composition allows it to be used in many applications, offering a robust solution for construction and home improvement projects.
Wood
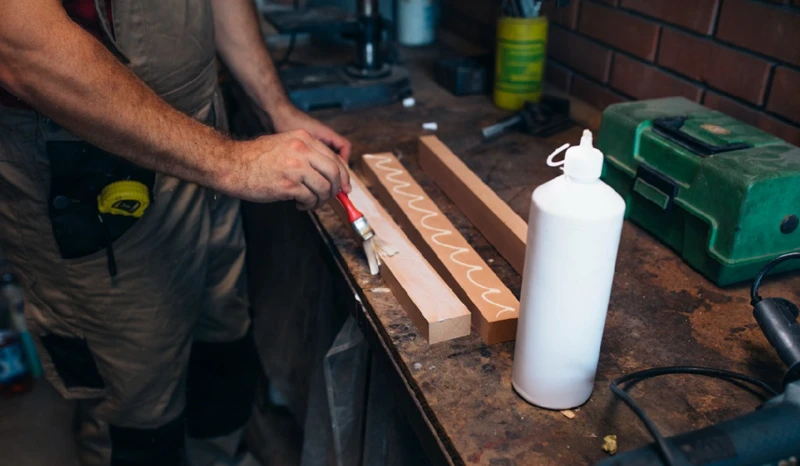
When it comes to woodworking, Liquid Nails is a preferred adhesive for its strength and resilience. It seamlessly joins pieces of wood, creating a bond that can withstand stress and movement.
Masonry
Masonry projects benefit from Liquid Nails due to its capability to adhere to porous surfaces. It ensures a secure and stable attachment between bricks, stones, and concrete elements.
Tile
Tile installations demand a high-performing adhesive like Liquid Nails, which prevents shifting and provides a long-lasting hold even in moisture-rich environments.
Glass
For glass applications, Liquid Nails offers a clear-drying option that maintains the aesthetic integrity of the material while providing a secure bond.
Drywall
Liquid Nails is also effective for drywall projects, delivering a heavy-duty bond that supports the weight and stress of wall installations.
How Long Does It Take for Liquid Glue to Dry?
One of the most common queries among users is, “how long does it take for liquid glue to dry?” The answer is not one-size-fits-all, as various factors influence the drying time of liquid adhesives.
Factors Affecting Drying Time
-
Temperature
Adhesives like Liquid Nails dry faster in warm conditions. Cooler temperatures can significantly extend the drying process.
-
Humidity and Moisture
High humidity levels can slow down the drying time, whereas a dry environment can accelerate it.
-
Air Circulation or Ventilation
Good airflow can help liquid glue dry quicker by carrying away the moisture from the adhesive surface.
-
Thickness of Application
Thinner layers of glue will dry faster than thicker applications, which require more time for the solvent to evaporate.
How Long Does Liquid Nails Take to Dry on Wood?
When used on wood, Liquid Nails generally takes 24 hours to dry. However, for full strength, you should allow the product to cure for at least seven days.
Distinguishing Between Dry Time and Cure Time
It’s important to differentiate between the drying and curing of adhesives. While drying refers to the adhesive’s ability to support some weight and become tack-free, curing is the process of reaching maximum bonding strength. Cure times are typically longer than dry times and can vary based on environmental conditions and the materials being bonded.
Optimizing the Drying Process
To ensure optimal adhesion, one must properly apply and maintain the environment in which the adhesive is drying. Here are some strategies to optimize the drying process:
Applying the Glue
Apply a consistent, appropriate amount of glue for the surfaces you are bonding. Excess adhesive can prolong drying times and weaken the bond.
Using Heat
Gently applying heat can expedite the drying process. A hairdryer set on low heat can help reduce drying time without causing damage to the materials.
Using Fans
Stationary or oscillating fans can improve air circulation around the bonded materials, promoting faster drying of the adhesive.
Affixing and Clamping Surfaces
Clamping or weighting the surfaces together ensures a tight bond and even distribution of the adhesive, which can aid in drying.
Monitoring the Drying Time
Keep track of the drying time, especially in varying conditions, to ensure that the adhesive has set properly before moving or stressing the bond.
Strategies for Faster Drying
In scenarios where time is of the essence, employing strategies such as increasing room temperature, reducing humidity with dehumidifiers, or applying the glue in several thinner layers can lead to faster drying times.
Troubleshooting Common Issues
Even with careful application, issues can arise. It’s helpful to know how to address them to maintain the integrity of your project.
When Glue Isn’t Drying
If the adhesive doesn’t seem to be drying, assess the environmental factors. Adjusting temperature and humidity levels can often resolve the issue.
How to Remove Excess or Dried Glue
To remove excess or dried glue, use a putty knife or sandpaper for mechanical removal, or consider a solvent that’s suitable for the surfaces involved.
When working on your DIY projects, one of the most common questions is about drying times for different types of adhesives. If you’re using liquid glue, you might be wondering just how long it takes to set fully. For specific types of adhesives, we have detailed guides that could be very helpful. For instance, if you’re working with glass, you’ll want to read our article on how long glass glue takes to dry. Those using jet glue, often used in quick repair tasks, can check out our insights on how long jet glue takes to dry. And for the crafters out there, understanding the drying time for your materials is crucial, so don’t miss our guide on how long craft glue takes to dry. Each adhesive has its own set of properties and drying times, so make sure to use the right one for your project to achieve the best results!
Conclusion: Achieving Strong Adhesion with Liquid Glue
Understanding the intricacies of drying times and the conditions that affect them is key to achieving a strong, durable bond with liquid glue. By monitoring and optimizing the environment and application, success with adhesives like Liquid Nails is well within reach.