Your home’s exterior paint job is its first line of defense against the elements, and over time, it’s natural for it to require some maintenance. Whether it’s due to weathering, accidental damage, or simply the passage of time, exterior painting touch ups are a necessary part of home upkeep. Ensuring that these touch ups blend seamlessly with the original paint job requires the right exterior painting touch up tools and techniques.
Best Tools for Painting Touch Ups
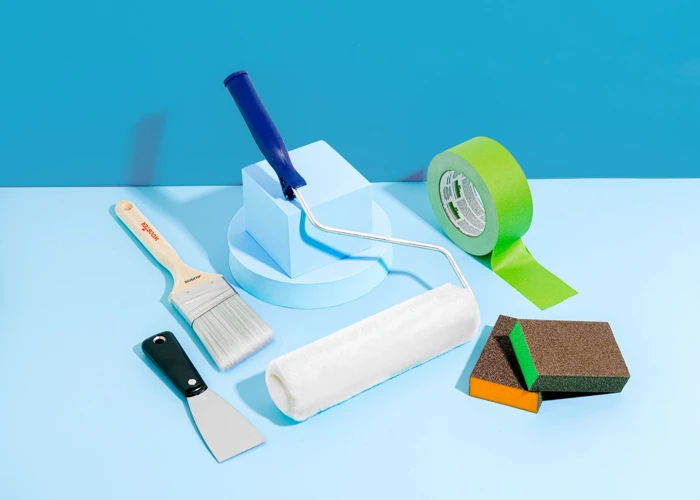
When it comes to painting touch ups, not all tools are created equal. The best tools for painting touch ups are those specifically designed to handle the unique challenges of exterior paint work. Here, we will discuss the various tools that can help you achieve a flawless finish.
Touch Up Paint Brushes: Precision for Small Fixes
For small nicks and peels, touch up paint brushes are your go-to. These brushes come in various sizes, allowing for precision when addressing minor imperfections. Their fine bristles are perfect for applying paint smoothly to tiny areas without leaving brush marks.
Small Area Painting Tools: Covering Tiny Imperfections
When dealing with diminutive blemishes, small area painting tools are indispensable. These can range from miniature rollers to fine-tipped pens, designed to cover tiny imperfections with ease. Their size and precision make them an essential part of any touch-up toolkit.
Exterior Paint Repair Kit: The All-in-One Solution
For a comprehensive approach, consider an exterior paint repair kit. These kits typically include a variety of touch up paint brushes, fillers, and sealants, making them a convenient option for tackling various types of damage. They often come with instructions to guide you through the process, ensuring professional-looking results.
Exterior House Paint Touch Up: Step-by-Step Guide
Performing an exterior house paint touch up requires patience and attention to detail. Follow this step-by-step guide to ensure that your home looks as good as new.
Step 1: Assessing the Area for Touch Ups
Begin by carefully inspecting your home’s exterior to identify all areas that need attention. Look for cracks, peeling, or fading that detracts from your home’s overall appearance.
Step 2: Cleaning and Prepping the Surface
Before applying any paint, clean the area thoroughly. Remove loose paint, dirt, and debris to create a smooth, clean surface for painting. Allow it to dry completely before moving on to the next step.
Step 3: Selecting the Right Paint
Choosing the exact shade and type of paint used on your home’s exterior is crucial. If possible, use leftover paint from the original job, or have a professional color-match a sample.
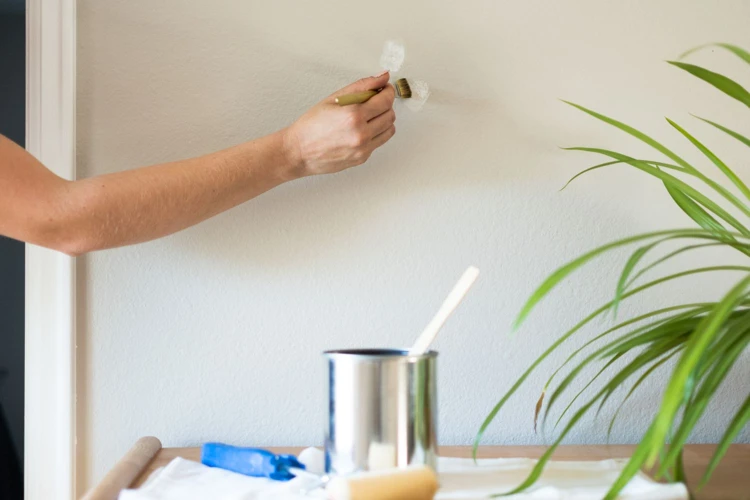
Step 4: Precision Painting Tools and Techniques
Utilize precision painting tools for accurate work. A steady hand and a focused approach are necessary to prevent paint from bleeding into unwanted areas.
Step 5: Applying the Paint
Apply the paint in thin, even coats, using the appropriate tool for the size of the area. Be meticulous to avoid drips and ensure a smooth surface.
Step 6: Drying and Final Inspection
After applying the paint, allow it to dry fully. Once dry, inspect your work to ensure there are no missed spots or discrepancies in texture or color.
Painting Touch Up Techniques: Tips for a Flawless Finish
Mastering painting touch up techniques is essential for a seamless restoration of your home exterior. Here are some tips to help you achieve the best results:
Matching Paint Colors
Accurate color matching is vital. Take a sample of your existing paint to a professional if you’re unsure about the match, as the sun and weather can alter the color over time.
Blending Techniques
After applying the touch up, feather the edges by lightly brushing them into the surrounding area. This blending technique helps the new paint merge with the old for an indiscernible repair.
Fixing Common Issues during Touch Ups
Common issues such as bubbling or streaking can be avoided by not overworking the paint and applying it in the right conditions – not too hot, cold, or humid.
DIY Paint Touch Ups: Do’s and Don’ts
DIY paint touch ups can be empowering and cost-effective, but they come with their own set of best practices to follow. Here’s what you should and shouldn’t do:
Proper Tool Maintenance
Always clean your tools thoroughly after use. Proper maintenance extends their lifespan and ensures they are ready for the next job.
Health and Safety Precautions
- Wear protective gear such as gloves, masks, and eyewear.
- Ensure proper ventilation when working with paint.
- Keep the area safe and clear of tripping hazards.
Paint Touch Up Solutions: When to Call the Professionals
Sometimes, the extent of wear or damage might be beyond the scope of DIY paint touch ups. In such cases, calling in professional painters can save you time and ensure the longevity of your home’s exterior finish. If you’re dealing with large areas, structural damage, or you can’t find the right paint match, professional paint touch up solutions are the way to go.
Conclusion: Ensuring Long-Lasting Exterior Paint
Keeping your exterior paint in top condition not only improves curb appeal but also protects your home. With the right tools and techniques, you can effectively handle painting touch ups and keep your home looking its best.
Regular Maintenance Tips
Conduct regular inspections and clean your home’s exterior annually. Addressing issues promptly can prevent larger problems down the line.
When it comes to giving the exterior of your home a fresh touch-up, using the right tools can make all the difference. For a comprehensive look at the must-have items for your painting project, check out our detailed guide on the 10 essential tools for exterior painting. If you’re new to painting or just looking to brush up on your knowledge, our beginner’s guide to paint brush sizes and shapes is a valuable resource that will help you choose the right brush for the job. And before you dip your brush into the paint, ensure a flawless finish by learning how to properly prepare your walls with our painting surface cleaning guide. With these resources, your exterior painting touch-ups will go smoothly, and your home will look its best.
The Value of Quality Tools and Materials
Investing in quality tools and materials can make a significant difference in the results of your touch ups. High-quality products will produce a better finish and last longer, ultimately saving you both time and money.