When it comes to sprucing up the exterior of your home, a fresh coat of paint can work wonders. However, achieving a professional finish is not just about the quality of the paint but also about the exterior painting tools you use. The correct equipment can make the difference between a job that looks mediocre and one that shines with professionalism. In this post, we’ll explore the indispensable essential painting tools that every DIY enthusiast or professional painter should have for outdoor projects.
10 Essential Painting Tools for Outdoor Projects
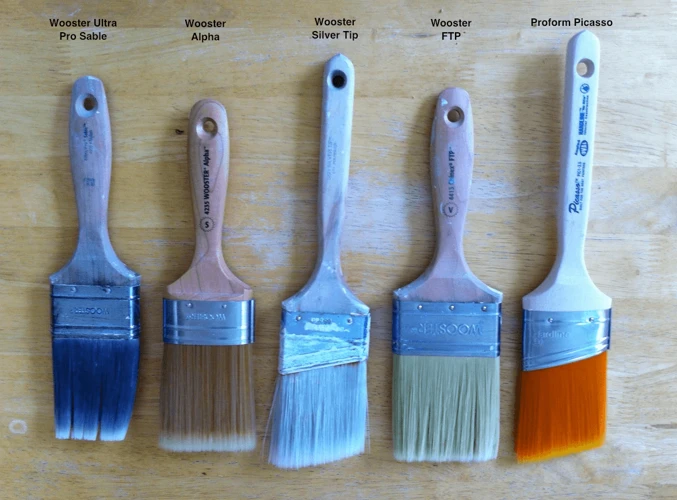
1. High-Quality Paint Brushes
Achieving precise edges and detailed work on trim and shutters is nearly impossible without a set of high-quality paint brushes. Opt for brushes with synthetic bristles for water-based paints and natural bristles for oil-based options. Look for ones that have flagged tips, which help hold more paint and create a smoother finish.
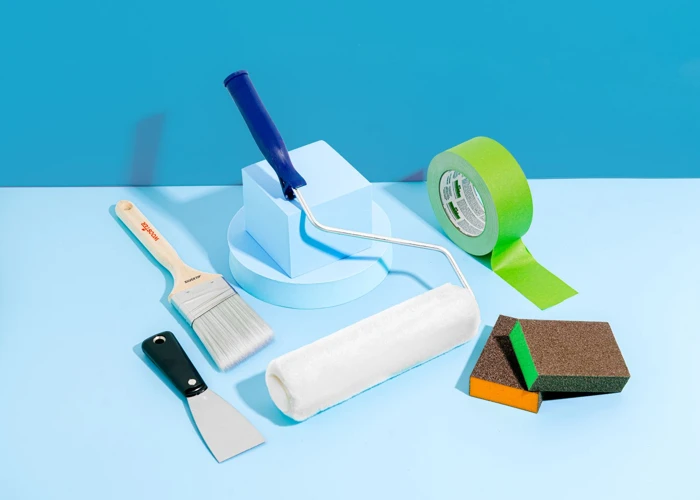
2. Durable Paint Rollers
When covering large areas like siding or fences, durable paint rollers save time and energy. A roller with a thick nap is perfect for textured surfaces, while a shorter nap works well on smooth surfaces. Ensuring the roller frame is sturdy will prevent bending during extensive use.
3. Extension Poles for Hard-to-Reach Areas
- Adjustable length for flexibility
- Locking mechanisms for safety
- Compatibility with rollers and brushes
Extension poles are vital for extending your reach without constantly moving a ladder. They come in various lengths and materials, but ones that are lightweight and easy to adjust are best for continual use throughout the day.
4. Ladders for Elevated Surfaces
Your safety and the quality of your work depend greatly on having the right ladder. A sturdy, adjustable ladder with non-slip feet is essential for reaching high areas. Make sure it is rated for your weight plus the weight of your supplies.
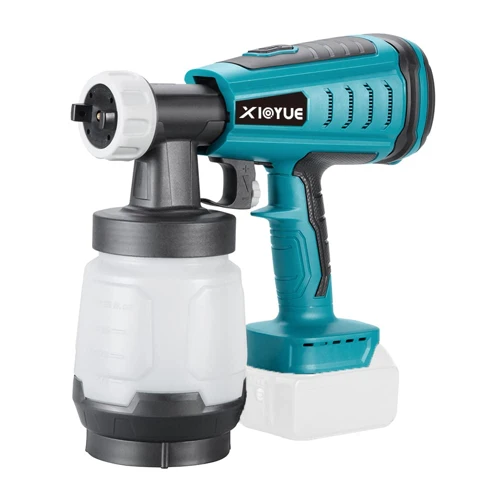
5. Paint Sprayer for Efficient Application
For an even and efficient coat, a paint sprayer is unmatched. It’s particularly useful for large or irregularly-shaped areas. Selecting a sprayer with adjustable nozzles will allow you to control the paint flow and coverage according to the project’s needs.
6. Drop Cloths to Protect Surfaces
Protecting the surrounding areas from paint drips and spills is crucial. Heavy-duty canvas drop cloths are absorbent and slip-resistant, making them superior to plastic sheeting which can be slippery and less durable.
7. Painter’s Tape for Clean Edges
Painter’s tape is the unsung hero for creating sharp lines and protecting surfaces. It’s crucial to use tape that is strong enough to stick but won’t leave a residue or damage surfaces when removed.
8. Caulk Gun for Sealing Gaps
Before painting, sealing gaps with caulk prevents moisture intrusion and ensures a clean, finished look. A caulk gun with a comfortable grip and smooth pressure mechanism will make this task much easier.
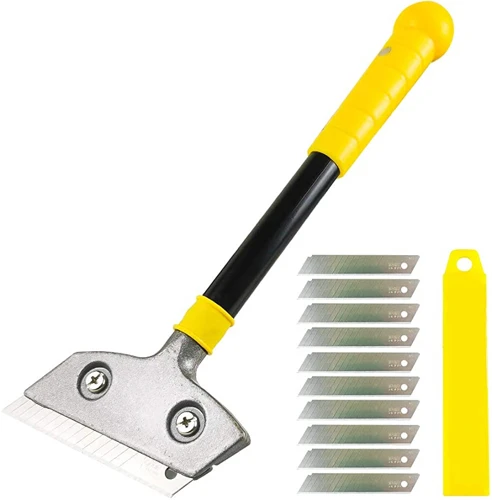
9. Surface Prep Tools for a Smooth Finish
Proper preparation is key to a lasting paint job. Tools such as sanders, scrapers, and wire brushes remove old paint and smooth the surface. For best results, choose tools that are comfortable to hold and durable.
10. Buckets and Cans for Paint Storage
Mixing and storing paint is part of the painting process. Buckets with lid and handle are practical, especially if they have a spout for easy pouring. Metal cans are good for small amounts of paint and touch-ups.
Additional Exterior Painting Equipment
Paint Smoother Tool for a Professional Look
A paint smoother tool is excellent for eliminating brush marks and achieving a uniform finish. Using this tool helps in distributing the paint evenly, which is vital for a smooth and professional appearance.
Painting Tools for Hard to Reach Areas
Even with extension poles, there are spots that might be tough to paint. Specialty painting tools for hard to reach areas like angled brushes or mini rollers can help tackle those challenging spots with ease.
Maintenance and Safety with Exterior Painting Tools
Maintaining your painting tools is crucial for their longevity and performance. Clean your brushes and rollers after each use, and store them properly to prevent damage. Safety is another important aspect to consider. Always use ladders correctly, wear protective gear, and follow the manufacturer’s guidelines for any power tools.
Whether you’re a seasoned professional or tackling your first DIY exterior painting project, having the right tools can make all the difference. Our comprehensive guide on the 10 essential painting tools will help you get started with the basics. For those specific exterior touch-ups and detailed work, be sure to check out our recommendations for the best tools for exterior painting touch-ups. And if you’re wondering about the prep work involved in painting, particularly sanding, don’t miss our insights on essential sanding for interior painting, which can also be applicable to exterior surfaces. Get ready to transform your space with the right tools in hand!
Conclusion: Maximizing Efficiency with the Right Tools
Investing in the right outdoor painting equipment is essential for any exterior painting project. The correct tools not only make the job easier but also lead to a more attractive and lasting finish. Whether you’re a seasoned professional or a DIY enthusiast, having these tools on hand will prepare you for any painting challenge that comes your way.