Understanding the Basics of Cork Board Cardboard DIY
Embarking on a DIY cork board project is a fantastic way to organize your thoughts, display memories, or even create a functional art piece. The marriage of cork and cardboard offers a lightweight yet sturdy solution for crafting enthusiasts. Understanding the nuances of combining these materials is the first step in creating a piece that’s both aesthetically pleasing and durable.
Benefits of Creating a Homemade Cork Bulletin Board
Constructing a homemade cork bulletin board not only allows you to tailor the size and shape to your specific needs but also provides a sense of accomplishment. This cost-effective solution is environmentally friendly and customizable, making it an ideal choice for various applications, from home offices to kitchen message centers.
Materials Needed for Gluing Cork Board to Cardboard
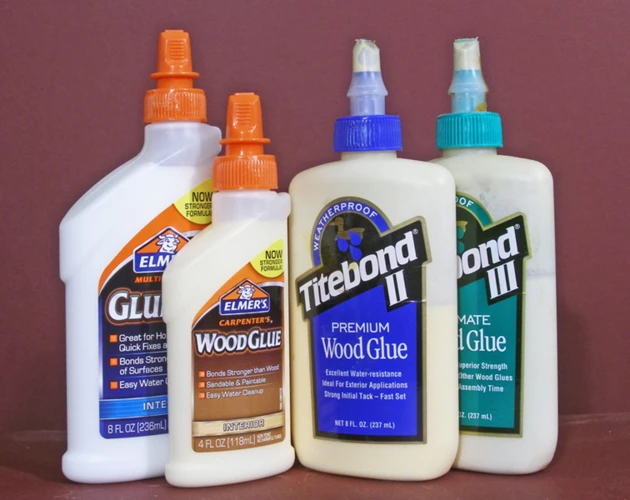
Choosing the Best Glue for Cork to Cardboard
Selecting the best glue for cork to cardboard is crucial for ensuring long-term adhesion. The market offers a range of adhesives designed for porous materials, but it’s essential to choose one that dries clear and has enough flexibility to withstand the cork’s texture.
Additional Tools and Supplies
- Scissors or a utility knife for cutting materials
- Measuring tape for precision
- Brush or a roller for even glue application
- Heavy objects or a roller for pressing materials
Step-by-Step Guide to Bonding Cork to Cardboard
Preparing the Surfaces for Gluing
Start by cleaning both the cork and cardboard surfaces. They must be free of dust and debris to ensure a strong bond. Measure and cut the cork to match the cardboard’s dimensions before proceeding with the gluing process.
Applying the Adhesive: Cork Board Adhesive Tips
When applying the adhesive, spread a thin, even layer across the surface of the cardboard. Avoid over-saturating as this can cause warping or bubbling in the cork. These cork board adhesive tips will help you achieve a smooth and firm attachment.
Attaching and Pressing the Materials Together
Align the cork carefully onto the cardboard, starting from one edge and slowly laying it down to prevent air bubbles. Once in place, use a roller or your hands to press down firmly across the entire surface, ensuring proper contact between the materials.
Drying Time and Considerations
Allow ample time for the adhesive to dry, following the manufacturer’s recommendations. This drying period is crucial for the bonding cork to cardboard process. It’s best to leave the newly adhered cork board under a flat weight to maintain even pressure and prevent curling.
Best Practices for How to Attach Cork to Cardboard
Choosing the Right Environment for Gluing
For optimal results, choose a well-ventilated area at room temperature. Extreme temperatures and humidity levels can affect the glue’s curing process and the final outcome of your cork board cardboard DIY.
Dealing with Adhesive Spills and Cleanup
Should any adhesive spill, act quickly with a damp cloth to clean the excess. Proper cleanup is integral to maintaining the project’s appearance and functionality. Always have cleaning supplies on hand before you start gluing cork board to cardboard.
Cork Board Craft Ideas and Enhancements
Decorative Options for Your Cork Board
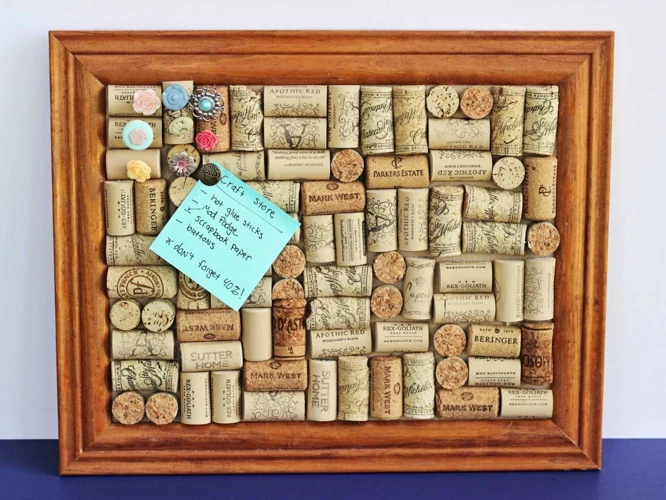
Once your cork board is complete, consider personalizing it with paint, fabric, or decorative tacks. These small touches can transform your board into a unique piece that reflects your style and enhances your space.
Functional Uses for Your Cardboard and Cork Board Crafts
From jewelry organizers to photo collages, the uses for your cardboard and cork board crafts are virtually endless. Utilize your creation to stay organized with to-do lists, or display cherished mementos in a special corner of your home.
Troubleshooting Common Issues
Preventing Cork from Peeling or Detaching
To prevent the cork from peeling or detaching, ensure that you’ve applied enough glue and have allowed it to dry completely. If peeling occurs, gently lift the cork and reapply adhesive, being careful not to damage the material.
Repairing Damaged Cork Boards
If your cork board encounters damage, don’t despair. Small tears can be mended with additional glue, and stains can often be removed with gentle cleaning. In cases of significant damage, it may be necessary to replace the affected cork area.
Conclusion and Final Thoughts on Cork Board Projects
Reflecting on Your Completed Cork Board Cardboard DIY
After completing your project, take a moment to appreciate the effort and creativity that went into your DIY cork board. It’s not just a tool for organization; it’s a representation of your handiwork and innovation.
When it comes to crafting, knowing how to properly adhere different materials together can make all the difference in your projects. While you’re exploring the best ways to attach cork board to cardboard, you might also be interested in other adhesive techniques. We have helpful guides for a variety of materials. Learn how to add a delicate touch with our tutorial on how to glue ribbon to paper, bring a piece of nature into your craft with our guide on how to glue moss to cardboard, or give a sleek look to your decorations with tips from our article on how to glue ribbon to glass. Each guide is designed to help you achieve the best results in your crafting endeavors.
Exploring Further Craft Ideas and Projects
Emboldened by the success of your cork board craft ideas, you may feel inspired to dive into more complex projects. Whether you’re enhancing your home decor or crafting gifts for friends, the world of DIY is full of possibilities waiting to be explored.


