Reviving the elegance of your cherished memories often involves picture frame repair. Whether it’s an heirloom or a recent purchase, knowing how to glue picture frame corners can breathe new life into your artwork. Not only does this skill save you money, but it also allows you to maintain the integrity of your frames.
Understanding the Basics of Picture Frame Repair
Embarking on a DIY frame fixing journey requires a fundamental understanding of the materials and techniques involved. This ensures that the end result is both aesthetically pleasing and structurally sound, keeping your pictures perfectly framed for years to come.
Choosing the Right Adhesive for Frames
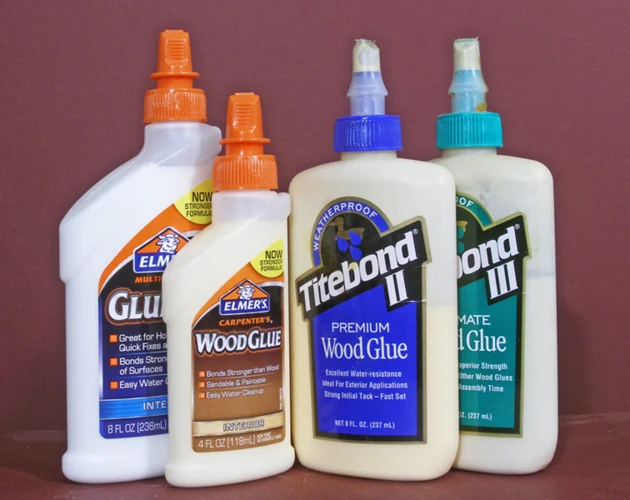
When it comes to adhesive for frames, selecting the proper type is crucial for a lasting hold. The adhesive should be strong enough to withstand the weight of the frame and the glass, yet gentle enough to not damage the material of the frame itself.
Comparing Different Frame Gluing Techniques
There are several frame gluing techniques, ranging from using wood glue for wooden frames to specialized adhesives for metal or plastic frames. Understanding the pros and cons of each option will guide you in making the right choice for your project.
Preparation for Glue Picture Frame Corners

Before starting the gluing process, preparing your workspace and the frame itself is essential. This involves cleaning the corners and ensuring that they are aligned correctly. These preliminary steps are vital for successful bonding frame corners.
Cleaning and Aligning Frame Joints
- Remove any debris or old adhesive from the frame corners.
- Ensure that the joints of the frame are perfectly aligned.
- Prepare a clean, flat surface to work on.
Step-by-Step Guide to Bonding Frame Corners
Now that you have chosen your adhesive and prepared the frame, you are ready to begin the process of bonding frame corners. This requires precision and patience but can be accomplished with a steady hand and the right tools.
Applying Adhesive and Clamping for Secure Frame Joints
- Apply a thin layer of adhesive to the cleaned and aligned frame corners.
- Press the corners together firmly to ensure a tight bond.
- Use clamps to hold the frame corners in place while the adhesive dries.
Frame Corner Reinforcement Tips
To ensure that your picture frame withstands the test of time, frame corner reinforcement is key. There are several methods to reinforce the corners, which can provide additional support to the frame.
Additional Methods for Strengthening Picture Frames
From using metal brackets to inserting wooden splines, there are various ways to further secure frame joints beyond just adhesive. Each method has its own set of benefits and can be used in conjunction with gluing for optimal strength.
Troubleshooting Common Issues in Fixing Picture Frames
As with any DIY project, you may encounter challenges while fixing picture frames. Common issues can include misalignment of corners, not enough clamping pressure, or using the wrong type of adhesive. Being able to identify and address these problems is an important part of the process.
Final Touches and Caring for Your Picture Frame DIY
Once the adhesive has dried and the corners are secure, it’s time to apply the final touches. This might involve sanding down any excess adhesive or touching up the frame with paint or stain. Proper care after your picture frame DIY will ensure longevity and stability.
When it comes to DIY projects, having the right techniques and tips can make all the difference. If you’re looking to perfect your picture framing skills and need to know the best way to glue picture frame corners, you’ve come to the right place. But why stop there? Our blog also offers a wealth of knowledge on similar adhesive challenges. Learn how to reattach a side view mirror with our guide on how to glue a side view mirror. If you’re dealing with wallpapers, our article on how to seal wallpaper glue could be just what you need to ensure a flawless finish. And for those creative souls interested in upcycling, don’t miss out on our fun tutorial about how to glue bottle caps to a picture frame. Dive into these resources to become a gluing guru for all your craft and repair projects!
Conclusion: Celebrating Your Newly Fixed Picture Frame
With the corners now firmly bonded and the frame looking as good as new, it’s time to celebrate your handiwork. Your DIY frame fixing project not only preserves the frame but also the moments captured within it. Enjoy the satisfaction of a job well done and the beauty of your restored picture frame.