When it comes to repairing minor dings and dents on your vehicle, glue dent pulling has emerged as a revolutionary technique. This method is a non-invasive way to restore your car’s surface without the need for extensive bodywork. In this post, we’ll explore how to use a hot glue dent puller effectively, ensuring that your DIY repair is both efficient and successful.
Understanding the Glue Dent Pulling Process

The essence of glue dent pulling involves attaching a tool to the dented area via a special adhesive. Once set, the tool is used to pull the dent outwards, aligning it with the car’s original bodyline. Let’s delve into the particulars of this process.
Access Points for Glue Dent Pulling
Identifying appropriate access points is crucial for successful glue dent pulling. These are areas around the dent where the hot glue can be applied safely without affecting the paint or surrounding surface.
Planning Your Dent Removal Strategy
Devise a strategic approach by evaluating the size and location of the dent. This will dictate the type of puller and glue you’ll use, as well as the angle and force of the pull required.
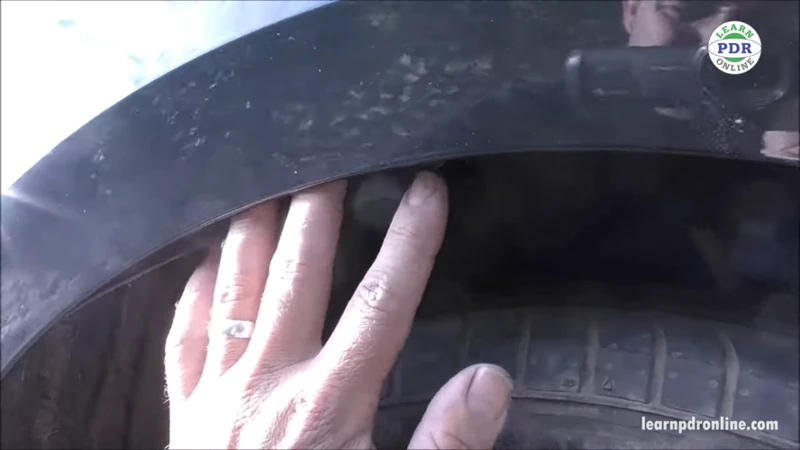
Assessing the Dent Before Using a Hot Glue Dent Puller
Before beginning, closely examine the dent. Look for any sharp edges or creases that may influence the pulling process and adjust your technique accordingly.
Identifying Tension Points for Effective Dent Removal
Understanding the tension points within the dent is key. These are areas where the metal has been stretched and requires careful manipulation to return to its original state.
Step-by-Step Guide to Using a Hot Glue Dent Puller
Now, let’s take a step-by-step look at the actual process of using a hot glue dent puller to repair a dent on your vehicle.
Preparing the Surface and Tools
- Clean the affected area thoroughly to remove any dirt or debris.
- Preheat your glue gun according to the manufacturer’s instructions.
- Prepare your puller and ensure all components are in working order.
Applying the Glue and Attaching the Puller
Apply a layer of hot glue to the pulling tab and promptly attach it to the center of the dent. Wait for the glue to set before attaching the puller to the tab.
Executing the Pull and Re-assessing the Damage
Gently apply pressure with the puller to coax the dent back into place. Afterward, remove the puller and glue to evaluate the progress made.
Finishing Touches: Restoring the Bodyline
Once the majority of the dent is corrected, use additional tools if necessary to fine-tune the surface and restore the vehicle’s original bodyline.
Gliston Dent Puller Instructions

For those opting for the Gliston brand, understanding how to use their specific dent puller is important for achieving optimal results.
Understanding Your Gliston Dent Puller Components
Familiarize yourself with the components of the Gliston dent puller. Each part plays a pivotal role in the dent removal process.
How to Operate the Gliston Dent Puller
Follow the gliston dent puller instructions meticulously. Adhering to the recommended practices ensures the safety and longevity of your vehicle’s aesthetics.
Tips and Tricks for Maximum Efficiency
Using a hot glue dent puller can be straightforward, but certain tips and tricks can enhance your efficiency and outcome.
Top Tips for Using a Slide Hammer
Incorporating a slide hammer? It’s a powerful ally for glue dent pulling. Handle it with finesse to avoid overcorrection and additional damage.
Shaping the Panel and Working the Bodyline for a Flawless Finish
After pulling the dent out, refine the panel shape and bodyline. Use gentle taps and adjustments to achieve a flawless finish.
Frequently Asked Questions about Glue Dent Pullers
Let’s address some common queries regarding the use of hot glue dent pullers.
What Is Paintless Dent Removal (PDR)?
Paintless Dent Removal is a technique used to remove minor dents and dings without compromising the vehicle’s paint. It’s an integral aspect of glue dent pulling.
Best Practices for Selecting Glue Guns and Sticks for PDR Work
Selecting the right glue gun and sticks is vital for PDR. Opt for products designed specifically for automotive use to ensure compatibility and effectiveness.
Compatibility of Glue Guns with 12V DC Electricity Supply
Ensure your glue gun is compatible with a 12V DC electricity supply if you’re planning to use it with your vehicle’s power outlet. This makes the tool more versatile and convenient for on-the-go repairs.
Conclusion: Why Opt for Glue Dent Pulling?
Glue dent pulling is an invaluable skill for any car enthusiast or DIY repairer. But why should you invest time in learning this technique?
Benefits of Using a Hot Glue Dent Puller
Using a hot glue dent puller comes with numerous benefits including cost savings, preservation of the original paint, and the convenience of at-home repairs.
If you’re into do-it-yourself repairs or crafting, understanding how to properly use various types of adhesives can make a big difference in your projects. While you’re exploring the best ways to handle adhesives, you might want to check out our comprehensive guides. For those into nail art, our tutorial on how to use solid nail glue gel is a must-read. If you’re dealing with false teeth, our step-by-step guide on how to use denture glue will ensure a secure fit. And for the beauty enthusiasts, we also have an article on how to use lash glue remover to gently take off eyelash extensions. As for your car repairs, learning how to use a hot glue dent puller could be your next great skill, as it’s a quick and inexpensive way to fix minor dents on your vehicle.
Why Choose Quality Tools for PDR Work
Investing in quality tools for PDR work is essential. High-quality tools enhance the efficiency of the repair and help ensure a professional finish.