Understanding the Basics of Natural Adhesives
Imagine you’re in the wilderness, and you need to repair a piece of broken equipment. Without access to conventional adhesives, what do you do? This is where the knowledge of making glue in the wild becomes invaluable. Glue has been used for thousands of years, and many ancient civilizations crafted their own adhesives from natural resources. Understanding the basics of natural adhesives involves recognizing the substances that can act as binding agents and how to process them into a sticky, cohesive form.
Gathering Materials for Natural Glue
Natural Glue from Plants
Many plants secrete resins that can be used as a base for natural glue. Pine trees, for instance, produce sap that, when heated and reduced, creates a sticky substance perfect for adhesion. Other plants like cattails, certain grasses, and even dandelions can be processed to extract sap or fibers that form a basic adhesive when combined with water and heated.
Animal Glue: Utilizing Resources in the Wild
Animal-based adhesives have been used since ancient times. Fish glue, made from the swim bladders of fish, and hide glue, derived from boiling animal hides, bones, and tendons, are two examples. While these processes are more complex and time-consuming, they can provide a strong bond that is useful for various applications.
How to Make Your Own Glue
How to Make Natural Glue with Simple Ingredients
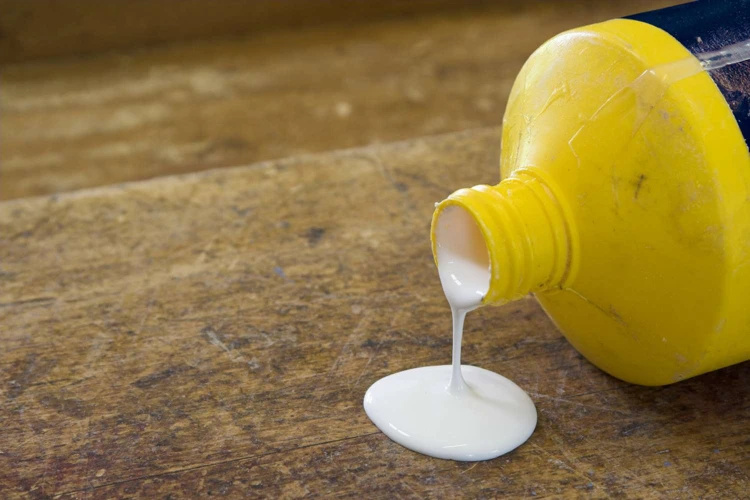
To make a simple plant-based glue, collect sap from pine trees or other sappy plants. Heat the sap slowly until it thickens. For a more basic adhesive, mix plant fibers with water and heat until a paste forms. It won’t be super strong but can hold light materials together.
Ancient Glue Recipe: Learning from the Past
Ancient recipes often used a combination of natural ingredients. Boiling animal hides and bones releases collagen, which when cooled, forms a gelatinous substance. When reheated, this gelatin can be applied as a strong glue. Adding charcoal or other natural fillers can increase the viscosity and strength of the adhesive.
Creating Strong and Durable Adhesives
How to Make Strong Glue from Natural Sources
For a stronger glue, you can refine the animal glue process by carefully selecting the bones and tendons that are rich in collagen. Slowly simmering these parts in water will create a more concentrated glue. Strain the mixture to remove any solids, and reduce the liquid until it reaches the desired thickness.
Improving Bond Strength: Tips and Tricks
To improve the bond strength of your natural glue, consider adding natural fillers. Ashes, crushed charcoal, or even fine sand can increase the density and grip of the adhesive. Ensuring a clean and rough surface on the materials you’re bonding will also improve adhesion.
Eco-Friendly Glue Alternatives
How to Make Eco-Friendly Glue: A Sustainable Approach
Eco-friendly glues avoid the use of animal products and focus on plant-based ingredients. Using resins from trees or sap from flowers, you can create a sustainable adhesive. Ensure that the collection of these materials is done sustainably, without harming the plant or tree.
Homemade Glue with Flour: A Biodegradable Solution
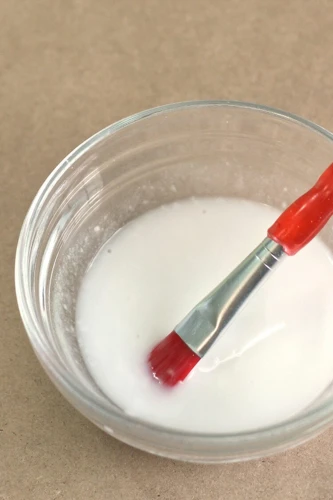
A simple and eco-friendly glue can be made from flour and water. Create a paste by mixing flour with a small amount of water, then heat it until the mixture thickens. This creates a biodegradable glue that’s perfect for paper or light wood materials.
Preparation Methods for Wilderness Glue
How to Make Glue Without Heat: Cold Process Techniques
Cold process glues can be made by macerating plant materials and soaking them in cold water to extract the adhesive substances. This method is less effective than heated methods but can work in a pinch for temporary repairs.
Using Heat to Enhance Adhesive Properties
Heating plant saps and animal collagens denatures the proteins, making them sticky and more effective as an adhesive. Gentle heat can also be used to thicken plant-based pastes. Always be mindful of the temperature to prevent burning the glue, which can weaken its adhesive properties.
Practical Applications of Homemade Glue
Repairing Gear and Tools with Your Self-Made Glue
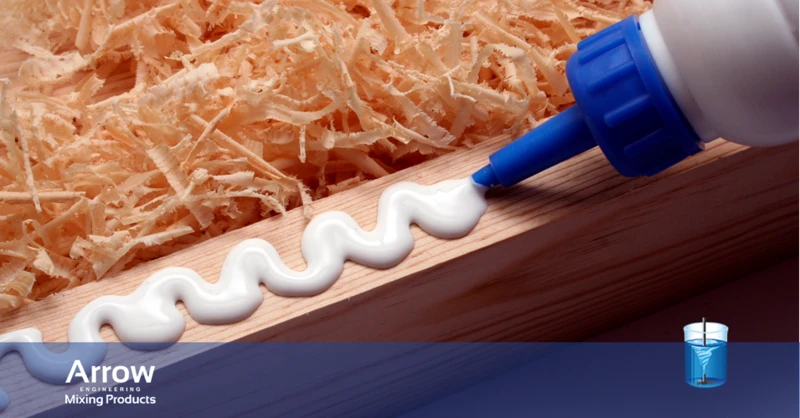
Your homemade glue can be used to repair gear, mend clothing, or fix tools. When applied properly, natural glue can be surprisingly resilient and provide a temporary or even permanent fix in some cases.
Crafting with Natural Adhesives: Do It Yourself Projects
Natural glues can also be used for crafting projects in the wild. From constructing shelters with glued joints to making simple containers or utensils, the applications are as diverse as your creativity allows.
Conclusion
Recap of Wilderness Glue Making Techniques
In this post, we’ve explored various methods of making glue in the wild, from simple plant-based pastes to more complex animal glues. Each method has its own set of strengths and applications, and understanding these can be crucial in a wilderness survival scenario.
When you’re out in the wild and in need of an adhesive, knowing how to make your own glue could be an invaluable skill. For those of you interested in DIY adhesives, we have some resources that might help. Learn about creating different types of glue with our guides on how to make crazy glue and how to make hot glue. And if you ever find yourself in a sticky situation where you need to remove glue from a wooden surface, our article on how to get crazy glue off wood could save the day.
Embracing Traditional Skills in Modern Times
While modern adhesives are often more convenient, there is value in learning and embracing traditional skills such as making glue from natural resources. Not only can it be a fun and educational experience, it also fosters a deeper connection with nature and a greater appreciation for the ingenuity of our ancestors. Whether for practical use or as a way to reduce our environmental impact, making glue in the wild is a skill worth having.