Embarking on a glue down cork flooring installation can transform your living space, providing both aesthetic appeal and practicality. This type of project is well within the reach of those who fancy a bit of do-it-yourself work, with the right preparation and guidance.
The Basics of DIY Cork Flooring
Engaging in DIY cork flooring requires a clear understanding of the process and a little bit of elbow grease. Cork tiles are a unique flooring option that offer ease of installation, making them perfect for DIY enthusiasts looking to upgrade their floors with their own hands.
Benefits of Choosing Cork Flooring
Opting for cork floors brings a multitude of advantages, including their natural warmth and cushioning properties. Cork flooring benefits also encompass sound insulation and the material’s ability to recover well from indentations, making it durable underfoot.
Materials and Tools Required for Installing Cork Tiles

Before delving into the installation, gathering the necessary supplies is essential. This ensures a smooth and efficient installation process.
List of Necessary Tools
- Tape measure
- Utility knife
- Trowel
- Chalk line
- Carpenter’s square
- Roller
Choosing the Right Cork Floor Adhesive
Selecting a suitable cork floor adhesive is crucial for a successful installation. It must bond well with both the cork tiles and the subfloor to ensure longevity and stability.
Preparing for Cork Flooring Installation

Preparation is key in any flooring project. A solid foundation will lead to a beautiful and enduring finish.
Cork Underlayment Installation
Starting with a cork underlayment installation is a wise move. It serves as an extra layer of insulation and helps to iron out minor imperfections in the subfloor.
Preparing the Subfloor
Ensuring the subfloor is clean, level, and dry will pave the way for a successful installation. Any irregularities can cause problems down the line.
Step-by-Step Guide to Glue Down Cork Flooring Installation
Now we come to the main event: laying down your new cork flooring. Here’s how to approach each step with confidence.
Step 1: Acclimating the Cork Flooring
Allow your cork flooring to acclimate to the room’s temperature and humidity for at least 48 hours before installation. This step is crucial for preventing future expansion or contraction.
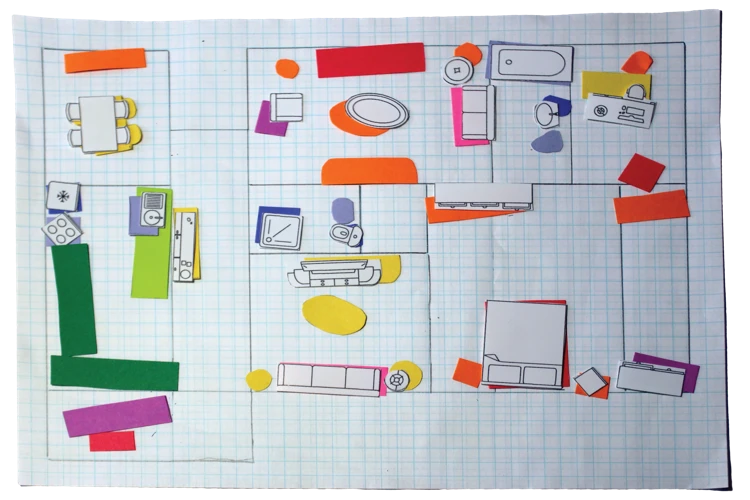
Step 2: Planning Your Layout
Measure the room and plan your layout carefully. Starting from the center of the room can help to ensure a balanced look, with cut tiles at the edges of the space.
Step 3: Applying the Adhesive
Apply the adhesive using a trowel, ensuring a consistent spread. Follow the manufacturer’s instructions for the best results.
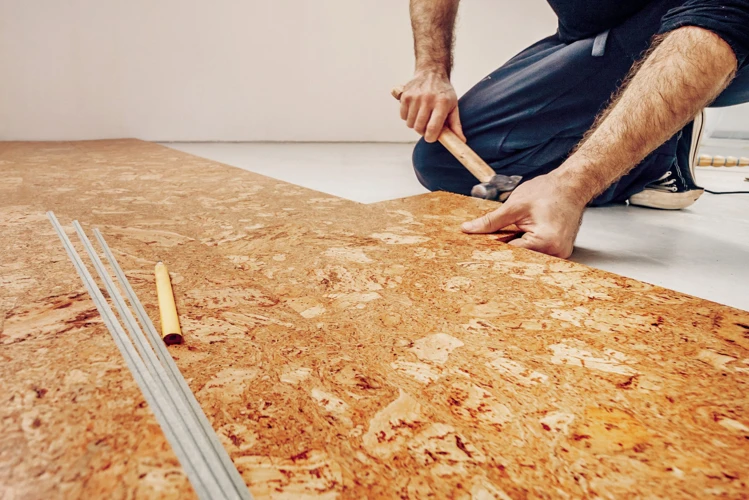
Step 4: Laying the Cork Tiles
Begin laying your cork tiles firmly into the adhesive, working in sections and pressing down evenly to ensure a strong bond.
Step 5: Cutting and Fitting Cork Tiles
Use a utility knife and carpenter’s square to make precise cuts on the tiles that need to fit around corners or edges. Take your time for a neat finish.
Step 6: Finishing Touches
Once all tiles are laid, use a roller to press them down into the adhesive securely. Clean any excess adhesive immediately and allow the floor to cure as per adhesive guidelines.
Maintenance and Care for Durable Cork Flooring
With the right care, your cork flooring can last for years. Here’s how to maintain its beauty and functionality.
Cleaning and Protecting Your Cork Floor
Regular cleaning with a soft mop and a suitable cleaner will keep your durable cork flooring looking its best. Avoid excessive water and harsh chemicals.
Repairing Damaged Cork Tiles
If a tile becomes damaged, it can often be repaired or replaced with ease. Keep some spare tiles on hand for quick fixes.
Common Challenges and Solutions in Cork Flooring Installation

Installation isn’t always a straightforward path. Be prepared to tackle common issues that may arise.
Dealing with Moisture: Ensuring Waterproof Cork Flooring
Prevent moisture issues by selecting waterproof cork flooring options or applying a sealant. This will protect your floors from spills and humidity.
Addressing Subfloor Imperfections
Subfloor irregularities can be a nuisance. Use a leveling compound or cork underlayment to create a smooth surface before laying your tiles.
Why Choose Cork? Eco-Friendly Flooring and Other Benefits

Cork isn’t just a pretty face; it has substantial benefits that extend beyond its appearance.
Environmental Advantages of Cork Flooring
Cork is harvested from the bark of cork oak trees without damaging them, making it a sustainable choice. Its production has a low environmental impact, qualifying it as eco-friendly flooring.
Comfort and Insulation Benefits
Beyond being eco-conscious, cork provides excellent insulation and a comfortable walking surface, thanks to its natural resilience and thermal properties.
Conclusion and Additional Resources

Whether you’re a seasoned DIYer or new to the world of home improvement, installing cork flooring can be a rewarding project that adds value and comfort to your home.
Recap of Cork Flooring Installation Steps
We’ve covered everything from preparing your subfloor to laying down the tiles and finishing up your new floor. Remember, patience and preparation are your best tools.
When it comes to installing flooring, the glue-down method is a popular choice for its durability and stability. For those interested in the eco-friendly option of cork flooring, our step-by-step guide on how to install glue-down vinyl sheet flooring can offer helpful techniques and tips that are also applicable to glue-down cork flooring. If you ever face any issues with your flooring, such as damage to vinyl planks, you might want to check out our article on how to repair glue-down vinyl plank flooring for some useful repair strategies. Additionally, if your installation process involves dealing with residual glue on surfaces, our instructions on how to get tile glue off walls can help you achieve a clean finish.
Further DIY Cork Flooring Resources
For those hungry for more knowledge, there are ample resources available online. Dive into detailed cork flooring guides or join DIY forums for shared experiences and tips.