Woodworking is both an art and a science, with wood glue techniques at the heart of creating durable and beautiful wooden structures. When two pieces of wood are joined together with a strong adhesive, the result can be as sturdy as the wood itself. In this post, we’ll explore the nuances of wood bonding, from selecting the right adhesive to ensuring a lasting bond.
Understanding Wood Bonding
Wood bonding is more than just sticking pieces together; it involves understanding the cellular makeup of wood and how adhesives interact with it. A secure bond requires both mechanical adhesion, where the glue seeps into the pores of the wood, and chemical adhesion, where the adhesive reacts with the wood to create a bond.
Choosing the Best Wood Glue
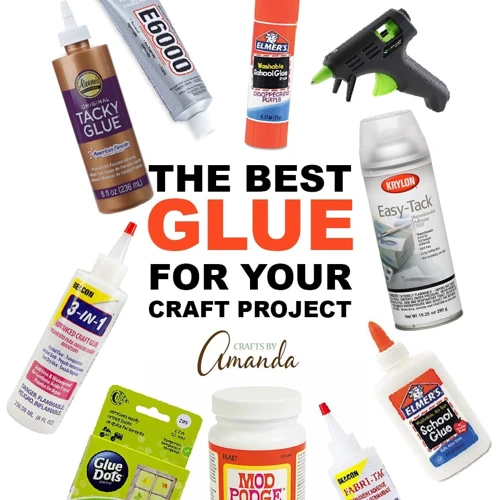
Selecting the best wood glue depends on the woodworking project at hand. Factors such as the wood type, environmental conditions, and the bond strength required should guide your choice. From PVA glues to polyurethane options, each adhesive has its unique set of properties suited for different applications.
Preparation for Gluing Wood
Before any adhesive is applied, proper preparation is key. This ensures that the glue wooden pieces will bond well and that the joint will last for years to come. Let’s delve into how to prepare the wood surfaces and utilize joinery tips for stronger bonds.
Wood Surface Preparation
A smooth, clean surface is crucial for effective wood surface preparation. Sanding the areas to be joined removes any dirt or oil that could interfere with the adhesive, while also creating a rougher surface for better mechanical adhesion. Cleaning the wood with a damp cloth can also help to remove any remaining dust.
Joinery Tips for Stronger Bonds
Strong joints are the cornerstone of durable woodworking. Joinery tips include using techniques like dovetails or mortise and tenon for enhanced strength. Additionally, ensuring that the wood is cut precisely and fits snugly together before gluing will aid in creating a more secure bond.
Applying Woodworking Adhesive

The application of woodworking adhesive is a critical stage in wood glue techniques. It is essential to apply the glue methodically, ensuring an even distribution and the right amount for the joint to be effective without causing a mess.
Glue Wooden Pieces Together
To glue wooden pieces together, spread a thin, even layer of adhesive on one surface. If the joint is large, you may need to use a brush or roller to cover the area completely. Then, join the pieces together, applying firm pressure to distribute the glue within the joint.
Clamping Wood for a Firm Bond
Clamping wood is necessary to keep the joint tight while the glue sets. Use clamps that are appropriate for the size of your project and apply even pressure across the joint. This will help prevent gaps and ensure that the bond is uniform and strong.
The Gluing Process Explained
Understanding the gluing process is essential for achieving a solid wood bond. It involves more than just applying adhesive; one must be mindful of the amount used, the application technique, and the handling of excess glue.
Proper Techniques for Wood Glue Application
The proper techniques for wood glue application involve a delicate balance. Too much glue can weaken the bond, while too little may not hold the joint. Apply a bead of glue and spread it with a brush or finger to create an even coat that’s neither too thick nor too thin.
Managing Excess Glue and Cleanup
After joining the pieces, excess glue may squeeze out. This should be wiped away with a damp cloth before it dries. However, some woodworkers prefer to allow the glue to partially set, as it can then be removed more cleanly with a chisel or scraper.
Curing and Drying

Once the adhesive is applied and the wood is clamped, the curing and drying stage begins. This is when the adhesive undergoes a chemical process that solidifies the bond between the wooden pieces.
Curing Time for Wood Glue
The curing time for wood glue varies depending on the type of glue, humidity, and temperature. It’s essential to read the manufacturer’s instructions to know how long the glue should cure before the clamps can be removed and the piece can be handled.
Maximizing Wood Glue Strength
To maximize wood glue strength, ensure that the environment is conducive to curing — adequate temperature and humidity are vital. Avoid stressing the joint during the curing period, and consider using a glue that is specifically formulated for the type of stress the joint will endure.
Advanced Wood Glue Techniques
Advanced wood glue techniques can enhance the quality of your woodworking projects. These methods require a deeper understanding of wood behavior and adhesive properties but can offer superior results.
Complex Gluing Methods
Complex gluing methods, such as using epoxy for filling voids or creating a laminated effect with multiple layers of wood, can provide both aesthetic appeal and additional strength. These methods may involve mixing components or applying glue in stages.
Glue-ups for Different Woodworking Projects
Glue-ups vary from project to project. A cutting board may require a simple edge-to-edge glue-up, while a cabinet door might need a more complex arrangement of rails, stiles, and panel. Tailor your glue-up technique to the specific requirements of your project for the best results.
Troubleshooting Common Gluing Issues
Even with careful preparation and application, issues can arise in the gluing process. Recognizing and addressing these problems promptly can save a project from failure.
Dealing with Weak Joints and Breakage
Weak joints and breakage often result from inadequate clamp pressure, insufficient glue, or poor joint preparation. Reassess the joint, reapply glue if necessary, and ensure that the clamped joint is secure without any movement.
Adjusting for Wood Movement and Expansion
Wood movement and expansion can cause joints to fail if not accounted for. Use adhesives that allow for some flexibility, and consider the orientation of the wood grain when planning your joints to minimize the stress caused by wood movement.
For those of you who love DIY projects or are keen on learning more about adhesives and their applications, you might be interested in our detailed guides. If you’re specifically looking to master the art of woodworking, our article on how to glue wood together is a great starting point. But if you’re working with different materials, you might also find our tutorials on how to glue slate together and how to glue wax together incredibly helpful for your crafting needs.
Conclusion: Ensuring Successful Wood Bonding
Successful wood bonding hinges on meticulous preparation, careful glue application, and a thorough understanding of the materials and methods involved. With patience and practice, these wood glue techniques can lead to strong, lasting joints that form the backbone of quality woodworking projects. Remember, the right preparation and the right adhesive are the keys to success.