When it comes to personal belongings, sneakers hold a special place in our hearts and closets. They’re not just a fashion statement but also a companion to our daily adventures. Unfortunately, even the sturdiest pair can succumb to wear and tear, leading to detachment of the soles. But before you consider tossing them out, consider the sustainable and cost-effective option of DIY shoe repair. This comprehensive guide will navigate you through the process of fixing sneaker soles, ensuring your favorite kicks are back in action in no time.
Understanding Shoe Adhesive Guide
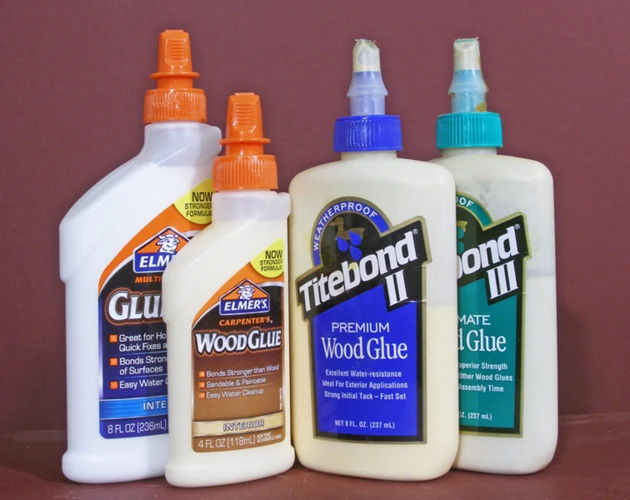
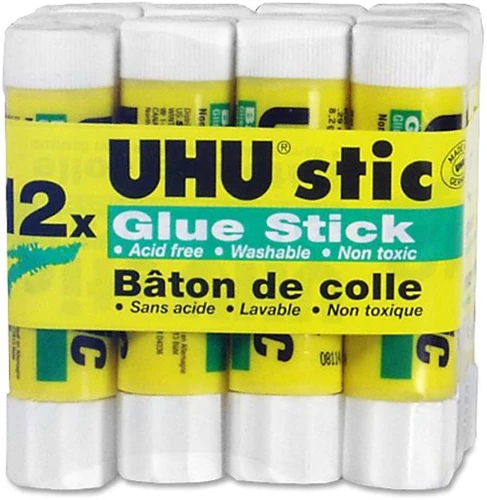
Types of Shoe Glues
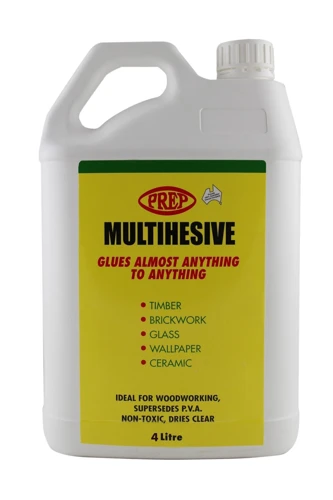
When looking into the realm of shoe repair, you’ll quickly find that there’s a plethora of sneaker sole repair glue options available. These adhesives are designed to provide a firm bond tailored specifically for the unique materials and conditions shoes endure. From polyurethane (PU) glues to neoprene cement, each type has its own set of properties that make it suitable for different applications.
Choosing the Best Glue for Shoes
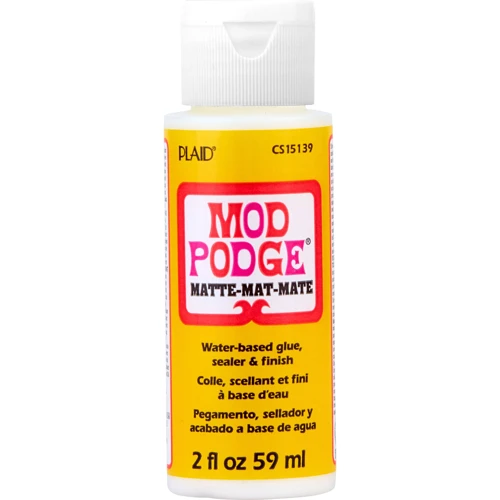
With your sneakers’ longevity in mind, selecting the best glue for shoes is a critical step. Factors such as flexibility, water resistance, and bonding strength should influence your choice. The ideal adhesive will ensure a durable repair that can withstand the flexing and pressures of everyday use without cracking or peeling.
Preparation for Fixing Sneaker Soles
Gathering the Right Materials
- Quality shoe glue
- Clamps or heavy objects
- Cotton swabs or a small brush
- Rubber gloves
- Fine-grit sandpaper
- Cleaning solution (like rubbing alcohol)
Cleaning and Prepping the Sole
Before diving into how to reglue shoe soles, it’s essential to clean and prepare the surfaces. Remove any dirt, debris, or old glue from the sole and the bottom of the shoe. A smooth and clean surface enhances the bond between the sole and shoe, making the repair more effective.
Step-by-Step Guide: How to Reglue Shoe Soles
Applying Sneaker Sole Repair Glue
Start by carefully applying a thin layer of the selected adhesive to both surfaces. Ensure even coverage to avoid any weak spots that could lead to future detachments. Allow the glue to become tacky as per the manufacturer’s instructions; timing is key in this sneaker sole adhesive techniques.
Techniques for Reattaching Sneaker Soles
Once the glue is tacky, align the sole with the bottom of the shoe. Begin from one end and slowly press the sole onto the shoe, ensuring no air bubbles or creases form. Employ a rolling motion for an even application of pressure across the entire sole.
Clamping and Curing: Shoe Sole Glue Tips
After the sole is in place, use clamps or heavy objects to apply pressure. This helps the surfaces bond securely. Allow the shoe to cure for the time recommended by the glue manufacturer. Avoid wearing the shoes during this period to ensure optimal adhesion and longevity of the repair.
Aftercare Tips for Repairing Athletic Shoes
Post-repair, it’s vital to take proper care of your newly fixed sneakers. Avoid exposing them to extreme temperatures or moisture for the first few days. Gradually break them in with light use before returning to your regular activities to allow the bond to strengthen further.
Troubleshooting Common Issues in Sneaker Sole Adhesive Techniques
When to Reapply Glue
Should the sole begin to peel again, assess whether a touch-up with additional adhesive is needed. Sometimes, edges or high-stress areas may require a second application of glue to fully reattach sneaker soles.
How to Avoid Common Mistakes
Prevention is always better than cure. To circumvent issues, ensure thorough preparation of the surfaces, use the right amount of adhesive, and allow adequate curing time. Also, ensure you’re working in a well-ventilated area to avoid inhaling fumes.
Recommended Products for Sneaker Sole Repair
While there are many products on the market, some stand out for their effectiveness in repairing athletic shoes. Look for reputable brands that offer flexible, waterproof, and durable solutions. A quick online search will yield various options with reviews to help guide your selection.
If you’re a sneaker enthusiast looking to extend the life of your favorite pair, mastering the art of gluing sneaker soles can save you time and money. For those interested in other adhesive-related guides, you might find our tutorials on how to glue frags useful for your DIY aquarium projects. Additionally, if you’ve ever encountered the unfortunate situation of a pet getting into a sticky mess, our article on how to get glue trap off a cat’s paw can be a lifesaver. And for the nail art enthusiasts out there, we also have a guide on how to undry nail glue to keep your manicure game strong.
Conclusion: Maintaining Your Sneakers Post-Repair
In conclusion, fixing sneaker soles is a rewarding endeavor that extends the life of your footwear. By understanding the shoe adhesive guide, preparing the surfaces properly, and following the appropriate techniques, you’ll be able to confidently tackle sneaker repairs. Remember, the key to a long-lasting repair is not just the process but also the aftercare. Treat your sneakers well, and they’ll continue to support your steps for many more miles.