Adorning oneself with the lustrous charm of pearls can transform any ensemble into a statement of elegance. However, when these precious gems come loose from their settings, it’s essential to know the correct pearl adhesive techniques to restore their splendor. Gluing pearls is a delicate process that, when done correctly, can preserve the beauty and integrity of your jewelry. In this guide, we’ll explore the best practices for securing pearls using adhesive methods.
Materials Needed for Gluing Pearls

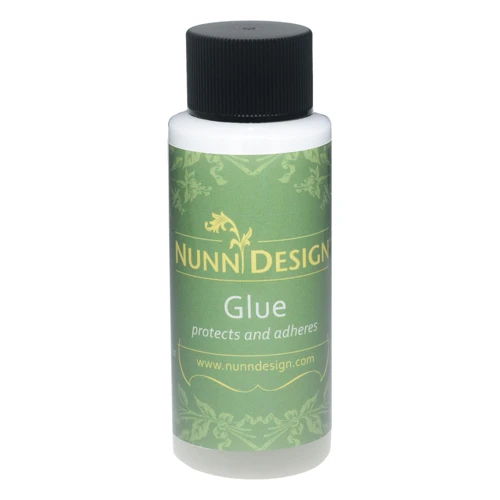
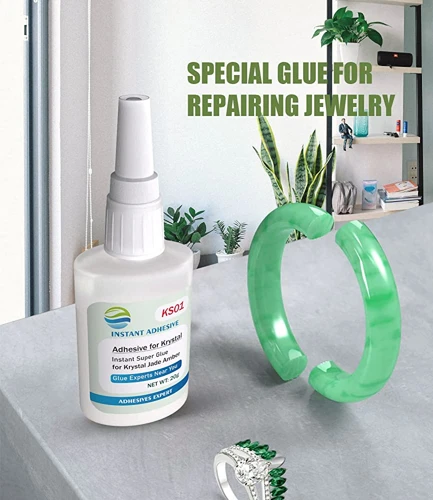
Choosing the Right Pearl Repair Glue
Finding the appropriate pearl repair glue is crucial for a successful repair. You need an adhesive that is strong enough to hold the pearl in place but gentle enough not to damage it. Look for a glue that is specifically designed for jewelry and gemstones, with a clear finish to maintain the pearl’s natural beauty.
Tools for DIY Pearl Setting
When preparing for a DIY pearl setting, gather a few essential tools to make the process easier. You will need:
- Tweezers for handling small pearls
- A clean, soft cloth to wipe away excess glue
- Toothpicks for precise glue application
- Wax paper to protect your workspace
Best Way to Glue a Cut Pearl
Preparing the Pearl and Setting
Cleanliness is paramount when preparing to glue a cut pearl. Ensure both the pearl and its setting are free from dust, oils, and residue. Wipe them gently with a soft cloth dampened with rubbing alcohol and allow them to dry completely.
Applying the Glue
Once the surfaces are prepped, apply a small amount of glue to the setting or the pearl itself using a toothpick for precision. Be conservative with the amount; a little goes a long way.
Securing the Pearl in Place
After applying the adhesive, carefully place the pearl onto its setting. Use tweezers if necessary to avoid touching the glue. Allow the piece to rest undisturbed for the glue’s recommended curing time to ensure a firm hold.
Glue Pearls in Cup Setting

Step-by-Step Guide for Cup Setting
Gluing pearls in a cup setting requires a steady hand and patience. Begin by placing a tiny bead of glue at the bottom of the cup. Then, gently drop the pearl into place, ensuring it’s centered and sits level within the cup. Allow it to dry without movement for the strongest bond.
Troubleshooting Common Issues
If you encounter issues with the pearl not sitting correctly, you may need to remove it and clean off any excess glue before trying again. Always let the glue dry fully before wearing the jewelry to prevent the pearl from shifting out of place.
Attaching Pearls with Glue

Techniques for Attaching Multiple Pearls
When attaching multiple pearls with glue, work systematically. Begin with a single pearl, allow it to set, and then move on to the next. This process ensures that each pearl is given adequate time to bond without the risk of disturbing adjacent ones.
Ensuring a Strong Bond
To ensure a strong bond when attaching pearls with glue, avoid touching the glued area as oils from your skin can weaken the adhesive. Also, do not expose the pearls to heat or moisture before the glue has fully set.
How to Secure Pearls in Jewelry
Fixing Pearls in Settings
When fixing pearls in settings, it’s important to match the size of the pearl to its corresponding setting. A mismatch can result in an insecure fit. Double-check the fit before applying the glue to avoid any slip-ups.
Maintenance and Care for Glued Pearls
Maintenance is key for glued pearls. Avoid exposing them to harsh chemicals or extreme temperatures. Clean them gently with a damp cloth and allow them to air dry. With proper care, your pearls will continue to shine brilliantly.
Advanced Pearl Jewelry Making
Gluing Loose Pearls with Precision
For those delving into advanced pearl jewelry making, precision is the hallmark of professionalism. Use a magnifying glass to place and glue loose pearls accurately, ensuring they align perfectly with their intended design.
Finishing Touches for a Professional Look
The final step in gluing pearls is to inspect your work. Look for any excess glue that can be gently scraped away with a toothpick. The goal is a clean finish that highlights the pearl’s radiance, not the adhesive used.
If you’re looking to add elegance to your crafts or repairs by adhering pearls, you might be interested in our step-by-step guide on how to glue pearls. But don’t stop there! Your creative journey can also extend to other materials. Learn the ins and outs of working with different adhesives and embellishments by exploring our tutorials on how to glue crystals, how to glue gems on nails, and if you’re venturing into home decor, our guide on how to glue marble could prove incredibly useful. Whether you’re a seasoned DIY enthusiast or a beginner, these resources will help you achieve the perfect bond for your projects.
Conclusion: Perfecting Your DIY Pearl Setting
Mastering the art of DIY pearl setting is a journey of patience and precision. By following these guidelines, you can confidently repair and create pearl jewelry that stands the test of time. Whether you’re securing a single pearl or crafting an intricate design, the satisfaction of preserving these treasures is unparalleled.