Combining the delicate intricacies of lace with the sleekness of glass creates a unique interplay of textures and materials that can transform everyday items into works of art. Glass craft bonding involves meticulous processes and materials that result in stunning visual pieces, which often become the centerpieces of home decor.
Understanding Glass and Lace Art
The fusion of lace and glass art is a testament to the versatility and beauty of mixed media projects. This art form allows for the expression of creativity through the harmonious blend of these two contrasting materials. It’s a craft that requires patience, a steady hand, and a clear understanding of the materials you are working with.
Choosing the Best Glue for Lace Attachment to Glass
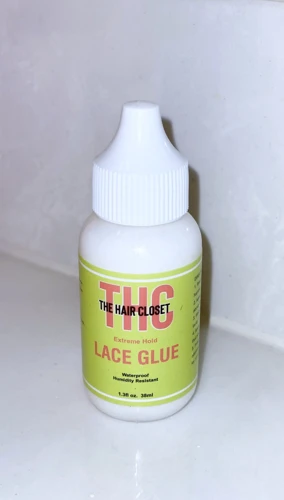
When it comes to attaching lace to glass, selecting the appropriate adhesive is crucial. The best glue for lace must offer a clear and strong bond, without compromising the delicate nature of the lace or the smooth surface of the glass.
Comparing Lace Glass Adhesives
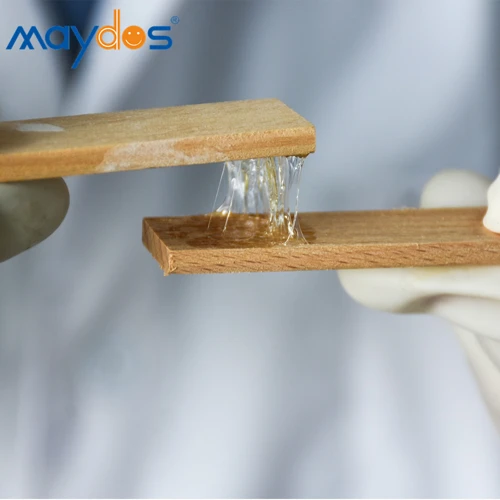
Several types of adhesives can be used for glass craft bonding. These range from silicone-based glues to specialized glass adhesives. Factors like drying time, transparency, and strength of the bond must be considered to ensure a successful and lasting lace application.
DIY Lace Decoration: Selecting the Right Supplies
To embark on a DIY lace decoration project, you’ll need more than just lace and glue. A complete toolkit includes sharp scissors for cutting the lace, a clean cloth for prepping the glass, and perhaps a set of tweezers for positioning the lace precisely.
Preparation for Attaching Lace to Glass
Preparation is key to ensuring that your lace glass adhesive works effectively. This means taking the time to clean the glass surface and measure your materials accurately.
Cleaning and Preparing the Glass Surface
- Start by thoroughly cleaning the glass with isopropyl alcohol.
- Dry it completely to prevent any interference with the adhesive.
Measuring and Cutting the Lace
Measure the lace against the glass item you’re decorating. Use sharp scissors to cut the lace to size, ensuring that it fits perfectly onto the glass surface without any overhang.
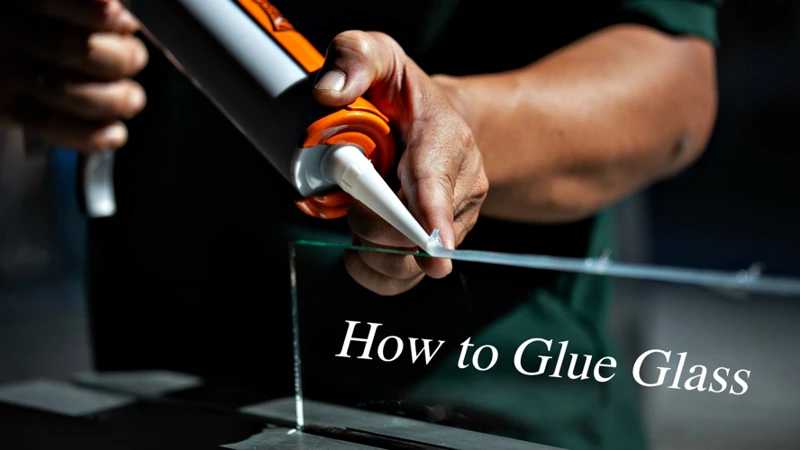
Detailed Guide to Glue Lace to Glass
With your materials prepared, you’re ready to begin the process of attaching lace to glass. A detailed guide ensures that you follow the necessary steps for a flawless finish.
Step-by-Step Lace Application Techniques
- Spread a thin layer of the chosen adhesive onto the glass.
- Carefully place the lace onto the glass, smoothing out any bubbles or wrinkles.
- Allow the adhesive to cure according to the manufacturer’s instructions.
Tips for Permanent Lace Attachment
For a permanent lace attachment, it’s important to apply the adhesive evenly and avoid touching the lace too much after positioning it, as the oils from your fingers can affect the bond.
Finishing Touches for DIY Lace and Glass Projects
Once the lace is securely attached to the glass, you can add some finishing touches to ensure durability and enhance the aesthetic appeal of your project.
Sealing and Protecting Your Lace Glass Craft
Consider applying a clear sealant over the lace to protect it from dust and moisture. This will also add a layer of protection, ensuring your craft stands the test of time.
Innovative Glass Decor Ideas with Lace

There’s a myriad of ways to incorporate lace into your glass decor ideas. From vintage-inspired candle holders to contemporary vases, the possibilities are endless.
Inspiring Examples of Lace and Glass Art
Imagine a set of lace-patterned drinking glasses or a window pane that reflects a lace design onto the floor when the sun shines through. These are just a couple of examples of how lace and glass art can elevate the aesthetic of any space.
Troubleshooting Common Issues

Even with careful preparation and execution, you may encounter some issues when you glue lace to glass. Understanding how to address these problems will ensure the success of your project.
Addressing Problems with Lace Attachment
If the lace peels away from the glass after drying, it may be due to an uneven application of the adhesive or a surface that wasn’t properly cleaned. Reapplying the adhesive and ensuring the glass is free of oils and residue usually solves this issue.
Maintenance and Care for Your Lace Glass Decor

To maintain the beauty of your lace glass decor, keep the items out of direct sunlight and gently dust them regularly. If they need to be cleaned, use a damp cloth and avoid harsh chemicals that could break down the adhesive.
Conclusion
Crafting with glass and lace can be a rewarding experience, yielding elegant and sophisticated decor items that reflect your personal style and creativity.
Summary of Glass Craft Bonding Techniques
From choosing the right lace glass adhesive to applying the lace with precision, each step is integral to achieving a beautiful and lasting result in glass craft bonding.
Are you embarking on a craft project that involves attaching different materials to glass? Whether you’re working with delicate lace, vibrant ribbon, sturdy plastic, or natural wood, ensuring a strong bond is crucial for the longevity of your creation. For those interested in adorning glass with elegant lace, our guide on how to glue lace to glass will provide you with step-by-step instructions to achieve a flawless finish. If you’re also curious about attaching other materials, we have articles that detail how to glue ribbon to glass, how to glue plastic to glass, and how to glue wood to glass, covering a range of techniques for your diverse crafting needs.
Encouraging Creativity and Sharing Your DIY Projects
Once you’ve mastered these techniques, share your DIY lace decoration projects with others. Inspire and be inspired, as the world of glass and lace art is one of endless possibilities and beauty.