When it comes to achieving a seamless and natural wig appearance, having the right tools and supplies is crucial. The process of gluing down a wig requires precision and care to ensure a secure fit that looks as realistic as possible. In this section, we’ll explore the essentials needed for this task.
Choosing the Right Wig Adhesive
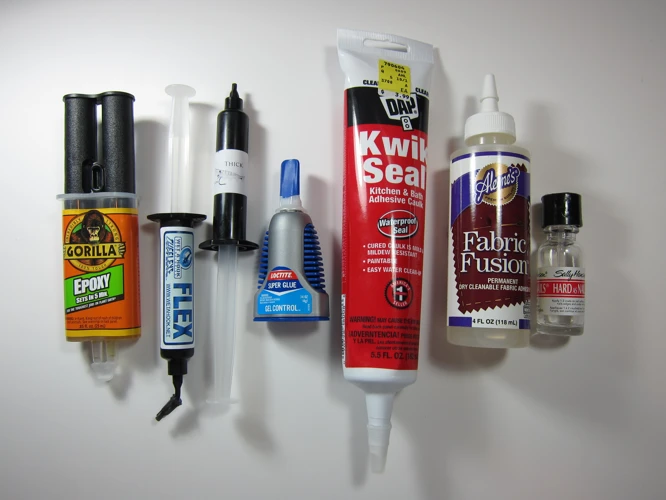
Selecting a suitable adhesive is the first step in the wig adhesive guide. The market offers a variety of options, each designed for different skin types and hold preferences. It’s important to choose an adhesive that not only offers a strong bond but also agrees with your skin’s sensitivity to prevent irritation.
Preparing Your Skin and Hairline
Before you apply wig with glue, it’s essential to prepare your skin and hairline. This includes cleansing the area to remove oils and makeup, which can prevent the adhesive from bonding properly. Using a skin protectant can also help create a barrier between your skin and the glue, safeguarding against potential reactions.
Additional Tools for a Flawless Application
- Scissors for trimming lace
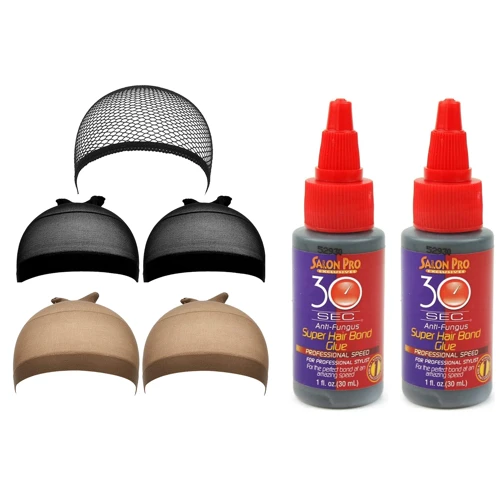
- Wig cap to flatten your hair
- Makeup brush or sponge for adhesive application
- Hair clips to keep the wig in place during application
Wig Installation Steps for a Secure and Natural Fit
Proper wig installation steps are pivotal for a long-lasting wig attachment. Let’s walk through the process of securing your wig to ensure it stays in place throughout the day while maintaining a natural look.
Step 1: Prepare Your Natural Hair for Wig Application
Start by flattening your natural hair against your head. Braiding or wrapping your hair tightly can create a smooth surface for the wig to sit on.
Step 2: Cleanse and Protect Your Scalp and Forehead
Use an alcohol swab to cleanse the skin around your hairline. Apply a scalp protector to guard your skin against the glue.
Step 3: Position and Adjust Your Wig for the Perfect Fit
After placing the wig cap, carefully position the wig on your head. Adjust it until it sits comfortably and aligns with your natural hairline.
Step 4: Apply Wig with Glue for a Strong Hold
Apply a thin layer of adhesive around your hairline, then gently press the wig’s edges into the glue. Allow it to dry for a strong hold.
Step 5: Press and Secure Wig without Clips
Once the glue has become tacky, press the wig down firmly with your fingers. Ensure the wig is secure without clips for a more natural appearance.
Step 6: Trim Excess Lace for a Natural Wig Appearance
With precision, trim any excess lace that extends beyond your natural hairline, being careful not to cut too close to the wig’s hair.
Step 7: Remove Any Excess Adhesive
If any glue has seeped out from under the wig, gently remove it with a small amount of adhesive remover on a cotton swab.
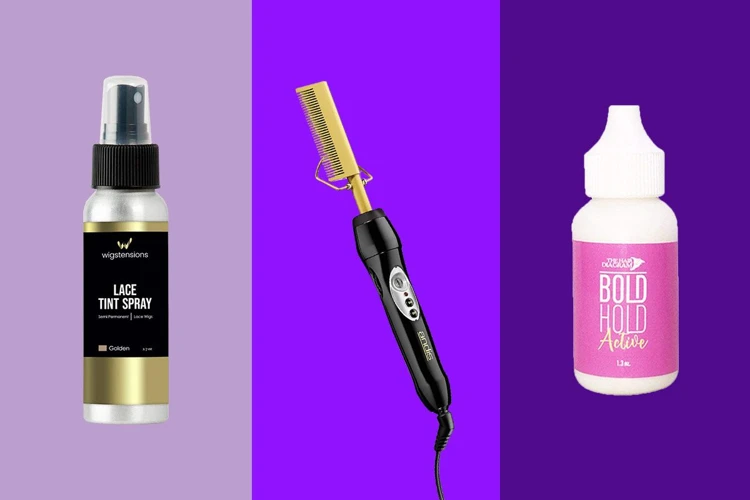
Step 8: Style Your Wig and Blend for a Seamless Look
Style your wig as desired. Use makeup or concealer to blend the lace with your skin tone for an undetectable finish.
Wig Bonding Tips for a Long-Lasting Wig Attachment
Ensuring your wig stays in place without frequent adjustments is key to confidence when wearing a wig. Let’s dive into some wig bonding tips that will help maintain that firm hold you desire.
Maintaining a Firm Hold Throughout the Day
Avoid activities that cause excessive sweating soon after application, and consider carrying a small bottle of adhesive for touch-ups if necessary.
Ensuring Comfort and a Natural Look
Comfort is just as important as a firm hold. Make sure the wig is not applied too tightly, which can cause discomfort and headaches.
Wig Care and Maintenance for Prolonged Use
To maximize the lifespan of your wig, proper wig care and maintenance are essential. These practices not only preserve the wig’s quality but also ensure it remains looking fresh and vibrant.
Cleaning Your Wig
Regular cleaning of your wig is crucial. Use a gentle, sulfate-free shampoo and conditioner, and avoid scrubbing the wig too harshly to prevent shedding and tangling.
Storing Your Wig Properly
When not in use, store your wig on a mannequin head or in a silk bag to maintain its shape and prevent tangles.
Wig Glue Alternatives for Those with Sensitive Skin
For individuals with sensitive skin, traditional adhesives may cause irritation. Fortunately, there are wig glue alternatives that can provide a secure fit without the harsh chemicals.
Exploring Gentle Adhesive Options
Consider using double-sided tapes or adhesives specifically designed for sensitive skin. These can offer a reliable hold without causing discomfort.
Securing Your Wig Safely Without Harsh Chemicals
Gel-based adhesives and water-based glues can also be effective options for those looking to avoid harsh chemicals, providing a safe way to glue down a wig.
Wig Adhesive Guide: How to Choose the Right Product
With a vast array of products available, the wig adhesive guide will help you navigate through the choices to find the one that’s best suited for your needs.
Understanding Different Types of Wig Glues
From water-based to silicone-based, each type of wig glue has its own set of properties and drying times. Research and select one that aligns with your requirements.
Matching Adhesive to Your Lifestyle and Skin Type
Consider your daily activities and skin sensitivity when choosing an adhesive. For active lifestyles, a waterproof and sweat-resistant glue may be necessary.
Common Mistakes to Avoid for a Flawless Wig Application
Achieving a flawless wig application is not without its challenges. Here are some common pitfalls to steer clear of to ensure a successful application.
Avoiding Damage to Natural Hair and Edges
Never apply glue directly to your natural hair or edges. Doing so can lead to damage and breakage. Always use a wig cap to protect your hair.
Ensuring Proper Adhesive Removal and Skin Care
When removing your wig, use a designated adhesive remover to prevent skin irritation and damage to the wig. Follow up with a gentle cleansing routine to care for your skin.
If you’re looking to master the art of wig application, you’re in the right place. Whether it’s a lace or non-lace wig, knowing how to secure it properly can make all the difference in your look and confidence. For those new to wig-wearing, check out our step-by-step guide on how to glue a wig for a flawless finish. If you’re dealing with a non-lace wig, our dedicated article on how to glue a non-lace wig will provide you with the specific techniques you need. And while it’s quite a different topic, if you’ve ever wondered about a temporary fix for a loose tooth, our piece on how to glue a loose tooth might come in handy in an unexpected emergency.
Final Thoughts on Achieving a Professional Wig Installation at Home
Mastering the art of a glue down wig installation at home is entirely possible with the right knowledge and tools. By following the steps outlined in this post and using the tips provided, you can enjoy a secure, long-lasting wig attachment that looks as natural as your own hair. Remember to take your time, practice patience, and treat your wig with the care it deserves for the best results.