Embarking on a DIY countertop project can be an exhilarating experience that not only enhances the aesthetics of your kitchen but also imparts a sense of accomplishment. This task, while demanding precision and patience, is achievable with the right guidance. Whether you’re installing laminate countertops or opting for a different material, understanding the basics of attaching countertops is indispensable for a successful outcome.
Essentials of Attaching Countertops
Before diving into the heart of kitchen countertop installation, it’s critical to grasp the essentials. The key to a seamless and enduring countertop setup lies in the proper selection and application of countertop glue, which ensures robust cabinet and countertop bonding. Additionally, preparing the surfaces thoroughly can make a significant difference in the end result.
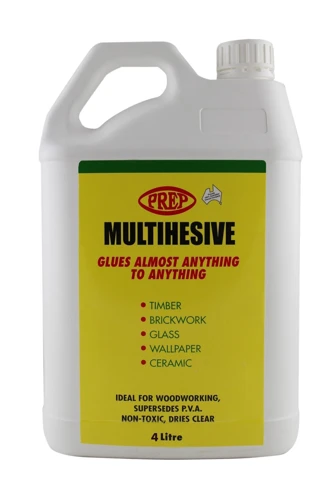
Choosing the Right Adhesive for Countertops
- Assess the material of your countertop to determine the suitable adhesive.
- Opt for silicone-based adhesives for their flexibility and strength.
Preparing the Cabinet and Countertop Surfaces
- Ensure both surfaces are clean, dry, and free of debris.
- Check for levelness and stability of the cabinet structures.
Step-by-Step Guide to Gluing Countertops

Adhering to a meticulous process is vital for a successful countertop installation. This step-by-step guide will assist you in securely gluing countertops to cabinets with confidence.
Cleaning and Priming the Surfaces
- Remove any dust or particles from the cabinet tops with a damp cloth.
- Apply a primer if recommended by the adhesive manufacturer.
Applying Countertop Glue
- Apply an even layer of adhesive for countertops on the cabinet edges.
- Be mindful of not overapplying to prevent excess from squeezing out.
Securing Countertop to Cabinet
- Align the countertop precisely with the cabinet base.
- Press firmly along the surface to ensure a strong bond.
Tips for Kitchen Countertop Installation
Heeding some strategic tips can make the difference between a decent job and a flawless kitchen countertop installation. Always measure twice before you cut or glue, and keep a clean, organized workspace to avoid mishaps. Remember, patience is a virtue when you’re working on a DIY countertop project, and rushing through the steps can lead to errors.
Finalizing Your Countertop Installation

Once the countertop is securely attached to the cabinets, the focus shifts to ensuring the longevity and finish of your installation. This phase is just as crucial as the initial steps of your project.
Inspecting the Bonding of Cabinet and Countertop
- Examine the perimeter to verify the absence of gaps or weak spots.
- Apply additional adhesive where necessary to fortify the bond.
Curing Time and Post-Installation Care
- Allow the adhesive ample time to cure according to the manufacturer’s instructions.
- Avoid placing heavy items on the surface during this period.
Troubleshooting Common Issues in Countertop Installation
Even with the utmost care, issues can arise during countertop installation. Common problems include misalignment, insufficient adhesive, and uneven surfaces. Should you encounter these, take a step back to assess and rectify the situation using the appropriate tools and techniques.
If you’re embarking on a DIY kitchen makeover and want to learn how to securely attach a countertop to your cabinets, you’ve come to the right place. Our step-by-step guide on how to glue countertop will provide you with all the necessary instructions to ensure a solid installation. For those looking to perfect the finer details, our specialized article on how to glue countertop edges can help you achieve a professional finish. Additionally, if your project involves creating a larger surface by combining wood, our tips on how to glue up boards will be invaluable in helping you understand the process and techniques for a seamless result.
Conclusion: Enjoying Your New Kitchen Countertop
Completing your DIY countertop project is a rewarding feat. With the countertops now securely anchored, you can take pride in your handiwork and relish the refreshed look of your kitchen. Remember, meticulous planning, patience, and attention to detail are your best allies in achieving professional-looking results.