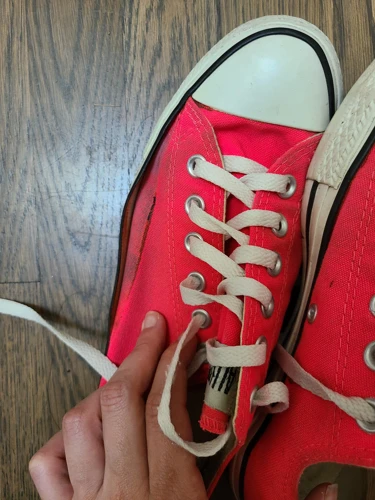
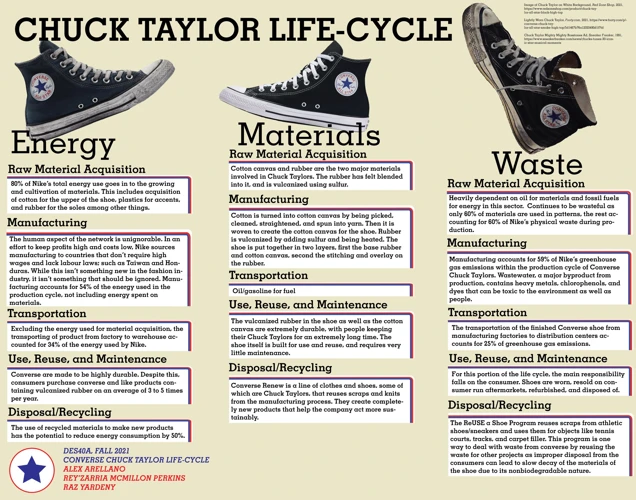
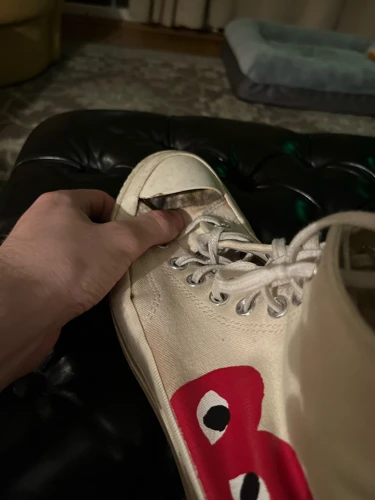
Timeless and versatile, Converse sneakers have graced the feet of generations. Despite their durability, there may come a time when they require some TLC. Understanding the basics of Converse shoe repair can breathe new life into your favorite pair, saving you both time and money. This blog post will walk you through the process of mending your cherished footwear with a focus on DIY shoe glue methods.
Essential Materials for DIY Shoe Glue Repair
Embarking on a DIY shoe repair journey necessitates gathering the right materials to ensure a lasting fix. The success of your repair work hinges on using the best glue for sneakers and some additional tools to aid the process.
Best Glue for Sneakers
When it comes to repairing Converse sneakers, not all adhesives are created equal. The best glue for sneakers is one that offers flexibility, waterproof properties, and a strong bond. Urethane rubber and neoprene cement are top contenders, known for their durability and ability to adhere to rubber and canvas.
Additional Tools for Repairing Converse Sneakers
- Cotton swabs or a small brush for applying the glue
- Clamps or heavy objects to apply pressure
- Fine-grit sandpaper to roughen surfaces for better adhesion
- Clean cloth for prep and cleanup
- Rubber gloves to protect your hands
Step-by-Step Guide: How to Fix Converse
With the right tools in hand, you can proceed to the nitty-gritty of Converse restoration. Follow this detailed guide to ensure a seamless repair process.
Preparing Your Converse for Repair
Begin by cleaning the damaged area. Remove any dirt or debris, as a clean surface will allow the adhesive to bond more effectively. If the damage is on the rubber, gently roughen the area with sandpaper to provide the glue with a better grip.
Glueing Converse Rubber: The Right Technique
Applying the adhesive to the rubber parts of your Converse requires precision. Spread a thin, even layer of glue on both surfaces that need to be bonded. Wait a few minutes for the glue to become tacky before pressing the parts together. This waiting period is crucial for a stronger hold.
Adhesive for Canvas Shoes: Application Tips
When dealing with the canvas, be mindful of the amount of glue used; too much can seep through and stain the fabric. Use a cotton swab for a more controlled application. Once applied, press the canvas together and smooth out any excess glue before it dries.
Converse Sole Repair: Securing the Bond
For Converse sole repair, alignment is key. After applying adhesive to the sole and shoe, carefully align them before applying pressure. Use clamps or place a heavy object on top to maintain pressure while the glue cures, usually for at least 24 hours.
Post-Repair Tips for Converse Restoration
Once the repair is complete, give your shoes ample time to dry. Avoid wearing them for at least a day. Check the repaired areas for any gaps and apply additional glue if necessary. With patience and care, your Converse can look and feel as good as new.
Shoe Maintenance Tips
Regular upkeep extends the life of your shoes significantly. Here are some shoe maintenance tips to help you keep your Converse in top condition.
Regular Cleaning and Care
Keep your sneakers clean by wiping them down regularly with a damp cloth. For deeper cleans, use a soft brush and mild detergent. Always let them air dry away from direct heat sources.
Preventative Measures to Avoid Future Damage
Protect your Converse from the onset by avoiding harsh conditions like extreme heat, which can weaken the glue. Additionally, rotating your shoes with other pairs can prevent excessive wear and tear.
Frequently Asked Questions About Converse Repair
Repairing Converse sneakers often leads to questions. Let’s address some common concerns to clarify the process.
Choosing the Right Adhesive for Shoe Repair
Select an adhesive designed for shoe materials. For Converse, a flexible glue that can withstand movement and temperature changes is ideal. Urethane and neoprene-based glues are generally recommended.
Common Issues and How to Solve Them
If the glue doesn’t hold, it may be due to improper application or insufficient drying time. Ensure surfaces are clean and roughened if needed, apply the right amount of glue, and allow it to cure fully before use.
Are you a DIY enthusiast looking to repair your favorite pair of Converse shoes? Our comprehensive guide on how to glue shoes can help you with step-by-step instructions to give your beloved sneakers a new lease on life. While you’re mastering the art of shoe repair, you might also be interested in learning how to fix other items around the house. Check out our handy tutorials on how to glue glasses and how to glue furniture to become a true repair expert in no time!
Conclusion and Final Thoughts on Shoe Maintenance
In conclusion, DIY repair can extend the life of your Converse sneakers and save you from the cost of frequent replacements. By using the right materials and techniques for Converse shoe repair, you can maintain the integrity and style of your beloved shoes. Remember, consistent shoe maintenance tips and preventative care will keep your sneakers ready for any adventure that may come your way.


