Ceramic pieces often hold sentimental value or aesthetic appeal, making the prospect of a breakage disheartening. However, DIY ceramic restoration can breathe new life into your cherished items. Whether it’s a family heirloom or a recent purchase, understanding how to fix ceramic can transform a pile of shards back into a beautiful, functional pot. The key lies in patience, precision, and the right materials, which will be outlined in this comprehensive guide.
Understanding Ceramic Adhesive: A Comprehensive Guide

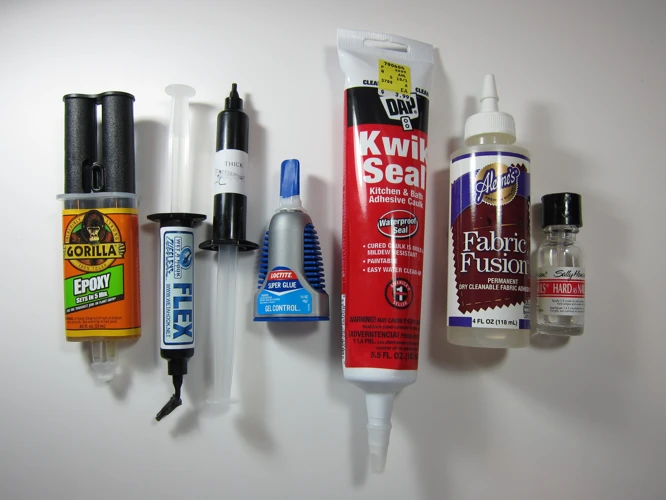
When it comes to mending ceramic pot, the adhesive you choose makes all the difference. A ceramic adhesive guide not only helps you select the appropriate glue but also educates you on the science behind what makes a bond durable. Understanding the properties of different adhesives is critical to achieving a repair that is both strong and aesthetically pleasing. Read on to find out how to select the perfect adhesive for your ceramic repair needs.
Assessing the Damage: Preparing for Ceramic Repair
Before diving into the repair process, it’s crucial to assess the damage thoroughly. This involves examining the size and location of the cracks or breaks to ensure a successful restoration. Preparing for ceramic repair entails understanding the extent of the damage, as this will inform your approach and the materials you’ll need. A clear assessment paves the way for an effective mending process.
Choosing the Best Glue for Ceramics
Not all adhesives are created equal, especially when it comes to repairing broken pottery. To achieve an enduring repair, selecting the best glue for ceramics is paramount.
Factors to Consider
- Strength of bond: The glue must provide a strong bond to withstand handling and use.
- Drying time: Consider how quickly the adhesive sets, as some repairs may require a faster setting time.
- Viscosity: The thickness of the glue can affect application control and the ability to fill gaps.
- Toxicity: Non-toxic glues are preferable, especially for items that come into contact with food or drink.
Top Recommended Ceramic Adhesives
Among the top contenders, waterproof ceramic glue stands out for its durability and versatility. Brands that are specifically formulated for ceramic materials can provide a bond that is virtually unbreakable once cured. Look for products that are designed for ceramic repair for best results.
Repairing Broken Pottery: Step-by-Step Process
With the right adhesive in hand, you can begin the meticulous process of repairing broken pottery.
Gathering Necessary Tools
Assemble your tools before beginning the repair. You will need your selected adhesive, fine sandpaper, clamps or tape, and a clean workspace.
Cleaning the Broken Edges
Ensure the broken edges of the ceramic are clean and free from dust and debris. Any residue can weaken the bond between the pieces.
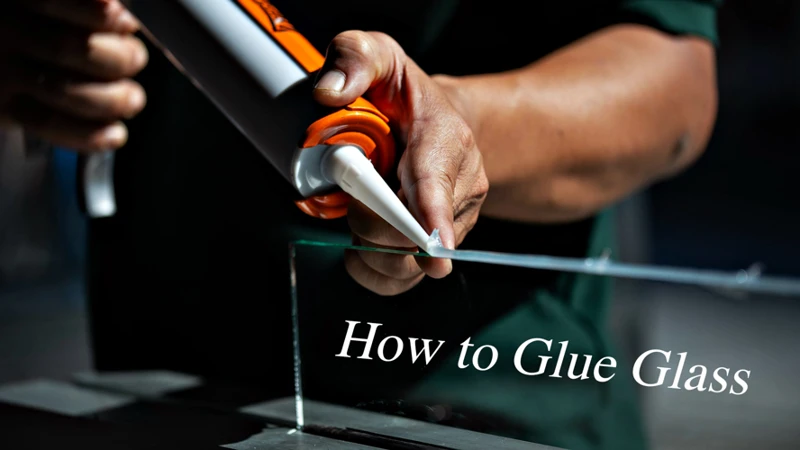
Applying Waterproof Ceramic Glue
Apply a thin layer of waterproof ceramic glue to one edge of the break. Be careful not to use too much, as excess glue can seep out and mar the appearance.
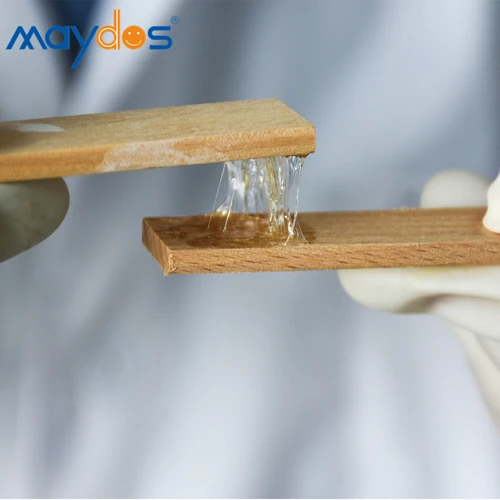
Bonding Ceramic Pieces Together
Press the bonding ceramic pieces firmly together. Wipe away any excess glue with a damp cloth before it sets.
Pottery Glue Techniques for Mending Ceramic Pot
There are specific techniques that can enhance the effectiveness of your repair.
Aligning the Pieces Accurately
Take your time to align the pieces precisely. Misalignment can result in a weaker bond and a noticeable repair.
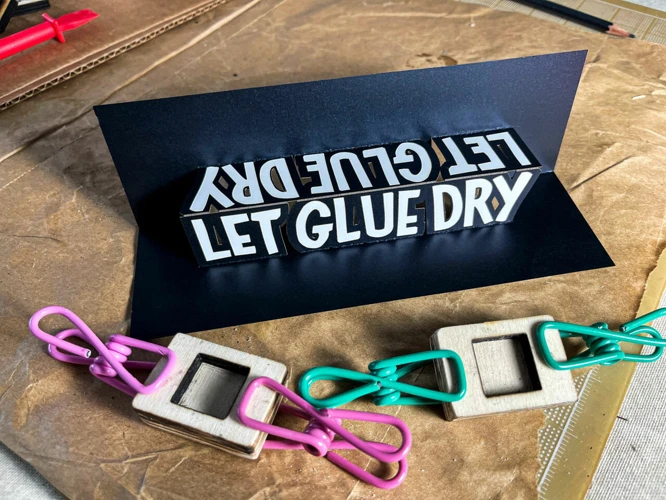
Securing the Pieces While Drying
Use clamps or masking tape to hold the pieces together securely while the glue cures. This will ensure a tight bond.
Advanced Ceramic Repair Tips
For those facing more complex breaks, advanced ceramic repair tips can be invaluable.
Dealing with Complex Breaks
When working with multiple breaks or small pieces, start by reassembling larger sections first. This can make the process more manageable.
Finishing Touches for a Seamless Look
Once the adhesive has cured, you may need to sand down any excess or apply paint to touch up the repair. A seamless look can often be achieved with a little extra attention to detail.
Curing and Solidifying: Ensuring Durable Repairs
One of the most critical steps in DIY ceramic restoration is allowing ample time for the glue to cure. Follow the manufacturer’s instructions regarding curing times to ensure the adhesive has solidified completely, providing a strong, durable repair that will last.
Maintenance and Care for Restored Ceramics
After your ceramic piece is restored, proper maintenance and care are essential to preserve the repair. Handle the item with care, avoid microwaving or dishwashing if the glue is not heat-resistant, and keep it out of extreme temperatures to maintain the integrity of the bond.
When it comes to repairing broken items or crafting, knowing how to properly adhere materials is crucial. If you’re specifically looking to fix or create something with ceramic pots, our guide on how to glue ceramic will provide you with the necessary steps and tips. However, if you’re working with different materials, like pot metal or copper pipes, we’ve got you covered as well. Check out our articles on how to glue pot metal and how to glue copper pipe for detailed instructions tailored to those unique surfaces. Whether you’re a seasoned DIY enthusiast or a beginner, these resources will help ensure your projects are successful and durable.
Conclusion: Celebrating Your DIY Ceramic Restoration
With patience and the right techniques, repairing broken pottery can be a gratifying experience. Celebrate your success in mending ceramic pot and take pride in your newfound DIY ceramic restoration skills. Each repaired piece tells a story of resilience and craftsmanship, now ready to be used and admired once again.