Beats headphones are renowned for their sound quality and design but are not immune to wear and tear. One common issue that users face is a broken headband. Fortunately, with the right approach, a beats headband repair can be a straightforward DIY project.
Understanding the Problem with Broken Beats Headbands
A snapped or cracked headband can render your Beats headphones unusable. Such damage often results from accidental drops or stress from overextension. Identifying the break’s location is crucial to determining the best broken headband solution.
Tools and Materials Needed for a DIY Beats Repair
Before diving into the mend beats headband process, gather the necessary tools and materials. You’ll need:
- A precision screwdriver set
- Replacement headband
- Cleaning alcohol and cloth
- Beats headband adhesive
- Clamps or tape for securing
Step-by-Step Guide to Mend Beats Headband
Repairing your Beats doesn’t have to be daunting. Follow this detailed headband repair guide to restore your headphones to their former glory.
Step 1: Preparing Your Work Area and Beats Headphones
Start by setting up a clean, well-lit workspace. Turn off your Beats headphones and clean the broken headband area with alcohol to remove any grease or dirt.
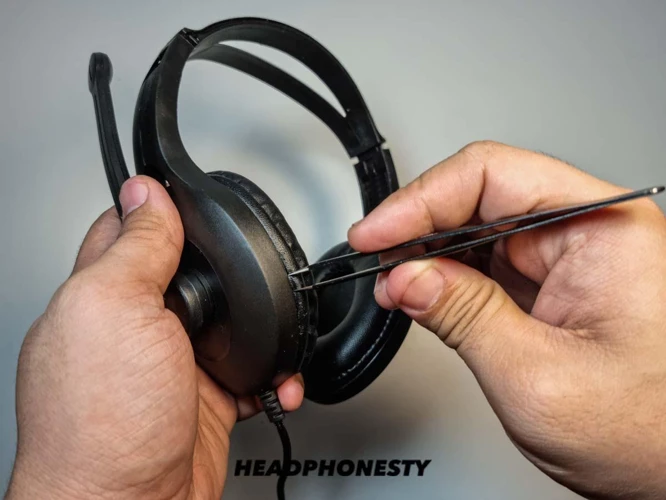
Step 2: Removing the Damaged Headband
Use the precision screwdrivers to carefully disassemble the headphones, removing the cushioning to expose the headband. Take note of each component’s position for reassembly.
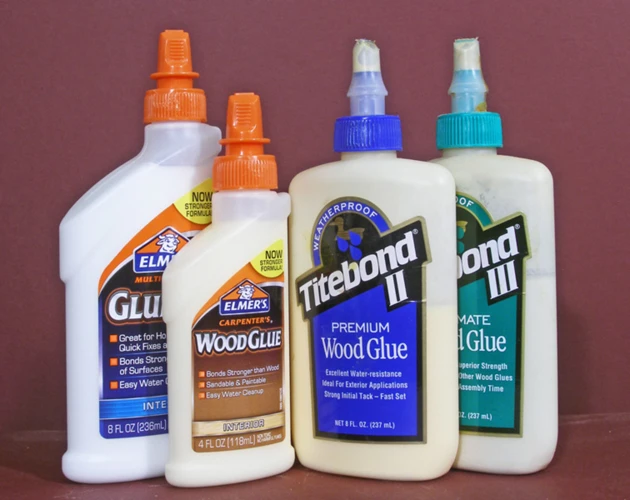
Step 3: Choosing the Right Beats Headband Adhesive
Selecting a high-quality beats headband adhesive is essential. Opt for a product designed for plastic and electronics, ensuring it won’t damage the components.
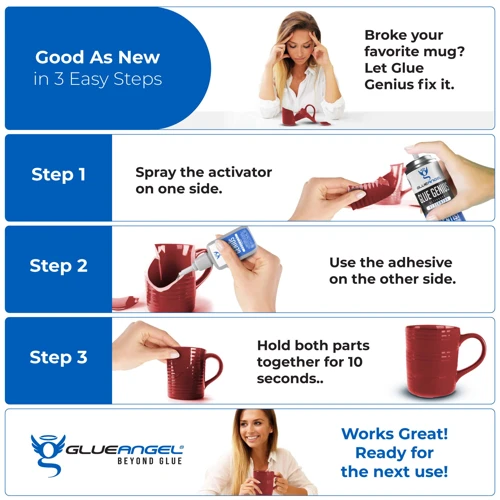
Step 4: Applying Glue to Fix Beats Headband
To glue beats headphones, apply a thin, even layer of adhesive to the broken area. Avoid using too much to prevent spillage.
Step 5: Attaching and Securing the Headband
Carefully align the replacement headband, then press firmly. Use clamps or tape to keep it in place while the adhesive cures.
Step 6: Reassembling Your Beats Headphones
Once the glue has dried, reverse the disassembly process. Ensure every part fits snugly before using your headphones.
Troubleshooting Common Issues During Beats Headband Repair

Even with a clear guide, you may encounter hiccups. Here’s how to handle them smoothly.
Dealing with Excess Glue and Misalignment
If adhesive oozes out, wipe it away quickly with a cloth. Misalignment can be corrected by gently adjusting the headband before the glue sets.
Ensuring a Firm Bond and Full Functionality
Allow ample time for the adhesive to cure to ensure a firm bond. Test all functionalities of your headphones to confirm the repair’s success.
Finalizing Your Repair Broken Beats
With the repair complete, a few final steps will ensure your Beats are as good as new.
Testing the Repaired Beats Headphones
After reassembly, test the headphones for comfort and sound. Ensure the headband feels secure and stable.
Maintenance Tips to Prevent Future Damage
To avoid future breaks:
- Handle your Beats with care
- Store them in a protective case
- Avoid exposing them to extreme temperatures
Conclusion: Enjoying Your Restored Beats Headphones
Your dedication to DIY beats repair can extend the life of your headphones significantly. Enjoy your music with the satisfaction of having fixed them yourself.
Reflection on the Broken Headband Solution
The process of repairing a broken headband can be rewarding and economical, providing a viable alternative to purchasing new headphones.
Additional DIY Beats Repair Resources
For more information, consider online tutorials, forums, and videos that delve into DIY audio equipment maintenance and repair.
Headband Repair Guide: FAQ
Here are answers to some frequently asked questions to help you through the process.
What to Do If the Problem Persists
If the issue isn’t resolved, re-evaluate your repair work, ensuring that you’ve followed all steps correctly and used the right materials.
When it comes to do-it-yourself repairs and enhancements, gluing can be a versatile solution. If you’re looking to fix your Beats headband, understanding the right adhesive techniques is crucial. While we don’t have a specific guide for gluing Beats headbands, we do have resources that cover similar topics which might give you some insight into the process. For pet owners looking to learn about ear care, we have a guide on how to glue dog ears. For beauty enthusiasts, we offer tutorials on how to glue on lashes, as well as a handy article for dealing with adhesives in how to open lash glue. These resources could provide you with some general tips on working with different types of glue that might be applicable to repairing your Beats headband.
When to Seek Professional Beats Headphones Fix Services
For persistent problems or complex breaks, consult a professional service. They have the expertise to ensure a high-quality beats headphones fix.