Hot glue is a versatile material used in numerous crafting projects, from home decor to jewelry making. However, its standard clear or opaque appearance may not always suit the creative vision. This raises the question: how to color hot glue? Through a few simple techniques and materials, customizing the color of hot glue is not only possible but can also expand the artistic possibilities of your projects.
Can You Color Hot Glue?

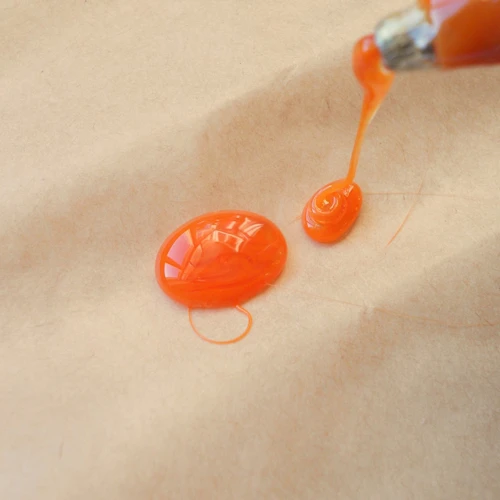
Many crafters are surprised to learn that they can indeed infuse hot glue with vibrant hues. The process involves integrating colorants into the glue before or as it melts, allowing for a seamless blend of color throughout the material. This revelation opens up a new realm of aesthetic options for those who utilize hot glue in their artistic endeavors.
Materials Needed for Coloring Hot Glue

Types of Dyes and Pigments
- Aniline dyes
- Acrylic paints
- Powdered pigments
Choosing an appropriate dye or pigment is crucial for successful coloring. The aforementioned options have proven effective when mixed with hot glue, offering a wide spectrum of colors.
Tools and Safety Equipment
- Glue gun
- Non-stick silicone mat
- Heat-resistant gloves
- Well-ventilated workspace
Alongside your colorants, these tools and safety equipment ensure a safe and efficient coloring process. The non-stick mat and gloves are particularly important for managing hot glue without risking burns or unwanted mess.
Step-by-Step Guide: How to Color Hot Glue
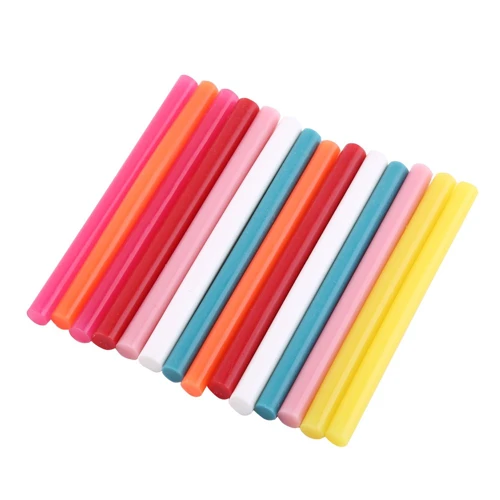
Preparing the Hot Glue
Begin by setting up your workspace with all necessary tools within reach. Insert a glue stick into your gun and allow it to warm up fully. This preparation ensures the glue melts evenly, creating a smooth surface for adding color.
Mixing the Dye with Hot Glue
Once the glue is melted, add your chosen dye or pigment directly into the glue gun or mix it on the silicone mat. Stir thoroughly to ensure the color is well incorporated, achieving a uniform shade throughout the glue.
Applying Colored Hot Glue to Your Project
Carefully apply the colored hot glue to your project, manipulating the gun to create the desired shapes or bonds. The vibrant glue not only adheres materials together but also adds a decorative touch to your work.
How to Dye Hot Glue
Choosing the Right Dye
Selecting a dye compatible with hot glue is essential. Aniline dyes and acrylic paints are often preferred for their ease of use and intense color payoff. The choice will depend on the project and the desired effect.
Dyeing Techniques for Hot Glue
Different techniques can be employed when introducing color to the glue. Some crafters prefer to mix colorants in a separate container before adding to the hot glue, while others might inject the dye directly into the glue gun’s reservoir.
Hot Glue Tricks for Enhanced Coloring
Creating Marbled Effects
To achieve a marbled look, swirl together different colored glues on your silicone mat before applying them to the project. This technique results in unique, eye-catching patterns that can elevate your crafts to a new level of sophistication.
Adding Glitter and Other Embellishments
Incorporating glitter, small beads, or foil flakes into the melted glue before it sets can add texture and sparkle. These embellishments should be mixed in quickly and evenly to distribute them throughout the colored hot glue.
Practical Applications for Colored Hot Glue
Home Decor Enhancements
Colored hot glue is an excellent medium for adding flair to home decor items. Create custom designs on vases, picture frames, or furniture pieces for a personalized touch that stands out.
Accentuating Crafts and Jewelry
Utilize colored glue to accentuate the details in scrapbooks, greeting cards, or homemade jewelry. The added color can highlight key elements and give your creations a professional finish.
Customizing Party Favors
Party favors gain an extra level of charm when adorned with colored hot glue. Use it to seal gift bags or to add decorative motifs that match the event’s theme, making the occasion all the more memorable.
Troubleshooting Common Issues
Avoiding and Fixing Bubbles
To avoid bubbles in the glue, maintain a steady hand when applying pressure to the glue gun trigger. Should bubbles form, pop them while the glue is still warm or gently reheat the area to smooth out the surface.
Dealing with Uneven Color Distribution
Uneven color distribution can be remedied by stirring the colorant into the glue more thoroughly. If the color is still not uniform after application, a second layer of colored glue can help balance the appearance.
If you’re exploring the creative possibilities of hot glue in your projects, you might be interested in learning not just how to apply it, but also how to add a splash of color to your creations. Our step-by-step guide on how to color hot glue can help you transform the clear adhesive into a vibrant component of your craft. Additionally, for those looking to master the application techniques, check out our tutorials on how to paint hot glue for adding surface color, and how to shape hot glue to mold it into any form you need. With these skills, you’ll take your crafting to a whole new level of detail and personalization!
Conclusion: Unleashing Creativity with Colored Hot Glue
In conclusion, learning how to color hot glue enriches your crafting repertoire, allowing for boundless creative expression. With the right materials and techniques, you can transform ordinary projects into vibrant, unique creations that are sure to impress. So, the next time you plug in your glue gun, consider the colorful possibilities at your fingertips. Happy crafting!