When it comes to crafting and DIY projects, the challenge of adhering different materials is a common one. Specifically, the quest to glue paper to plastic can be puzzling due to the distinct textures and properties of each material. This task requires patience, the right adhesive, and correct techniques to achieve a bond that is both strong and aesthetically pleasing. In this blog post, we will explore various methods and tips on how to glue paper to plastic effectively, ensuring your projects look professional and last long.
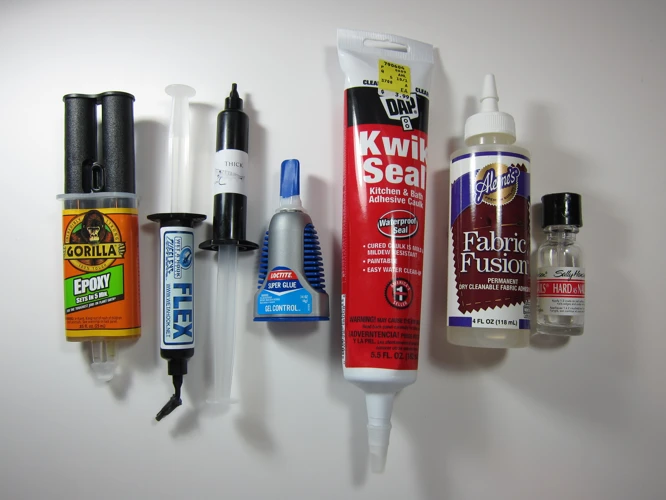
Types of Glue Suitable for Paper to Plastic Adhesion
Not all adhesives are created equal, and some are better suited for bonding paper to plastic. Let’s delve into the types of glue that can create a durable and reliable connection.
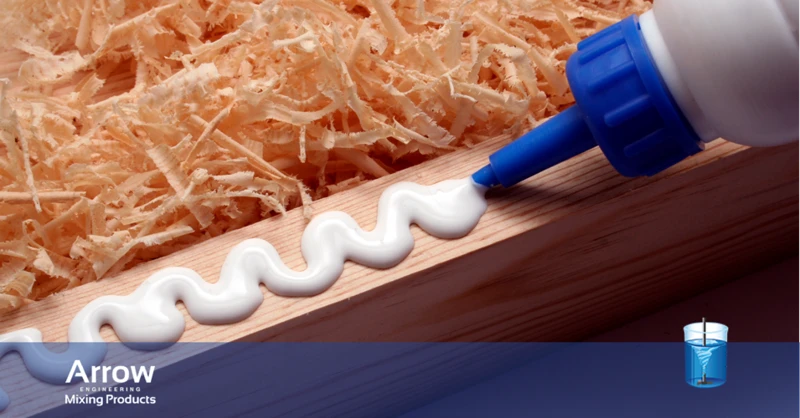
White School Glue
White school glue is a popular option for its ease of use and accessibility. It’s water-based, making it safer for various applications, especially for children’s projects. However, it may not be the strongest bond for heavier or long-term use.
Two-Part Epoxy
For a more robust bond, two-part epoxy is a go-to adhesive. Consisting of a resin and a hardener, when mixed, it forms a powerful union that is both waterproof and resistant to temperature changes, making it ideal for demanding applications.
Specialty Adhesives
There are also specialty adhesives designed for the specific purpose of bonding paper to plastic. These can provide a strong hold and are often formulated to dry clear, maintaining the visual integrity of your project.
Preparation for Gluing Paper to Plastic
Proper preparation is key to ensuring a successful adhesion. By prepping the surfaces and gathering the necessary materials beforehand, you can avoid mishaps during the gluing process.
Surface Cleaning
Before applying any adhesive, it’s crucial to clean the plastic surface to remove any oils, dirt, or debris. Wiping the area with rubbing alcohol or a mild detergent can create a pristine surface for the paper to adhere to.
Gathering Necessary Materials
Having all your materials at hand is essential. This includes the adhesive of choice, clean cloths, a tool for spreading the glue (like a brush or spatula), and any clamps or weights for the drying process.
How to Glue Paper to Plastic with White School Glue
White school glue, while not the strongest adhesive, can be sufficient for light projects. Here’s how to employ it effectively.
Step 1: Applying the Glue
Spread a thin layer of white school glue on the plastic surface. Ensure it’s even to avoid bumps and excess adhesive squeezing out the sides.
Step 2: Positioning the Paper
Carefully place the paper onto the plastic, starting at one end and slowly laying it down to prevent air bubbles. Smooth out the paper gently with your hands or a flat tool.
Step 3: Drying and Sealing
Allow the project to dry under a weight to keep the paper flat and in place. This could take several hours depending on the glue’s thickness and environmental conditions.
How to Use Two-Part Epoxy for a Stronger Bond
If your project demands a more durable bond, two-part epoxy is the solution. The following steps will guide you through the process of using this potent adhesive.
Step 1: Mixing the Epoxy
Combine the resin and hardener in the ratio specified by the product’s instructions. Mix thoroughly to activate the chemical bond.
Step 2: Application Process
Apply a thin layer of the mixed epoxy to the cleaned plastic surface. Avoid using too much as it can make the paper wrinkle or seep out the edges.
Step 3: Aligning Paper to Plastic
Position the paper carefully onto the plastic, smoothing out any air pockets and ensuring precise alignment.
Step 4: Curing Time
Two-part epoxies require a specific curing time, often ranging from several minutes to hours. Consult the product’s instructions for accurate times.
Step 5: Final Touches
Once cured, check for any loose edges or bubbles and address them if necessary. The epoxy should now provide a clear, strong bond between the paper and plastic.
How to Seal Paper to Plastic for Longevity
Sealing the bond between paper and plastic not only enhances its strength but also its longevity. Here are ways to protect your project.
Protective Coatings
Applying a clear sealer over the paper can prevent peeling and protect against moisture and wear. Various sealants are available, ranging from spray-on types to brush-on varieties.
Edges Sealing Techniques
Ensuring the edges of the paper are fully adhered to the plastic is crucial. You can use additional adhesive or sealant to reinforce these areas, preventing future lifting or damage.
Additional Tips for Successful Adhesion
- Test the glue on a small area first to check for any reactions.
- Use a roller to press the paper firmly onto the plastic for an even bond.
- Be patient and allow ample drying time for the best results.
Common Mistakes and Warnings
Be wary of using too much adhesive, which can cause wrinkling or warping of the paper. Also, avoid touching the adhesive surfaces with your fingers, as oils can weaken the bond. Always work in a well-ventilated area when using strong adhesives.
FAQs on Gluing Paper to Plastic
How to Stick Paper on Plastic Without Bubbles
To avoid bubbles, apply the glue evenly and press the paper down from one end to the other, using a flat tool to expel any trapped air.
Best Practices for Long-Term Adhesion
For long-lasting adhesion, clean surfaces thoroughly, choose the correct adhesive for your needs, and apply a sealer to protect the bond.
If you’re embarking on a craft project and need to know the best ways to adhere paper to various surfaces, you’ve come to the right place. While you’re here for tips on how to glue paper to plastic, you might also find it useful to explore our guides on how to glue paper to metal, how to glue paper to glass, and how to glue paper to fabric. Each article provides detailed instructions and tips to ensure your crafting goes smoothly, no matter the materials you’re working with.
Conclusion: Ensuring a Durable Paper to Plastic Glue Bond
Mastering how to stick paper to plastic is a valuable skill in the world of crafts and DIY. With the right preparation, adhesive selection, and application techniques, you can achieve a bond that is both visually appealing and enduring. Remember to work patiently and allow the glue to set fully. By following the guidance provided in this post, your projects will hold together beautifully, showcasing your attention to detail and craftsmanship.


