Velvet, with its luxurious texture and rich appearance, can transform simple wooden furniture into elegant pieces. The process of gluing velvet to wood, while seemingly straightforward, requires particular care and knowledge to ensure a smooth and lasting finish. Understanding the best practices for velvet to wood application is essential for both DIY enthusiasts and professional artisans.
Selecting the Best Glue for Velvet
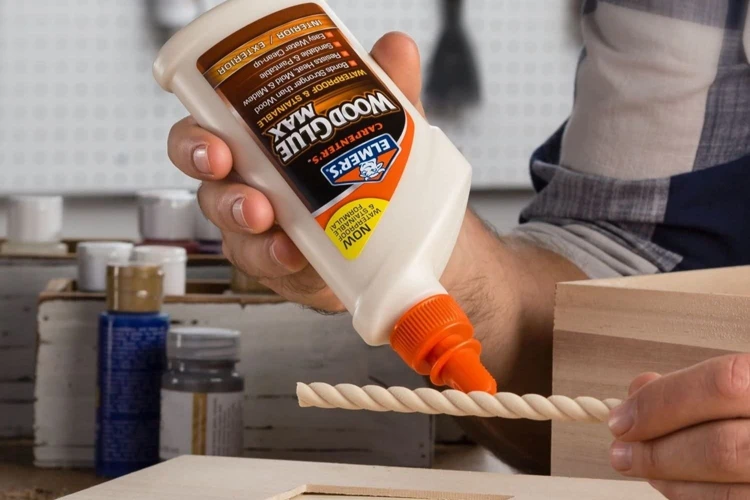
Choosing the right adhesive is pivotal for a successful project. The best glue for velvet should bond firmly without soaking through or staining the fabric.
Types of Velvet Adhesive
- Water-based glues: These are less likely to stain the velvet but may not provide the strongest hold.
- Hot glue: Quick and convenient, but it can stiffen the fabric and create an uneven surface.
- Fabric glue: Specifically designed for cloth materials, fabric glue is generally a reliable option.
- Spray adhesive: Offers an even coat and works well with lightweight velvet, but it requires precision during application.
Comparing Velvet Adhesive Tips
When comparing velvet adhesive tips, consider the drying time, bonding strength, and ease of use. It’s also important to test your chosen glue on a scrap piece of velvet to ensure compatibility.
Preparation for Velvet to Wood Application
Proper preparation is key to achieving a flawless finish. Skipping this step can lead to an unsatisfactory bond and a lackluster appearance.
Cleaning and Preparing the Wood Surface
Ensure the wood is clean, dry, and smooth. Sand any rough areas and wipe down the surface with a damp cloth to remove dust and debris.
Cutting and Preparing the Velvet
Cut the velvet slightly larger than the wood surface, accounting for any wrapping or tucking you might need. Use sharp scissors for a clean cut, and iron out any wrinkles on a low heat setting.
DIY Velvet Furniture: Step-by-Step Guide
Creating DIY velvet furniture can be a rewarding endeavor. Follow these steps to achieve the best results.
Applying the Glue
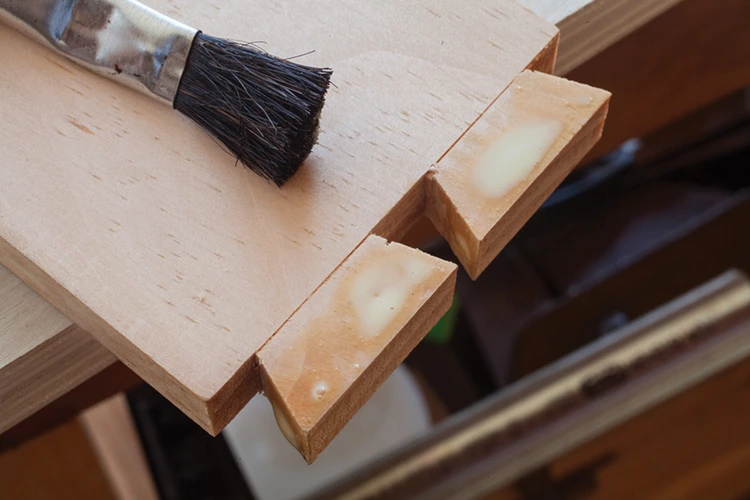
Apply a thin, even layer of your chosen adhesive to the wood surface. If using spray glue, do so in a well-ventilated area and keep the nozzle at a consistent distance to avoid oversaturation.
Attaching the Velvet
Carefully place the velvet onto the glue, starting from one edge and smoothing it out to prevent air bubbles. If needed, use a brayer or a flat object to press down evenly.
Finishing Touches
Once the velvet is in place, trim any excess fabric and tuck the edges for a clean finish. Allow ample time for the glue to cure before using the furniture piece.
Craft Velvet Attachment Techniques
For craft velvet attachment, consider using temporary basting spray or double-sided tape to position the velvet before applying the permanent adhesive. This can help in achieving precise alignment.
Woodworking with Velvet: Advanced Tips
When woodworking with velvet, advanced users may opt for specialized tools like pneumatic staplers for a secure attachment, especially around corners and curves.
Velvet Fabric Wood Projects: Inspiration and Ideas
Velvet fabric wood projects can range from upholstered headboards to decorative boxes. Use contrasting velvet colors to accentuate intricate woodwork or to add a touch of sophistication to simple designs.
Velvet Upholstery Guide: Maintenance and Care
To maintain your velvet upholstery, regularly vacuum the fabric with an upholstery attachment, and keep it out of direct sunlight to prevent fading. For spills, blot immediately and consult a professional cleaner for persistent stains.
Conclusion
Mastering the art of gluing velvet to wood can elevate your DIY projects to a professional level. With the right materials and techniques, you can achieve a luxurious finish that stands the test of time.
Troubleshooting Common Issues
If you encounter issues like bubbling or peeling, gently lift the fabric and reapply adhesive. Avoid excessive handling before the glue dries to prevent imprints or texture damage.
For crafting enthusiasts and DIYers, adhering different materials to wood can open up a world of creative possibilities. If you’re looking to add a touch of elegance to your wooden projects, our guide on how to glue velvet to wood offers step-by-step instructions to ensure a smooth and durable finish. And for those interested in exploring other textures and materials, check out our tutorials on how to glue carpet to wood, how to glue stone to wood, and how to glue moss to wood. Each guide is designed to help you achieve professional-looking results for all your woodworking projects.
FAQs
Q: How long does it take for the glue to dry?
A: Drying times vary depending on the adhesive, but it generally takes between 15 minutes to 24 hours.
Q: Can I wash velvet once it’s glued?
A: It’s not recommended to wash glued velvet. Spot cleaning is the safer option.
Q: Is it possible to remove velvet once it’s glued?
A: Yes, but it requires care. Use a solvent suitable for your adhesive, and proceed with caution to avoid damaging the wood.