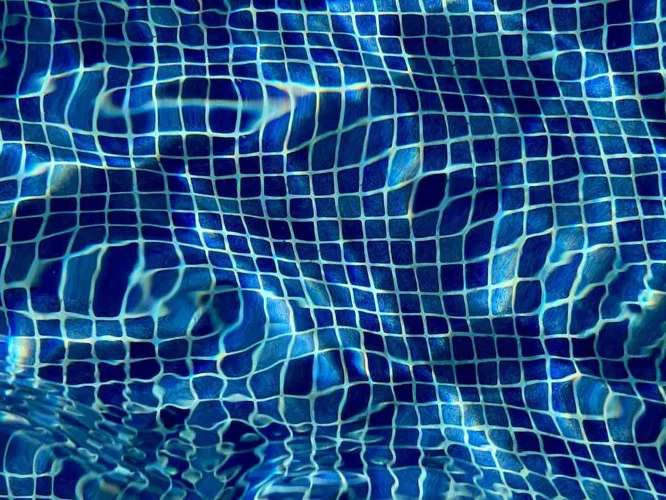
Pool tile repair is a crucial aspect of swimming pool maintenance that can extend the aesthetic appeal and overall lifespan of your pool. When tiles begin to loosen or fall off, taking immediate action can prevent more extensive damage. In this blog post, we’ll explore how to execute pool tile repair, specifically how to fix pool tiles underwater without draining your pool.
Understanding Underwater Pool Maintenance
Maintaining the integrity of your pool’s structure and appearance requires attention to detail and a proactive approach. Underwater pool maintenance involves repairing and replacing tiles that have been damaged by shifting ground, temperature changes, or chemical erosion. The unique challenge lies in performing these repairs under water, which requires specialized adhesives and techniques.
Choosing the Right Underwater Tile Adhesive
Selecting the appropriate underwater tile adhesive is pivotal for a successful pool tile repair. The right adhesive ensures that the repair lasts, preventing the need for frequent touch-ups and potentially saving you money and time in the long run.
Comparing Pool Tile Adhesive Options
- Epoxy-based adhesives: Known for their strength and durability under water.
- Cement-based adhesives: Commonly used but might not be suitable for all underwater applications.
- Urethane-based adhesives: Flexible and resistant to chemicals, making them a popular choice.
Waterproof Glue for Tiles: What to Look For
When browsing for waterproof glue for tiles, consider qualities like bonding strength, curing time, and resistance to pool chemicals. The product should be specifically designed for underwater use to ensure it can withstand the pool environment without losing its adhesive properties.
DIY Pool Tile Repair: A Step-by-Step Guide
Engaging in DIY pool tile repair can be a rewarding project. With the right tools and a bit of patience, you can restore your pool to its former glory without professional intervention.
How to Fix Pool Tiles Underwater
To begin fixing tiles underwater, clear the area of debris and old adhesive. Next, apply the underwater tile adhesive to the back of the replacement tile. Press the tile firmly against the pool wall, ensuring it aligns with the surrounding tiles. Allow the adhesive to cure as per the manufacturer’s instructions.
Fixing Tiles Underwater: Tips and Tricks
Here are a few tips and tricks to make the process smoother:
- Work in small sections to prevent the adhesive from curing before you can apply the tiles.
- Use a putty knife or similar tool to spread the adhesive evenly.
- After placing a tile, wipe away any excess adhesive to prevent unsightly residue.
Applying Swimming Pool Tile Glue
Applying swimming pool tile glue is a delicate process that requires precision and careful handling to prevent air pockets and ensure a secure bond.
Techniques for Using Underwater Pool Tile Adhesive
Use a zigzag pattern when applying the adhesive to the tile, which can help to create a more secure grip. Also, be mindful of the temperature of the water, as it can affect the adhesive’s curing time and effectiveness.
Ensuring a Strong Bond with Waterproof Glue for Tiles
For the strongest bond, it’s crucial to follow the product’s instructions for mixing and application. Make sure the tiles and the pool surface are clean before application. Applying firm, even pressure when setting the tile in place will also help in achieving a strong bond.
Maintaining Your Pool Tiles After Repair
Once the repair is complete, maintaining your pool tiles is essential to prevent future damage and ensure the longevity of your repair work.
Long-term Care for Glue for Pool Tiles
Long-term care includes regular inspections of the tiles and the adhesive bond. Over time, the glue for pool tiles may weaken due to environmental factors, so be vigilant and address any issues promptly to maintain the integrity of the repairs.
Regular Underwater Pool Maintenance to Prevent Future Damage
Regular underwater pool maintenance involves keeping the water chemistry balanced, cleaning the tiles to prevent algae and calcium buildup, and inspecting the grout and adhesive for signs of wear. These steps will help you safeguard against future damage.
Embarking on a DIY pool repair and wondering how to handle those pesky tiles that have come loose underwater? You’re in luck! Our comprehensive guide on how to glue pool tiles back on will provide you with step-by-step instructions to get the job done right. And if you’re diving into other adhesive projects, don’t miss our articles on how to glue sea glass for a touch of oceanic flair in your crafts, or our tips on how to glue craft foam for all your creative foam endeavors. Whether it’s beneath the water or on the crafting table, we’ve got your adhesive needs covered!
Conclusion: Maximizing the Lifespan of Your Pool Tiles
By following the outlined steps for DIY pool tile repair, choosing the right underwater tile adhesive, and maintaining your pool with care, you can maximize the lifespan of your pool tiles. Regular maintenance and immediate attention to repairs are your best defense against the need for extensive and costly renovations. Dive into pool tile repair with confidence and enjoy a pristine swimming oasis for years to come.
