The allure of the ocean is undeniable, and sea glass art projects encapsulate this charm in a unique way. These projects offer a tangible piece of the sea’s mystery through colorful, frosted gems that have been sculpted by nature itself.
What is Sea Glass?
Sea glass is the result of broken glass being tumbled and smoothed by the ocean’s currents over many years, turning what was once discarded into beautiful, frosted shards. Each piece has a story, shaped by the ebb and flow of the tides.
The Appeal of Sea Glass Crafts
Sea glass crafts are cherished for their rustic beauty and the sense of calm they bring. Crafting with these oceanic treasures has become a beloved pastime for artists and hobbyists looking to capture the essence of the shore.
Finding and Preparing Sea Glass for Crafting
Before you can begin any sea glass adhesive project, sourcing and preparing your materials is essential.
Where to Find Sea Glass
Sea glass can be found on beaches across the globe, particularly along coastlines with heavy surf. Mornings after a storm often reveal the best finds, as the tumultuous waves bring hidden gems to the surface.
Cleaning and Preparing Sea Glass for Adhesion
- Rinse each piece to remove salt and sand.
- Dry thoroughly to ensure a clean surface for the glue for sea glass to adhere to.
- Sort by size and color for easier selection during your project.
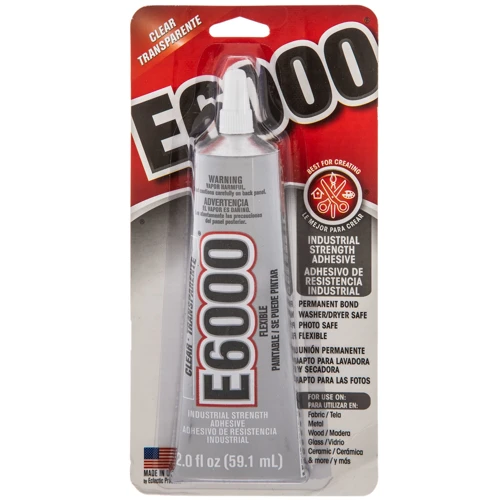
Choosing the Right Sea Glass Adhesive
Securing your sea glass to a substrate requires a strong, durable sea glass adhesive that can withstand the test of time.
Understanding Sea Glass Adhesive Options
Various adhesives are available, but not all are suitable for bonding sea glass. Epoxy resins and silicone-based glues are among the most effective.
Best Glue for Sea Glass: What to Look For
The best glue for sea glass should be clear, strong, and able to bond to both glass and your chosen base material. It should also dry without leaving residue or fogging the glass.
Waterproof Glue for Sea Glass: Importance in Crafting
Using waterproof glue for sea glass is crucial, especially for items that may come into contact with moisture, ensuring the longevity and durability of your art.
DIY Sea Glass: The Gluing Process
The actual process of adhering sea glass is where your creativity comes to life. With the right preparation and technique, you can create stunning DIY sea glass artworks.
How to Attach Sea Glass: Step by Step
- Choose your base material and lay out your design.
- Apply a small amount of adhesive to the flat side of the sea glass.
- Gently press the piece onto your base and hold for the time specified by the glue manufacturer.
- Repeat until your design is complete and let it cure.
Tips for Bonding Sea Glass
Ensure a clean work surface to prevent debris from getting into the adhesive. Work in a well-ventilated area and wear gloves to protect your skin from the glue.
Sea Glass Project Ideas
With a myriad of possibilities, sea glass project ideas range from simple to intricate, each offering a unique way to showcase these natural jewels.
Simple Sea Glass Art Ideas for Beginners
Beginners can start with projects like sea glass magnets, picture frames, or simple mosaics, which require minimal materials and provide a great way to practice the gluing technique.
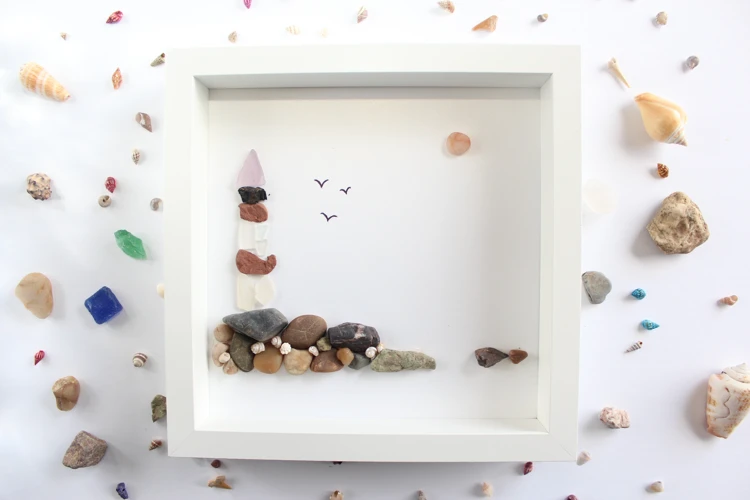
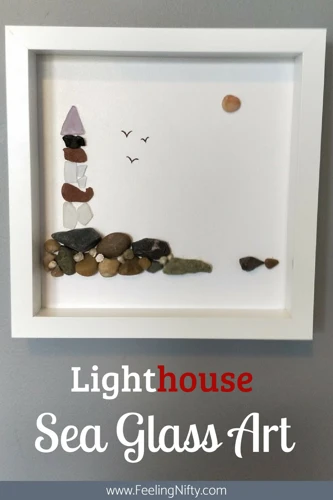
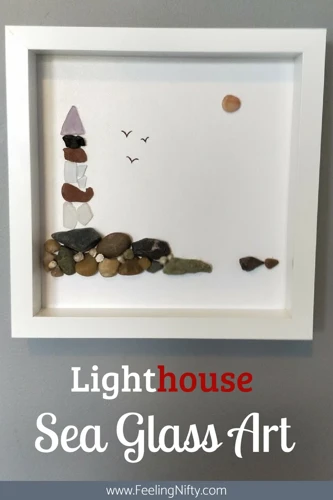
Advanced Sea Glass Art Projects for Experienced Crafters
For the more experienced crafter, intricate sea glass wall art or three-dimensional sculptures may provide the challenge they seek. These projects require precision and patience but result in truly remarkable pieces.
Displaying Your Sea Glass Creations
After completing your sea glass art projects, displaying them appropriately will enhance their beauty and ensure they catch every onlooker’s eye.
Finishing Touches: Framing and Hanging
Incorporating frames that complement your artwork’s aesthetic can give it a polished look. Secure hanging hardware to ensure your piece is displayed safely and attractively.
Maintenance and Care for Your Sea Glass Art
Regular dusting and the occasional gentle cleaning with a damp cloth are usually sufficient to keep your sea glass creations looking their best.
Troubleshooting Common Issues with Sea Glass Gluing
Even with the best preparation, you may encounter issues when working with sea glass adhesive. Knowing how to address these can save your project from disaster.
How to Fix Loose Pieces
If a piece becomes loose, carefully remove it, clean off the old adhesive, and reapply the glue. Allow it to cure fully before handling the project again.
Preventing Discoloration and Cloudiness
Choose high-quality adhesives designed for glass to prevent discoloration or cloudiness. Following the manufacturer’s instructions is also key to avoiding these issues.
For those who are into DIY projects and crafts, understanding the right way to glue different materials is essential. If you’re specifically looking to learn how to glue sea glass for your next project, our guide will be an invaluable resource. But if your crafting interests extend beyond sea glass, you might also be interested in learning how to work with various foam materials. We have detailed articles on how to glue EVA foam as well as general tips and tricks in our how to glue foam article. Additionally, for those working on watercrafts, our tutorial on how to glue boat carpet might just help you with your next nautical project.
Conclusion: Unleashing Your Creativity with Sea Glass
Sea glass art projects offer a unique medium to express your creativity. With the right techniques and adhesives, you can transform these oceanic fragments into stunning artworks that embody the spirit of the sea.