When it comes to a painting project, the excitement of choosing colors and finishes can easily overshadow the importance of wall preparation for painting. However, the quality and longevity of your paint job depend significantly on the prep work. Here’s a guide to ensure that your walls are perfectly primed for that fresh coat of paint.
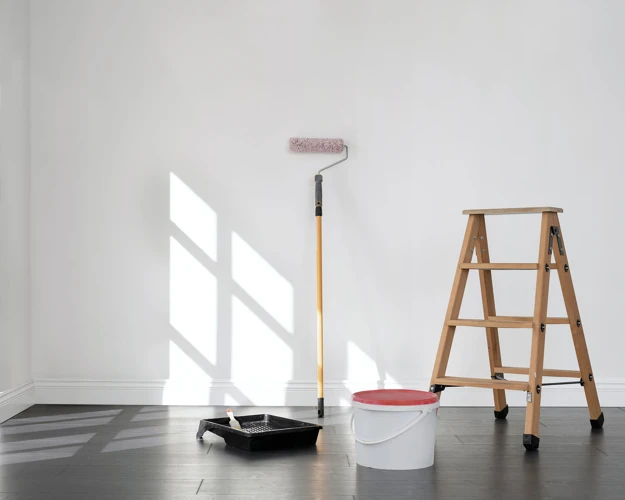
Step 1: Wall Preparation for Painting
![]()
Assessing the Wall’s Condition and Making Space
Before diving into your painting project, it’s critical to assess the condition of your walls. Look for any signs of damage or areas that may need special attention. Clear the room as much as possible to have a spacious working area, which will make the subsequent steps easier and prevent any accidental damage to furniture or decor.
Removing Nails, Hooks, and Screws
Start by removing all nails, hooks, and screws from the walls. This step ensures a smooth surface and prevents any obstructions during the sanding and painting process. Fill the holes left behind with a spackling compound, which will be addressed in the next step.
Step 2: Wall Repair for Painting
Inspecting for Damage and Repairing Imperfections
Wall repair for painting is a critical step that should not be overlooked. Inspect your walls for any cracks, dents, or holes. Use a putty knife to apply spackle or joint compound to these areas. Once the filler is dry, sand it down to create a level surface with the rest of the wall.
Step 3: Sanding Walls Before Painting
Using the Right Grit and Technique for Smooth Surfaces
Sanding walls before painting is essential for achieving a smooth base. Use sandpaper with the right grit — typically a medium to fine grade — to lightly buff the walls. Sanding not only smoothens the filled areas but also helps in creating a surface that the paint can adhere to more effectively. Ensure you work in a well-ventilated area and wear a dust mask for safety.
Step 4: Wall Cleaning Before Painting

Dusting and Washing to Ensure a Clean Surface
Wall cleaning before painting is about more than just aesthetics; it’s about creating a clean canvas for your new paint. Begin by dusting your walls with a microfiber cloth or using a vacuum cleaner with a brush attachment. Then, wash the walls with a mild detergent solution, focusing on areas with noticeable stains or marks.
Letting the Walls Dry Thoroughly
After washing, it’s crucial to let the walls dry thoroughly. Any moisture left on the surface can cause the paint to bubble or not adhere properly. Depending on the humidity and temperature, drying can take a few hours, so patience is key at this stage.
Step 5: Priming Walls for Painting
Selecting the Right Primer for Your Wall Type
Choosing the right primer is a pivotal part of the painting prep steps. Consider the type of surface you’re working with and the paint you’ll be using. For instance, if you’re covering a dark color with a lighter one, a high-hide primer may be necessary. On the other hand, a stain-blocking primer is best if you’re dealing with walls that have water or smoke stains.
Applying Primer Using Paint Preparation Techniques
Applying primer using proper paint preparation techniques can save you time and money in the long run. Use a roller for large areas and a brush for corners and edges. Ensure even coverage to avoid blotches and uneven tones after the painting is completed.
The Best Way to Prepare Walls for Painting
Surface Preparation for Painting: Final Touches Before the Paint
The best way to prepare walls for painting involves meticulous attention to detail during the final touches of surface preparation for painting. Check for any spots you might have missed during the repair, cleaning, or priming stages. A last-minute touch-up can make all the difference in achieving a professional-looking finish.
Embarking on an exterior painting project? Preparation is key to achieving that professional finish. Our comprehensive guide on the 5 essential steps for preparing your walls for painting will walk you through the process, ensuring you cover all bases before you start. Moreover, to fully equip yourself for the task, don’t miss our list of the 10 essential tools for exterior painting. And if you’re looking to add a touch of creativity to your project, our tips on preparing walls for color blocking can inspire you to bring a vibrant new look to your space.
Painting Prep Steps: Ensuring a Professional Finish
How to prepare walls for painting is not just about the steps you take but also about the quality and thoroughness of each task. By following these painting prep steps, you are setting the stage for a stunning transformation of your space. The effort put into preparing your walls will be evident in the flawless finish of your paint job, showcasing the true value of a well-executed preparation process.
- Assess the condition of your walls and clear the room.
- Remove all nails, hooks, and screws for a smooth canvas.
- Address any damage on your walls with spackle or joint compound.
- Sand the walls with the correct grit for a smooth base that paint can adhere to.
- Clean the walls thoroughly and allow them to dry completely.
- Select and apply the right primer for your wall type.
- Perform a final inspection and touch-up before you start painting.
With these steps, you’re now ready to begin painting, confident that your walls are as prepared as they can be for a fresh, new look. Happy painting!