Revitalizing the facade of your home can be as simple as a well-executed exterior paint touch up. This process not only enhances the aesthetic appeal but also serves as a critical aspect of home upkeep. Over time, the elements can take a toll on your home’s siding, and a touch-up can significantly extend the life of your existing paint job, saving both time and money in the long run.
Assessing the Need for Outdoor Paint Correction
Identifying Common Issues
Before embarking on outdoor paint correction, it’s essential to conduct a thorough inspection of your home’s exterior. Look for signs of fading, chalking, or blistering paint. These indications reveal that your home’s exterior is due for some attention.
When to Opt for House Paint Maintenance
Timing is key in house paint maintenance. Ideally, you should plan for a touch-up every few years or when the paint shows signs of wear. This proactive approach can prevent more extensive and expensive repairs.
Preparation for DIY Exterior Paint Repair
Gathering Necessary Materials
Successful DIY exterior paint repair begins with having the right tools. Assemble materials such as sandpaper, putty knives, primer, and the touch-up paint. Selecting quality materials ensures a more lasting finish.
Surface Preparation and Safety Tips
Surface preparation is crucial. Clean the walls, remove old, flaking paint, and ensure the surface is dry and smooth. Prioritize safety by wearing protective gear and securely positioning ladders.
Steps to Fix Peeling Paint Exterior
Cleaning and Scraping
To fix peeling paint exterior, start by cleaning the area with a pressure washer or a sturdy brush. Once the surface is clean, use a scraper to remove all loose paint, being careful not to damage the substrate.
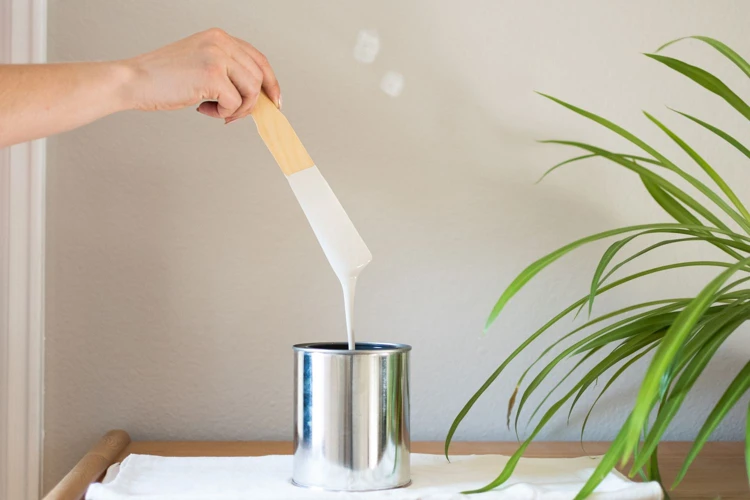
Priming the Affected Area
After scraping, apply a high-quality primer suitable for exterior use. This step ensures that your top coat adheres properly and provides a uniform look.
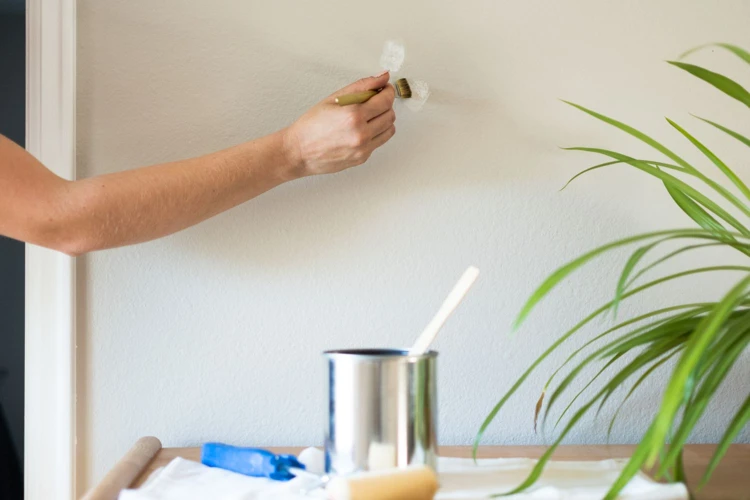
Applying the Touch Up Paint for House
When the primer is dry, it’s time for the touch up paint for house. Use a small brush or roller to apply the paint, feathering the edges to blend seamlessly with the surrounding area.
Techniques for Home Exterior Paint Refresh
Weatherproof Paint Touch-Up Methods
For those living in harsh climates, weatherproof paint touch-up is a must. Invest in paints that are specifically formulated to withstand extreme temperatures and moisture for a long-lasting finish.
Ensuring a Smooth Finish
Ensuring a smooth finish requires a steady hand and the right technique. Always paint from dry to wet areas to avoid leaving marks and strive for even coverage throughout.
Paint Chip Repair Exterior Solutions
Small Chip Repair
For small chips, a quick dab of paint with a fine brush can often do the trick. Be sure to clean the chip area before applying the touch-up paint to ensure it adheres properly.
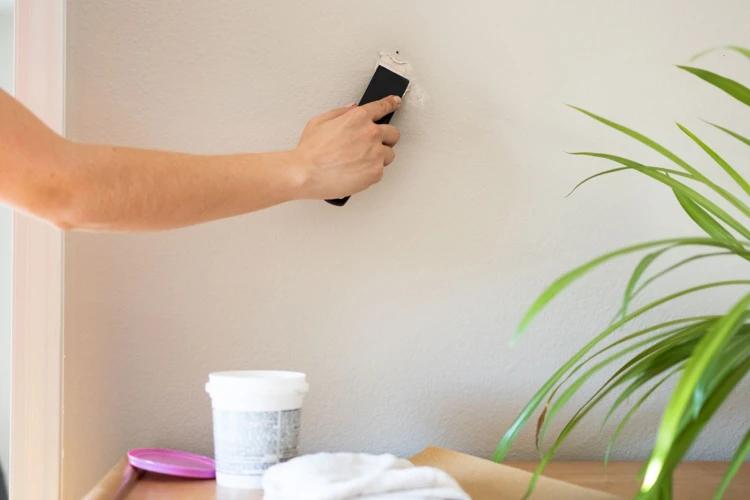
Large Area Correction
For larger areas, more extensive preparation is necessary. You may need to sand and possibly use a filler before priming and painting to achieve a flawless appearance.
How to Match Exterior Paint Color Accurately
Color Matching Tips
To match exterior paint color accurately, take a chip of the existing paint to a paint store for a custom mix. Alternatively, use a paint matching app to find the closest available shade.
Utilizing Professional Services
If color matching proves challenging, consider hiring a professional. Their expertise and tools can ensure an indistinguishable match, maintaining the uniformity of your home’s exterior.
Maintaining Your Home’s Exterior After Touch Up
Regular Maintenance Schedule
Establishing a regular maintenance schedule is vital to keep your home looking its best. Inspect your exterior annually and touch up as needed to keep the paint in top condition.
Protective Measures to Extend Paint Life
Applying a clear coat sealant, trimming foliage away from walls, and cleaning your home’s exterior regularly are all protective measures that can extend the life of your paint job.
When it comes to giving your home’s exterior a fresh look, knowing when and how to touch up your exterior paint can make all the difference. For those looking to dive deeper into the topic, we have a range of articles that might interest you. Discover the art of color blocking with exterior paint to add a modern twist to your home’s facade. If you’re considering different options, you might want to read about the pros and cons in our comparison of home exterior paint vs. stain. And to understand what influences your choices, our guide on home exterior paint color factors can help you select the perfect palette. With these resources, you’ll be well-equipped to make your home stand out beautifully.
Conclusion: The Benefits of Timely Exterior Paint Upkeep
Timely maintenance of your home’s exterior paint can prevent more extensive issues and contribute to your home’s curb appeal and value. With meticulous care, your touch up can result in a vibrant, enduring finish.