Adding a tile backsplash to your kitchen is a fantastic way to inject personality and style into one of the most used rooms in your home. Not only does it serve a practical purpose by protecting walls from splatters, but it also has the potential to become a stunning focal point. With the right approach, DIY tile backsplash installation can be a rewarding project that enhances your kitchen’s aesthetic appeal and adds value to your home.
Choosing the Right Materials for Your Kitchen Backsplash
Types of Tiles for Backsplashes
Before embarking on your wall tile installation, it’s crucial to decide on the type of tile that will best suit your kitchen’s design. Ceramic tiles, glass, stone, and porcelain are popular choices, each offering unique benefits. Ceramic is durable and comes in a variety of colors and patterns, while glass can introduce a sleek, modern look. Stone brings a natural element into your kitchen, and porcelain is known for its longevity and low maintenance.
Selecting the Best Kitchen Backsplash Adhesive
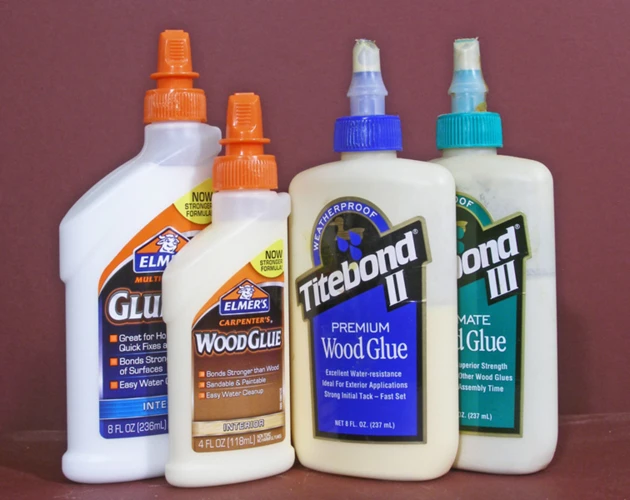
The success of your DIY tile backsplash hinges on the kitchen backsplash adhesive you choose. Waterproof tile adhesive is essential to prevent water damage and ensure a long-lasting hold. Epoxy and thin-set mortar are among the top choices for their strong bonding properties and resistance to moisture. Selecting the right adhesive will ensure your tiles stay in place for years to come.
Preparation for Tile Backsplash Installation

Gathering Your Tools and Materials
- Measuring tape and level
- Tile cutter or wet saw
- Notched trowel and float
- Tile spacers
- Sponges and buckets
- Safety glasses and gloves
Gathering all necessary tools and materials before starting your project is essential. Ensure you have everything on hand to eliminate unnecessary interruptions once you begin gluing tiles.
Preparing Your Wall for Tile Installation
Proper preparation of your wall is critical for a successful tile backsplash installation. Clean the surface thoroughly to remove any grease, dust, or debris. If you’re working with new drywall, make sure it’s primed. For previously painted walls, lightly sanding can help improve adhesion. A smooth, clean, and stable wall surface will provide the best foundation for your new backsplash.
Step-by-Step Guide to Gluing Tiles for Backsplashes
Applying the Waterproof Tile Adhesive
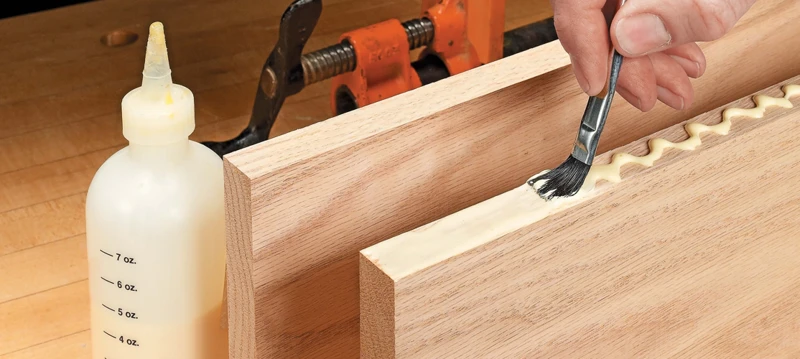
Starting with a small section, use a notched trowel to evenly spread the waterproof tile adhesive across the wall. The notches help to create ridges, which will grip the tiles more effectively. Be careful not to cover too large an area at once, as the adhesive may dry before you can set all your tiles.
Setting Ceramic and Mosaic Tiles
Press each tile firmly into the adhesive, using a slight twisting motion to ensure good contact. For uniformity, place tile spacers between tiles. If you’re working with mosaic tile glue, the process remains similar, but ensure that the individual pieces are well secured within the mesh backing.
How to Install Backsplash Tile Sheets for Mosaics

Installing mosaic tile sheets can simplify the process, especially for complex patterns. After applying adhesive, position the sheet onto the wall, pressing evenly across the surface. Once the sheet is in place, tap gently with a grout float to ensure each small tile is affixed to the wall.
Techniques for Grouting a Backsplash
Mixing and Applying Grout
After allowing the adhesive to cure, mix your grout according to the manufacturer’s instructions. Using a rubber float, apply the grout at a 45-degree angle, making sure to work it into every joint. The key to grouting a backsplash successfully is to fill the spaces thoroughly, eliminating any air pockets.
Finishing Touches and Cleanup
Once the grout has been applied, wait for it to set slightly before wiping off excess with a damp sponge. Rinse the sponge frequently to avoid grout haze. After the grout has fully cured, seal the edges and apply a grout sealer to protect against moisture and stains.
Common Mistakes and Troubleshooting in Tile Backsplash Installation
Common errors in DIY tile backsplash projects include not allowing enough time for the adhesive and grout to cure, leading to loose tiles, and uneven spacing between tiles. If you encounter adhesive that’s set too quickly, remove the tile, reapply adhesive, and reset the tile. For grout-related issues, it may be necessary to re-grout if the initial application has failed to cure properly.
Maintenance and Repairs for Your Tile Backsplash
Regular Cleaning Tips
To keep your ceramic tile backsplash looking new, regular cleaning is vital. Wipe down the backsplash with a damp cloth and use a mild detergent for tougher stains. Avoid abrasive cleaners that could damage the grout or tile glaze.
How to Do Backsplash Repairs
If a tile cracks or becomes loose, carefully remove the damaged piece without affecting the surrounding tiles. Clean the area, reapply the adhesive, and set a new tile in place. If the damage is to the grout, remove the affected area and reapply new grout as needed.
If you’re embarking on a DIY project and need guidance on adhesives and techniques, we’ve got you covered. For those of you looking to fix a single tile, our article on how to glue a tile back on will walk you through the steps for a quick repair. If you’re working with wood and planning to create a kitchen accessory, such as a cutting board, don’t miss our detailed guide on how to glue up a cutting board. And for those tackling larger projects like installing or repairing a backsplash, our instructions on how to glue countertop edges can help ensure a seamless finish. These resources will help you achieve professional results in your home improvement endeavors.
Final Tips and Best Practices for DIY Tile Backsplash Installation
Embarking on a DIY tile backsplash project can be fulfilling if done correctly. Always plan your layout, measure twice, cut once, and be patient throughout the process. Remember to allow adequate time for adhesives and grout to cure, and maintain your beautiful new backsplash with regular cleaning. With these tips and best practices, your kitchen will boast a stunning backsplash that you’ve expertly installed yourself.