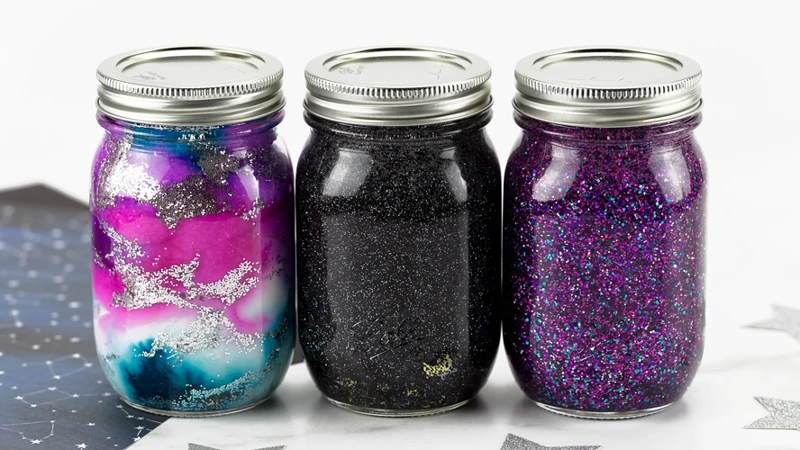
Are you looking to capture the essence of the beach within the confines of glass? A homemade sand jar is a charming way to preserve your seaside memories or to create an eye-catching decorative piece. This form of sand art DIY not only encapsulates the beauty of layered sands but also serves as a delightful project that can be enjoyed by crafters of all ages. With just a few supplies and a little creativity, you can create a beach sand keepsake that’s both personal and picturesque.
Materials Needed for a Sand Jar
Before diving into the mesmerizing world of sand jar creation, it’s essential to gather all the necessary materials. A clear, clean jar with a tight-fitting lid will be your canvas, while various colors of sand will paint your landscape.
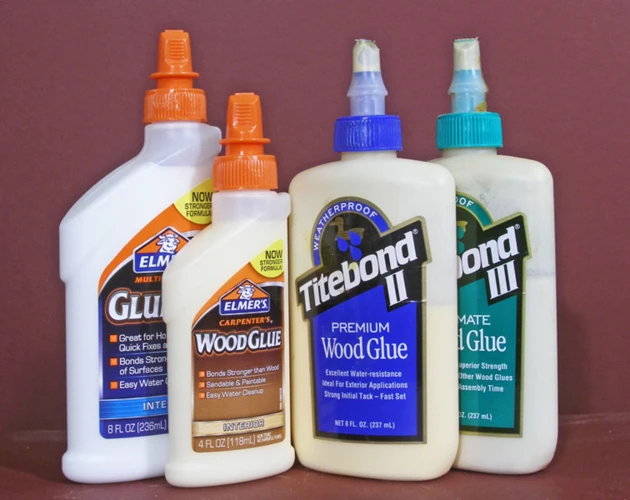
Choosing the Best Glue for Sand
Securing your sandy layers requires the best glue for sand. A clear-drying, strong adhesive is crucial for this craft. It will ensure that the sand sticks to the jar’s interior without altering the vibrant hues of your design.
Selecting Sand for Your Beach Sand Keepsake
When selecting sand for your project, variety is key. From stark white to sunset gold and sea green, each shade will contribute to the unique stratification that defines sand art. Opt for fine, dry sand as it adheres best and creates a smooth, even layer in your jar.
Preparation Tips for Gluing Sand in a Jar
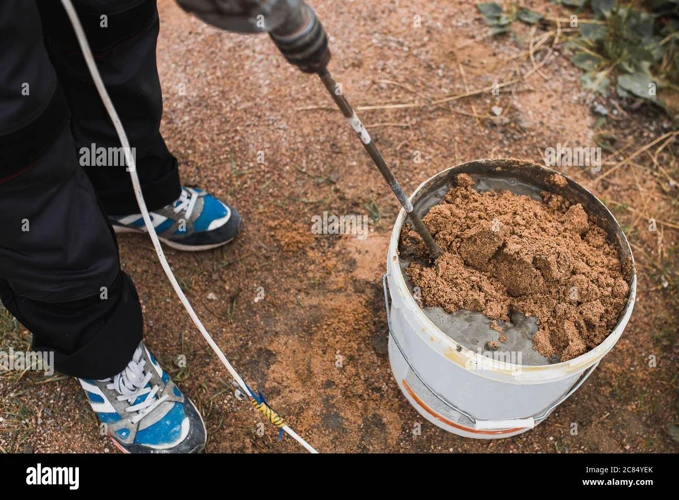
Embarking on your sand art DIY journey requires a bit of prep work. Ensure your workspace is covered to catch any stray grains, and organize your materials for easy access. Having everything within reach will streamline the gluing process and make the experience more enjoyable.
Sand Jar Tutorial: Step-by-Step Guide
How to Make a Sand Jar: Laying the Foundation
To begin, decide on the base layer of your sand jar decoration. Pouring an initial layer of sand will set the stage for your design and provide a stable foundation. Gently tap the jar to level the sand before adding subsequent layers.
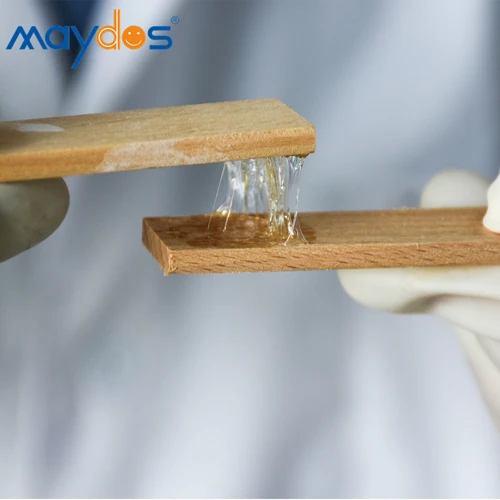
Applying Adhesive for Sand Crafts
Next, apply a thin, even layer of adhesive to the area where your next sand layer will adhere. Work carefully to avoid excess glue, which can disrupt the clean lines between your colorful sand strata. Patience is key during this step of the sand jar tutorial.
Designing Your Sand Layers
Now comes the creative part – designing your sand layers. Tilt the jar at various angles as you sprinkle sand to create slopes and hills. Use a funnel or a spoon for precise placement and to maintain control over the thickness of each layer. The beauty of gluing sand in a jar is the freedom to create patterns and shapes that are uniquely yours.
Preserving Your Sand Art
Once your design is complete, it’s crucial to preserve your creation. A well-constructed sand jar can last for years, becoming a timeless piece in your collection of crafts.
Sealing and Protecting Your Sand Jar Decoration
After the final layer of sand is added and the glue has dried, seal your jar tightly. This will prevent moisture from entering and potentially ruining your sand layers. Additionally, consider displaying your jar out of direct sunlight to prevent the colors from fading over time.
Final Touches: Enhancing Your Sand Jar

With your sand layers secure and your jar sealed, it’s time to give your creation that extra flair.
Accessorizing Your Sand Jar
- Add ribbons or twine around the jar’s neck for a rustic touch.
- Attach charms or trinkets that complement the theme of your sand art.
- Consider affixing a label or a tag with a meaningful date or message.
These embellishments not only personalize your beach sand keepsake but also elevate it from a simple jar to an artistic expression.
For craft enthusiasts looking to incorporate a bit of the beach into their projects, knowing how to securely attach sand to different surfaces is essential. Whether you’re working on a jar, cardboard, canvas, or paper, the technique can make all the difference. If you’re interested in gluing sand to cardboard, our guide on how to glue sand on cardboard will provide you with step-by-step instructions. For those working with a more fabric-like texture, our article on how to glue sand to a canvas might be just what you need. And if you’re looking to create a sandy masterpiece on paper, don’t miss our tips in the article about how to glue sand to paper. Each tutorial is designed to help you achieve the best results for your sandy creations.
Conclusion: Enjoying Your Beach Sand Keepsake
In conclusion, creating a homemade sand jar is not just about crafting; it’s about capturing moments and memories within layers of colored grains. By following this sand jar tutorial, you’ve learned how to make a sand jar that not only serves as a stunning piece of home decor but also as a tribute to your cherished beach experiences. Display it proudly and let it remind you of sunny days and gentle waves lapping at the shore.