Long, fluttery eyelashes can make a world of difference in one’s appearance, and DIY eyelash extensions are a growing trend for beauty enthusiasts. With the right tools and techniques, you can achieve professional-looking results right from the comfort of your home. This guide will delve into the intricacies of applying individual lashes, ensuring that even beginners can master the art of eyelash enhancement.
Preparing for the Application
Choosing the Right Individual Lashes
Selecting the ideal individual lashes is crucial for achieving a natural-looking lift. Factors to consider include length, curl, and thickness, which should complement your natural lash line and eye shape. Opt for varied lengths to create a more natural, wispy effect.
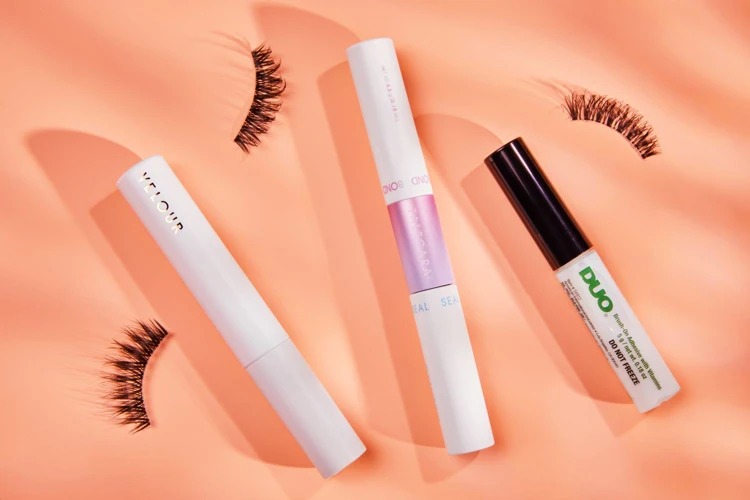
Selecting the Best Long-Lasting Lash Glue
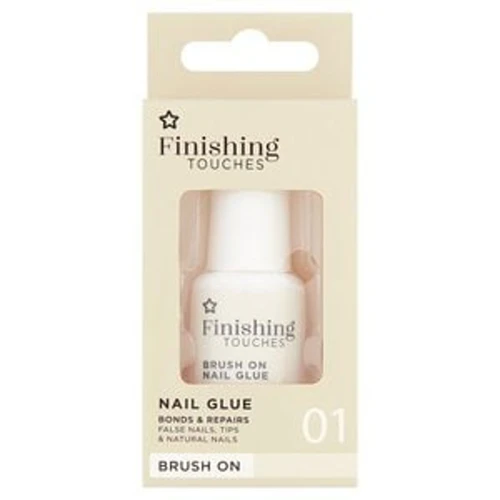
The longevity of your DIY eyelash extensions largely depends on the quality of the individual lash adhesive you choose. A long-lasting lash glue is essential to ensure that your lashes stay put through wind, rain, and daily activities. Look for adhesives that are waterproof and have a strong hold, yet are gentle on the eyes.
Applying Individual Lashes
Cleaning Your Natural Lashes
Starting with a clean canvas is vital. Use an oil-free makeup remover to cleanse your natural lashes, removing any residual makeup or oils that could hinder the eyelash glue technique from securing the extensions properly.
Applying Individual Lash Adhesive
Dab a small amount of individual lash adhesive onto a piece of foil. Then, using tweezers, lightly dip the base of the individual lash into the glue. Wait a few seconds for the adhesive to become tacky before application.
Attaching the Lashes for a Natural-Looking Effect
Place the individual lashes on top of your natural lash line, close to the roots but not touching the skin. Stagger the lengths to mimic the pattern of your real lashes, for a seamless and natural-looking false lashes effect.
Eyelash Glue Technique for a Strong Bond
Ensure the individual lash is coated with just the right amount of glue. Too little won’t hold, and too much can cause clumping. Apply with precision and patience for a bond that lasts.
Individual Lash Tutorial: Step-by-Step Guide
Priming the Lashes
Before the false lash application, prime your lashes with a quick curl and possible application of a clear mascara, to create a sturdy base for the extensions.
False Lash Application Process
Using fine-tipped tweezers, gently pick up one lash cluster, and navigate it into the desired position along your lash line. Repeat the process, working from the outer corner towards the inner eye, for a full and lush look.
Semi-Permanent Lashes: Maintenance Tips
While individual lashes can be considered semi-permanent, they do require maintenance. Avoid oil-based products around the eyes and refrain from rubbing or pulling on the lashes. Gentle care will extend the life of your extensions.
Ensuring the Longevity of Your DIY Eyelash Extensions
Aftercare for Semi-Permanent Lashes
Post-application, avoid water and steam for the first 24 hours to allow the glue to set fully. Brush through the lashes daily with a spoolie to maintain a neat appearance and prevent tangling.
When to Reapply or Remove Lashes
Touch-ups are typically needed every 2-4 weeks. If you notice significant fallout or shifting, it’s time to reapply. To remove, use a specialized lash glue remover to ensure the health of your natural lashes.
Common Mistakes and How to Avoid Them
Common errors include using too much glue, applying lashes too close to the eye’s inner corner, or not waiting for the glue to become tacky. Addressing these mistakes can make the difference between amateur and expert results.
Additional Eyelash Extension Tips for Best Results
- Work in a well-lit area.
- Keep your hands steady by resting your elbow on a table.
- Consider using a magnifying mirror for better visibility.
FAQs on Individual Lash Extensions
Questions often arise regarding the safety of DIY eyelash extensions, the best type of lashes for sensitive eyes, or the removal process. It’s essential to conduct thorough research or consult with a professional to ensure the best outcome for your individual needs.
Conclusion
With practice, applying individual lashes can become a quick and satisfying enhancement to your beauty routine. Remember, patience and precision are your best allies in achieving those dreamy, natural-looking lashes. Embrace the detailed steps outlined in this individual lash tutorial, and enjoy the transformation.
If you’re keen on enhancing your beauty routine with individual lashes but are unsure about the process, you’re in luck. We have a great selection of resources to help you master the art. For a step-by-step guide on applying strip lashes, check out our article on how to glue on lashes. If you’re dealing with dental prosthetics and want to ensure a perfect smile, our tips on how to glue false teeth can be incredibly helpful. Lastly, for those who are specifically interested in individual lashes, our comprehensive guide on what glue to use for individual lashes will give you all the information you need for a flawless application. Whether you’re a beginner or looking to perfect your technique, these articles will provide you with the knowledge to proceed with confidence.
References
This guide is composed based on industry best practices and input from professional lash technicians. For further reading, beauty blogs, tutorials, and product reviews can offer additional insight into perfecting the art of DIY eyelash extensions.