Embarking on a do-it-yourself project can be immensely satisfying. One of the fundamental skills in a multitude of DIY projects is knowing how to glue wood and various other materials. This skill serves as the cornerstone for successful project completion and enduring results.
Understanding the Basics of How to Glue Wood
Adhering pieces of wood together may seem straightforward, yet it requires attentiveness to detail. The proper alignment and pressure are crucial for a strong joint, and this starts with understanding wood grain and the best practices for application.
The Importance of Choosing the Right Glue
Selecting the appropriate adhesive is critical for the integrity of your project. With myriad options available, choosing the right glue ensures a reliable bond that is tailored to the materials you are working with and the conditions they’ll face.
Adhesive Guide: Types and Uses

An exhaustive adhesive guide is your best friend when navigating through the various glue types. Each adhesive possesses unique properties designed for specific applications and bonding materials.
Exploring Different Glue Types
- Polyvinyl Acetate (PVA) Glues: Ideal for porous materials like wood.
- Epoxy Resins: Known for their strength and chemical resistance, suitable for a wide range of materials.
- Cyanoacrylate (Super Glue): Best for quick repairs where minimal clamping time is needed.
Matching Glue Types to Bonding Materials
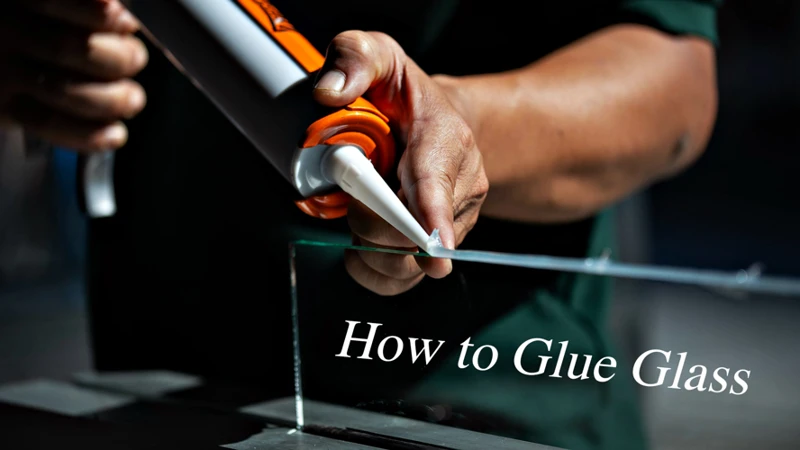
It’s critical to pair the right type of adhesive with the materials you intend to join. For instance, wood adhesives are designed to penetrate the fibers for a strong bond, while metal adhesives may require a glue with a different composition to handle the non-porous nature of metals.
Surface Preparation for Gluing
Attaining a durable bond is heavily dependent on how well you prepare the surfaces before applying any adhesive. This step cannot be overlooked if you desire a lasting hold.
Cleaning and Preparing Surfaces Before Gluing
Any debris, oil, or old adhesive can compromise the bond. Thoroughly cleaning and slightly roughening the surfaces will increase the glue’s adherence.
Best Practices for Glue Application Techniques
Applying the right amount of glue and distributing it evenly across the surfaces is essential. Too much adhesive can weaken the joint, and too little may not hold the materials together efficiently.
Glue Application Techniques
Effective glue application techniques are vital to ensure a bond that lasts. A methodical approach prevents common mistakes and yields the best results.
Step-by-Step Guide on DIY Gluing
- Prepare your materials and workspace.
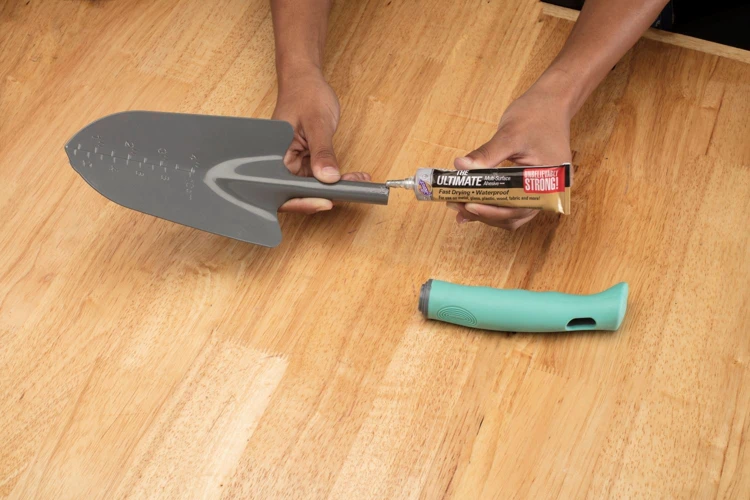
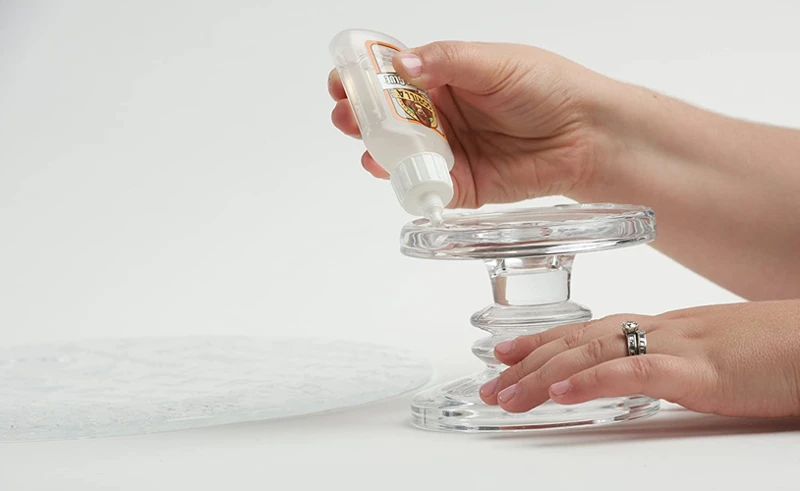
- Apply the adhesive to one surface, according to the manufacturer’s instructions.
- Join the pieces, applying sufficient pressure to spread the glue.
- Secure the pieces in place while the glue sets.
Expert Tips for Even Glue Distribution
Achieving an even distribution of glue can be facilitated by using a glue spreader or a small brush. This helps to cover the entire surface without over-applying the adhesive.
Glue Curing Times

Understanding glue curing times is paramount to ensure maximum bonding strength. Rushing this process can lead to weak joints and project failure.
Understanding Glue Curing Times for Optimal Bonding
Each adhesive has a specific curing time that must be respected. This period allows the adhesive to fully set and achieve its ultimate strength.
How Temperature and Humidity Affect Curing
Environmental factors like temperature and humidity can significantly impact the curing process. Adhering to the ideal conditions recommended by the glue manufacturer is essential for successful bonding.
Finishing Your Gluing Project
The final steps in your DIY gluing project are crucial for assessing the quality of the bond and ensuring a clean, professional finish.
Checking the Bond and Final Touches
Once the adhesive has cured, it is important to inspect the bond’s strength and make any necessary final adjustments or touch-ups to the appearance of your project.
Post-Gluing Cleanup Tips
Cleanup is just as important as the gluing process itself. Removing any excess adhesive and properly storing your gluing materials will maintain a tidy workspace and prolong the life of your tools and adhesives.
Glue Safety Tips

Adhering to glue safety tips ensures you undertake your project without risking your health or the environment. Proper handling and precautions are non-negotiable aspects of DIY gluing.
How to Handle Glue Safely During Your Project
Knowing how to handle different adhesives safely is crucial. Always read the manufacturer’s instructions and heed any warnings regarding the use and disposal of the product.
Proper Ventilation and Protective Gear
Ensure adequate ventilation in your workspace to avoid inhaling fumes, and wear appropriate protective gear such as gloves and safety glasses to prevent skin and eye irritation.
Conclusion: Mastering the Art of Gluing
Mastering the art of gluing is an invaluable skill in the world of DIY projects. With the knowledge of the right techniques and safety measures, you can tackle any task with confidence.
Recap of Gluing Techniques and Safety
We’ve covered the essentials of DIY gluing, from surface preparation to safety practices. Keeping these tips in mind will help ensure successful projects every time.
When it comes to adhering materials together, the right technique can make all the difference. If you’re looking to master the art of gluing, be sure to check out our comprehensive guides. Learn the basics with our general overview on how to glue different materials. For more specific projects, like crafting or DIY repairs, our step-by-step tutorials on how to do glue and how to do a glue-in will provide you with the detailed information you need to achieve a strong, lasting bond. Whether you’re a beginner or an experienced DIYer, these resources will ensure your gluing project is a success.
Encouragement for Future DIY Projects
As you grow more comfortable with these skills, you will find that your range of possible projects expands. Embrace the learning curve, and let your creativity lead the way to future DIY achievements.