Embarking on your first project to distress furniture can be both exhilarating and a little daunting. With the right guidance, however, creating a piece that exudes the perfect balance of time-worn elegance and contemporary flair is entirely achievable. This beginners guide will walk you through the process of using chalk paint to transform your furniture into a distressed masterpiece.
Introduction to Distress Furniture
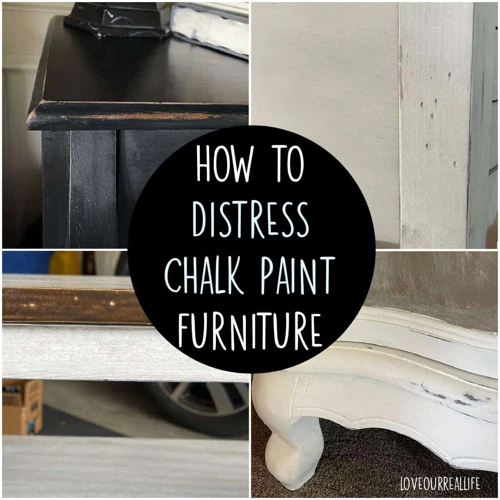
What is Distressed Furniture?
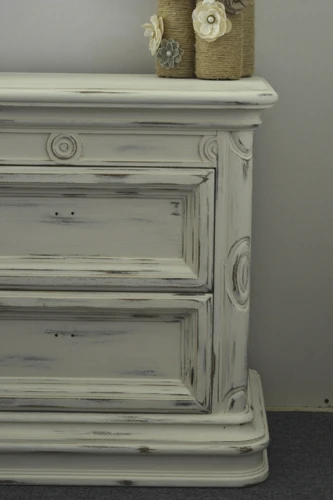
Distressed furniture refers to pieces that have been deliberately aged or worn to achieve a rustic or antique aesthetic. This style is characterized by a variety of techniques that create imperfections, such as small scratches, dents, and a worn finish, which give the impression that the item has been lovingly used for generations.
The Charm of Shabby Chic and Vintage Furniture
The allure of shabby chic and vintage furniture lies in their storied pasts and the cozy, lived-in vibe they add to a space. These pieces often serve as focal points in a room and are a testament to the timeless appeal of designs that seem to tell their own tales.
Materials Needed for a DIY Chalk Paint Project
Essential Supplies for Distressed Painting Techniques
- Chalk paint
- Paintbrushes and rollers
- Painter’s tape
- Sandpaper (various grits)
- Clean rags
- Wax or sealant for finishing
Creating Your Own DIY Chalk Paint
Step-by-Step Guide to Mixing Chalk Paint
Concocting your DIY chalk paint is a straightforward process that allows for customization in color and consistency. Begin by mixing one part water to one part plaster of Paris until smooth. Then, add this to three parts of your chosen latex paint, stirring thoroughly. This homemade concoction can then be used to give your furniture that coveted matte finish.
Prepping Furniture for a Makeover
Cleaning and Priming Your Piece
Prior to painting, ensure your furniture is clean and free of any oils or dust. A light sanding may be necessary to create a surface that allows the paint to adhere better. If you’re working with a particularly slick or glossy finish, a primer can provide a helpful base layer.
Applying Chalk Paint for a Distressed Look
Basic Application Techniques
Apply the chalk paint using even strokes, aiming for full coverage. Don’t worry about brush marks; they contribute to the character of the piece. Allow the paint to dry completely between coats, and apply as many layers as needed to achieve your desired opacity.
Achieving an Antique Furniture Look
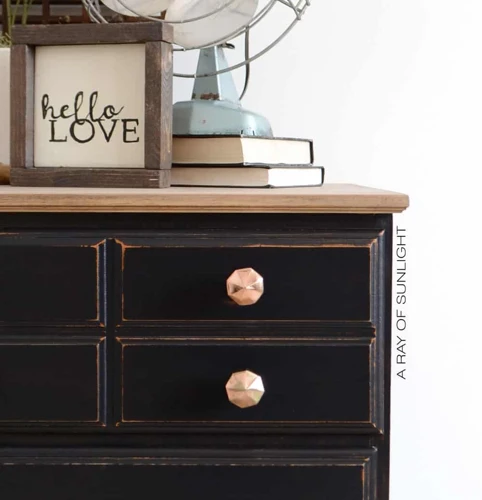
To attain that coveted antique furniture look, focus on areas that would naturally show wear over time like edges and corners. Lightly sand these areas to reveal the wood or underlying paint layers beneath.
Advanced Distressed Painting Techniques
Distressing with Sandpaper for an Authentic Look
After the final coat of chalk paint has dried, use fine-grit sandpaper to gently rub away the paint on areas of the furniture that would naturally wear over time. Applying varying pressure can create a more authentic distressed look.
The Dry Brush Technique for a Subtle Vintage Effect
The dry brush technique involves dipping just the tip of your brush into the paint and wiping off the excess before lightly brushing over your piece. This method offers a wispy, textured look that mimics years of paint buildup and wear.
Wet Distressing for Layered Paint Styles
For a more pronounced distressed finish, apply a second color over the base coat. Once it’s partially dried, use a damp cloth to rub away sections of the top coat, revealing the color beneath in a layered effect.
Using Petroleum Jelly for a Worn Finish
Applying petroleum jelly to certain spots before painting ensures that the paint won’t adhere to those areas. Once dry, the paint over the petroleum jelly can be easily wiped away, creating a natural-looking worn finish.
Adding Depth with Glaze
Glazing involves applying a translucent mixture over the paint to accentuate details and add depth. This technique can enhance the distressed look by emphasizing crevices and highlighting texture.
Sealing Your Distressed Furniture
When and How to Use Wax Finishes
To protect your furniture and seal in the distressed look, apply a layer of clear wax with a soft cloth. For added depth or to alter the tone of your piece, consider using tinted wax. Buff the surface until you achieve a sheen that suits your taste.
Troubleshooting Common DIY Chalk Paint Challenges
FAQs about Distressed Painting Techniques
Common issues like paint clumping, uneven distressing, or wax not adhering can often be avoided by properly prepping your surface and allowing adequate drying time between steps. If you do encounter problems, don’t hesitate to sand back and reapply paint or wax accordingly.
Additional Furniture Makeover Ideas
Inspiration for Your Next Vintage Furniture Painting Project
Once you’ve mastered the basics, consider experimenting with stencils, decoupage, or even gold leaf to add unique touches to your distressed pieces. The possibilities are endless, and each technique can further personalize your furniture.
Final Touches for Your Distressed Furniture Piece
Accessorizing and Styling Shabby Chic Furniture
The finishing touches to your distressed piece can make all the difference. Consider replacing hardware with vintage knobs or pulls, and accessorize around your furniture with complementary decor to complete the shabby chic look.
How to Distress Furniture with Chalk Paint – Recap
If you’re new to the world of upcycling furniture and keen to learn the craft of creating a distressed look with chalk paint, you’ve come to the right place. Our distressed milk paint guide is an excellent resource for beginners eager to achieve that popular shabby chic aesthetic. But before you dive into distressing techniques, you might want to start with the basics. Our beginner’s guide to paint brush sizes and shapes will help you select the right tools for your project. And to give your furniture the perfect finish, understanding paint sheen is crucial, so don’t miss our beginner’s guide to sheen levels in paint. Together, these resources will set you up for success in your furniture painting endeavors.
Summary of Techniques and Tips for Beginners
To recap, distressing furniture with chalk paint involves selecting the right piece, preparing it for paint, applying DIY or store-bought chalk paint, using various techniques to achieve a distressed look, and sealing your work. With patience and creativity, even beginners can transform a simple piece of furniture into an antique treasure.